There is a specific kind of magic that happens in a UK garden during the tail end of February. After months of grey skies, drizzle, and the relentless concrete damp of a city winter, the first spear of a snowdrop or the bright shock of a crocus feels like a personal victory. We’ve all been there, peering out at a bare balcony or a sodden patio, wondering if anything will ever grow again. The good news is that you don’t need a sprawling country estate or a greenhouse to create this moment for yourself.
Spring bulbs are essentially nature’s "ready meals." Everything the plant needs to grow, flower, and thrive is already packed inside that brown, papery skin. For those of us gardening in small urban spaces, bulbs are the ultimate low-effort, high-reward project. They don't require much room, they are perfectly happy in pots, and they are incredibly forgiving of beginners. If you can dig a small hole or fill a container with compost, you can grow a spectacular spring display.
Why Bulbs are Perfect for Small Spaces
When space is at a premium, every plant has to earn its keep. We don't have room for "diva" plants that require constant pruning or specialist equipment. Bulbs are brilliant because they are temporary; they provide a massive burst of colour and then step back to let your summer bedding take over. This makes them ideal for window boxes, hanging baskets, and the clusters of pots that many of us keep near the back door.
In a city environment, we often deal with microclimates—pockets of shade from neighbouring buildings or wind tunnels between houses. Bulbs are surprisingly hardy and can cope with these varied conditions. Because they flower early in the year before the trees have fully leafed out, they can often get enough light even in relatively shady urban courtyards. They are the heralds of the new season, proving that you can have a lush, vibrant garden regardless of your postcode.
When to Start Your Planting
Timing is the only real "rule" you need to follow when it comes to spring bulbs. In the UK, we generally look at the autumn months as the prime window for planting. Most bulbs, such as daffodils, crocuses, and hyacinths, should go into the ground or your pots between September and November. This gives them enough time to establish a root system before the ground freezes hard, though in London and other urban areas, the "heat island" effect often keeps our soil a little warmer for longer.
Tulips are the notable exception to this rule. While you can plant them in October, it is often better to wait until November or even early December. Planting tulips later helps to prevent a common fungal disease called tulip fire, which thrives in warmer, damper autumn weather. If you find a forgotten bag of tulip bulbs in the back of a cupboard in January, don't throw them away. Get them into a pot immediately; they might flower a little later than usual, but they are incredibly resilient.
Choosing the Best Varieties for Pots
If you are gardening on a balcony or a small patio, you want varieties that won't grow too tall and flop over in the first gust of wind. Compact varieties are your best friend here. They look more proportionate in containers and generally require less maintenance. You also want to think about scent; in a small space, the fragrance of a few well-placed hyacinths can fill the entire area, making your outdoor space feel like a curated sanctuary.
When you are browsing the garden centre or ordering online, look for labels that mention "dwarf" or "patio" varieties. These have been specifically bred to stay sturdy and upright. It is also worth considering the "pollinator factor." Even in the heart of a city, early-flowering bulbs provide a vital food source for bees emerging from hibernation on a sunny March afternoon.
Here are some of the most reliable bulbs for small UK spaces:
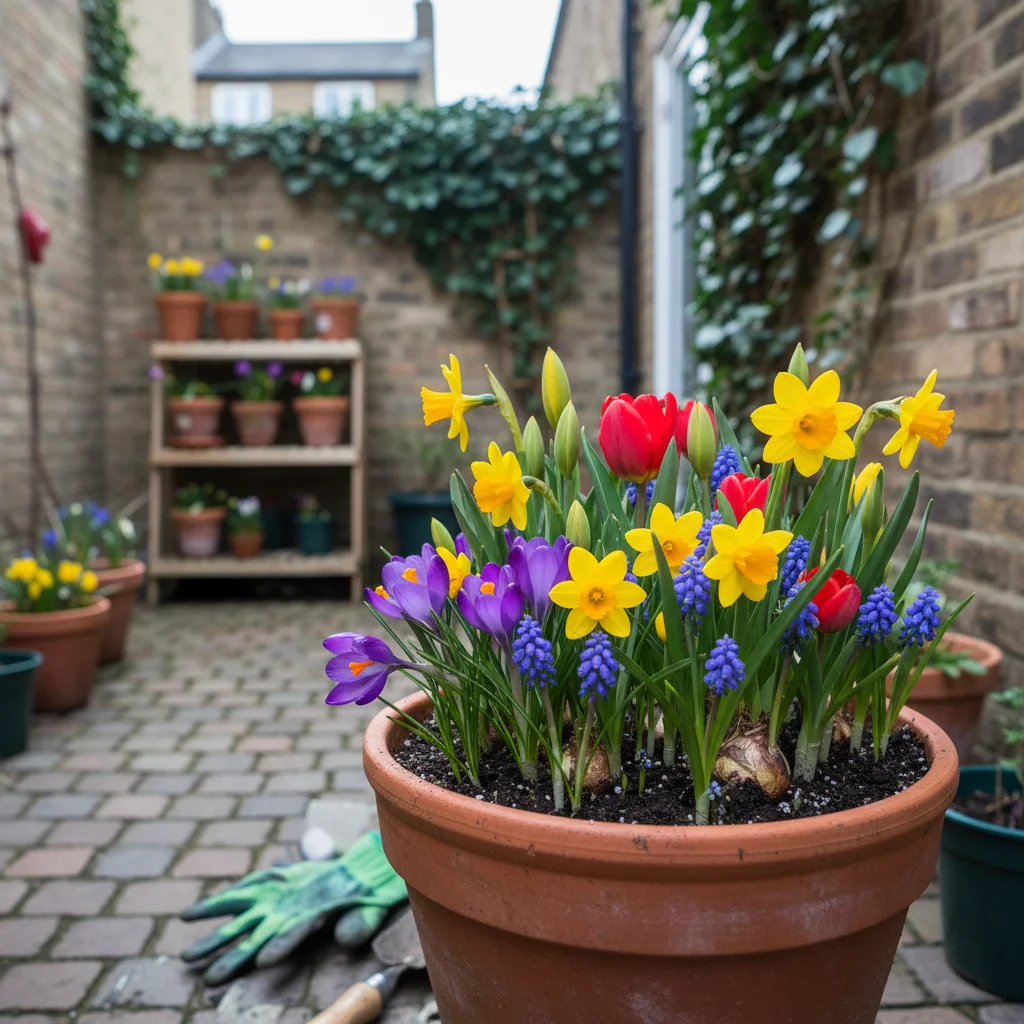
- Tête-à-tête Daffodils: These are the gold standard for containers. They stay short, have multiple flower heads per stem, and stand up well to British rain.
- Iris Reticulata: These tiny, jewel-like flowers appear very early, often in February. They take up almost no room and look stunning in a window box.
- Crocus Tommasinianus: Known as "Tommies," these are tough enough to handle the coldest snaps and will pop up year after year.
- Muscari (Grape Hyacinths): These provide a brilliant blue carpet and are virtually indestructible, making them perfect for busy gardeners.
- Angelique Tulips: If you want something that looks like a peony but fits in a pot, these soft pink, multi-petalled tulips are a fantastic choice.
The Essential Toolkit for Beginners
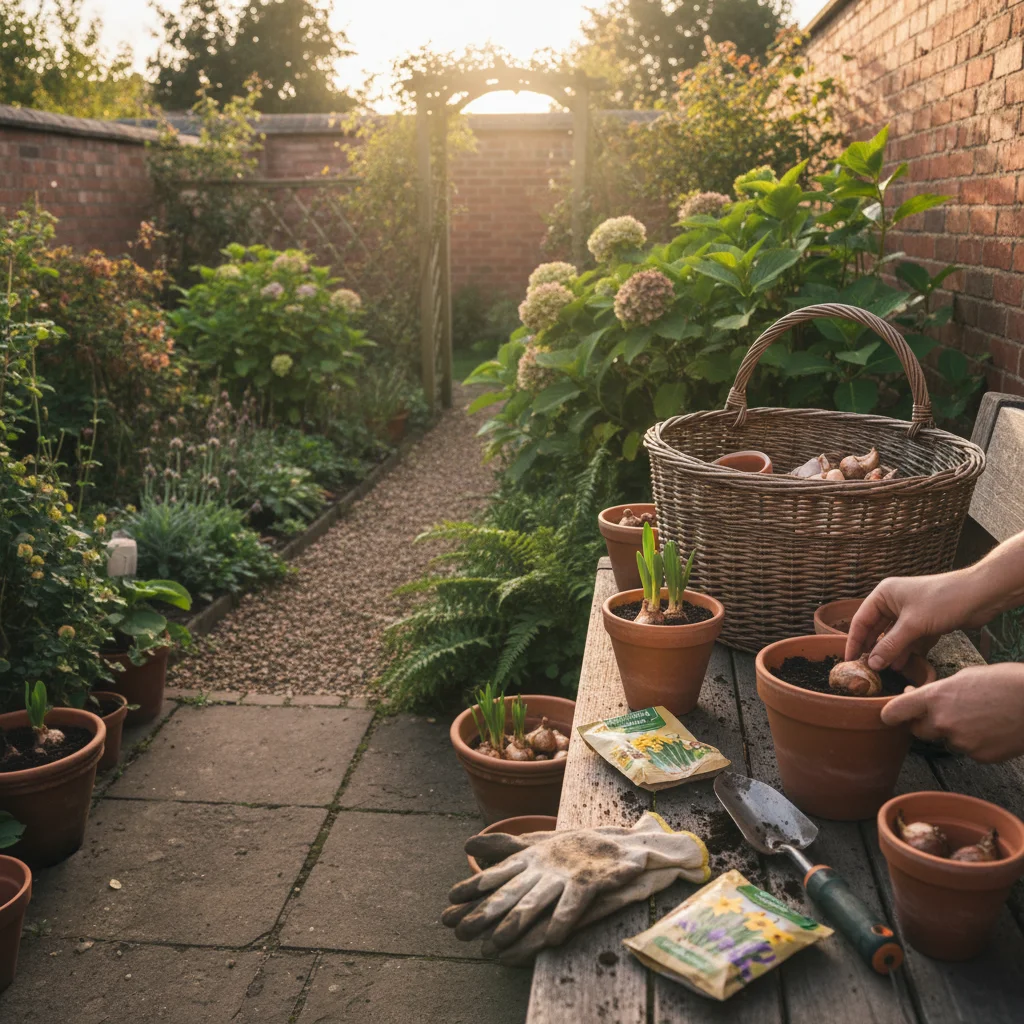
One of the reasons I love bulb planting is that you don't need a shed full of expensive tools. If you have a balcony, you probably don't have space for a collection of spades and forks anyway. A simple hand trowel is usually all you need. If you are planting into very hard soil or a small patch of lawn, a dedicated bulb planter can be helpful as it cores out a neat hole, but for pot gardening, it’s definitely an optional extra.
The most important "tool" is actually your choice of container and compost. Ensure your pots have decent drainage holes at the bottom. British winters are notoriously wet, and the quickest way to kill a bulb is to let it sit in waterlogged soil, which causes it to rot. A standard multi-purpose compost works well, but I like to mix in a handful of grit or perlite to improve the drainage further, especially for bulbs that will be sitting outside in the rain for months.
Creating a Bulb Lasagna
If you want to get the most "bloom for your buck" in a small space, you need to try the bulb lasagna method. This is a technique where you layer bulbs at different depths in the same pot, ensuring a continuous display of flowers from February through to May. It’s a brilliant way to save space while ensuring your patio never looks empty during the spring months.
Start by placing a layer of the largest, latest-flowering bulbs (like tulips) at the bottom of your pot, about 15-20cm deep. Cover them with a layer of compost, then add your mid-season bulbs like daffodils or hyacinths. Cover those with more compost and finish with a top layer of early-flowering small bulbs like crocuses or snowdrops. As each layer finishes flowering, the next one grows up through the foliage, giving you a constantly evolving display in a single container.
How to Plant for Success
When it comes to the actual planting, there is a simple rule of thumb that works for almost every bulb: plant them at two to three times their own depth. If a bulb is 5cm tall, it needs about 10-15cm of soil on top of it. This protects the bulb from frost and provides enough stability for the stem as it grows. Always make sure the "pointy end" is facing upwards. If you can’t tell which end is which (it happens to the best of us with some bulbs), plant it on its side; the plant will naturally find its way toward the light.
In a garden bed, you might space bulbs quite far apart, but in a container, you can afford to be much more generous. For a lush, professional look, plant your bulbs about a bulb’s width apart. They shouldn't be touching, as this can encourage rot, but "crowding" them slightly will result in a much more impactful display of colour. Once they are tucked in, give the pot a good watering to settle the soil around the bulbs and remove any air pockets.
To ensure your bulbs have the best start, follow these simple steps:
- Check your bulbs for firmness and discard any that feel soft, mushy, or show signs of mould.
- Add a layer of crocks (broken bits of old pots) or large stones to the bottom of your container to prevent drainage holes from clogging.
- Fill your pot with compost until you reach the desired planting depth for your largest bulbs.
- Place your bulbs with the growing tip facing up, ensuring they aren't touching the sides of the pot.
- Fill the rest of the pot with compost, leaving a small gap at the rim for watering.
- Place your pots in a spot where they will get some light, even if it's just a few hours of winter sun.
Protecting Your Pots Through Winter
While bulbs are tough, container-grown plants are more vulnerable to the elements than those in the ground. The main risk in the UK is the cycle of freezing and thawing, which can sometimes crack terracotta pots or turn the compost into a block of ice. If a particularly harsh frost is forecast, you can wrap your pots in bubble wrap or burlap to provide a bit of insulation.
Another common urban gardening challenge is the local wildlife. Squirrels, in particular, seem to view a freshly planted pot of bulbs as a buried treasure chest. If you find your pots are being dug up, you can pin a piece of chicken wire or some holly sprigs over the surface of the soil. The shoots will grow through the wire easily, but it will deter the squirrels from digging for the bulbs themselves.
Aftercare and Post-Flowering Maintenance
Once your bulbs start to sprout in the spring, keep an eye on the watering. While the UK winter usually provides plenty of moisture, a dry spell in March can dehydrate pots quickly, especially if they are tucked under a balcony overhang or a porch. The soil should be kept moist but never sodden. Once the flowers appear, you can give them a liquid feed every fortnight with a high-potash fertiliser (like tomato food) to help them put on a really spectacular show.
After the flowers have faded, it is tempting to cut back the leaves immediately to keep things looking tidy. Resist this urge! The leaves are vital because they use sunlight to create energy, which is then stored back in the bulb for next year’s flowers. Wait until the foliage has turned yellow and straw-like before removing it. If you are growing in a "lasagna" pot, you can simply tuck the dying leaves behind the newer growth of the next layer of flowers to keep the display looking fresh.
Moving Toward a Greener Spring
Gardening in the city is all about making the most of what you have. Whether you have a single window box or a collection of pots on a fire escape, planting spring bulbs is one of the most rewarding things you can do. It connects you to the rhythm of the seasons and provides a much-needed boost of morale when the winter feels like it might never end.
Once you’ve mastered the basics of bulb planting, you’ll find yourself looking at every empty pot and corner of your patio as a potential site for a splash of colour. The effort you put in during a chilly October afternoon will pay off ten-fold when you see those first bright petals opening up in the spring sunshine. If you're looking for more ways to brighten up your small space, why not look at our guide to choosing the best winter-hardy containers to ensure your garden stays stylish all year round?