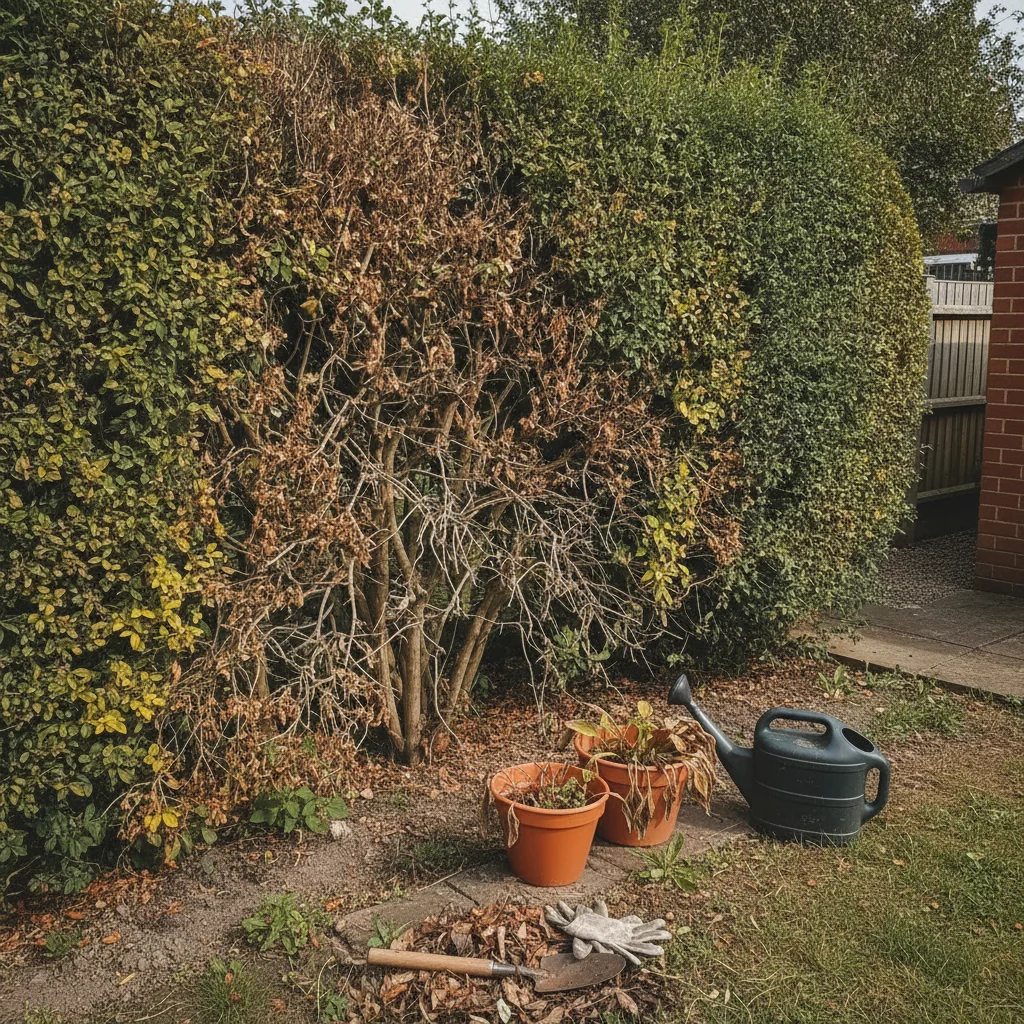
A hedge dying at the bottom is usually shade from the top, drought at the roots, or a pest and disease issue — not a lack of feed. Look at light, soil, and the species before you cut harder.
It usually starts with a few thinning patches near the soil, a subtle change that many gardeners overlook until the damage is done. Before long, what was once a dense, green wall of privacy begins to look like it is standing on skeletal stilts. Seeing a hedge dying at the bottom is a common frustration, but in my years as a head gardener, I have found it is rarely a death sentence for the plant.
Most hedges struggle at the base because of a simple lack of resources, whether that is sunlight, water, or nutrients. In the UK, our damp climate and varied soil types can also invite specific fungal issues that target the lower, more humid sections of a shrub. Identifying the root cause is the first step toward a successful revival.
By understanding how a hedge grows and what it needs to thrive, you can reverse the thinning and encourage new, lush growth from the ground up. It requires a methodical approach and a bit of patience, but the result is a healthier, more resilient garden boundary that serves you and local wildlife for decades.
Why light is the most important factor
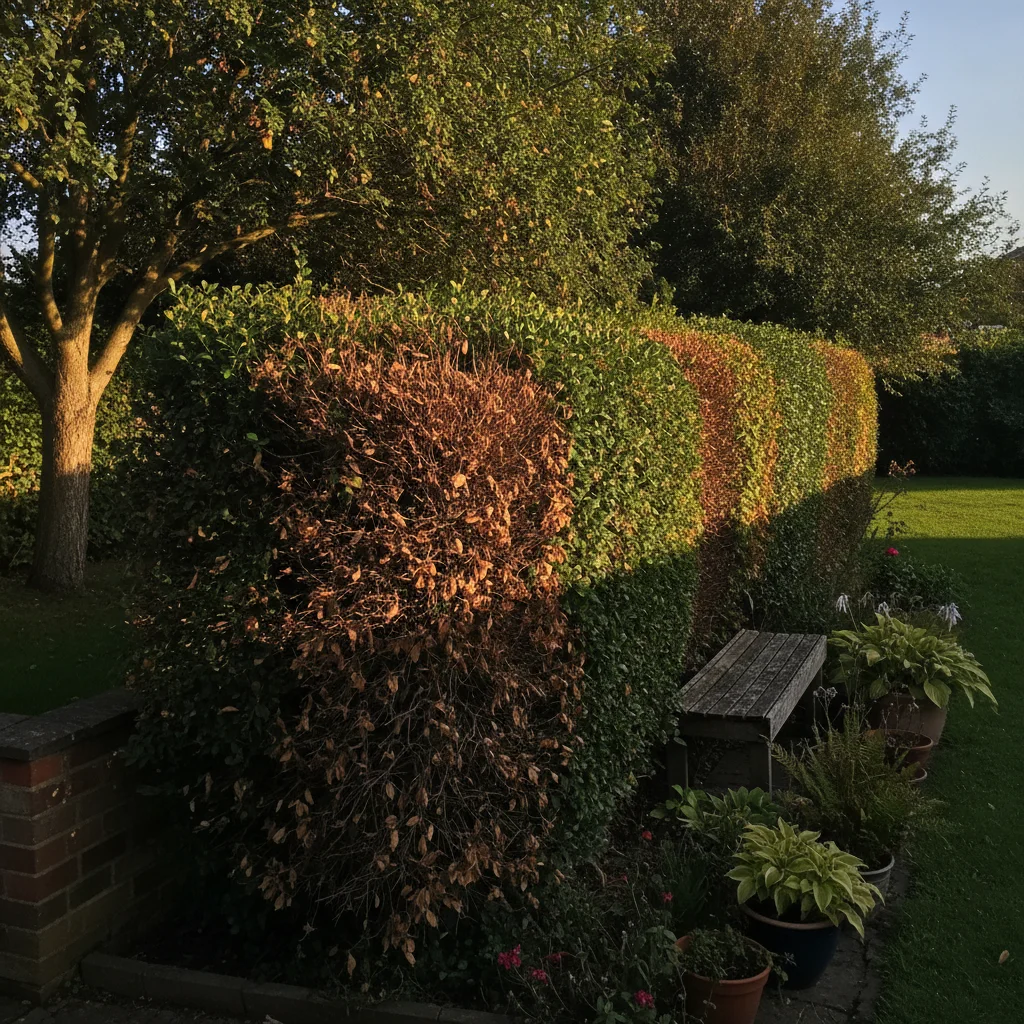
The most frequent reason a hedge thins out at the bottom is a lack of sunlight. Plants are incredibly efficient at managing their energy; if a leaf isn't receiving enough light to produce food through photosynthesis, the plant will eventually shed it. This is why the interior and the base of a hedge are often the first areas to go bare.
Many gardeners mistakenly prune their hedges with perfectly vertical sides or, even worse, an inverted wedge shape where the top is wider than the base. This "top-heavy" structure creates a permanent shadow over the bottom half of the hedge. Over time, the lower branches lose their vigour and die back because they are literally living in the shadow of the growth above them.
To fix this, you must change the way you shape your hedge. Professional gardeners use a technique called "tapering" or cutting to a "batter." This means the base of the hedge should always be wider than the top, creating an A-shape profile. This allows sunlight to reach the very bottom leaves, keeping them active and green.
The role of soil health and competition
Hedges are incredibly hungry plants. Because we plant them closely together to form a screen, they are constantly competing for the same pool of nutrients and water. If the soil at the base is poor, compacted, or dry, the hedge will prioritise its top growth—where the light is—and let the lower branches suffer.
In many UK gardens, the soil at the foot of a hedge becomes "rain-shadowed" by the canopy above, meaning even during a heavy downpour, the roots at the base stay dry. Furthermore, if you have grass growing right up to the stems of your hedge, that turf is stealing the lion's share of surface moisture and nitrogen. This competition is often enough to cause significant die-back in species like Privet or Beech.
Compaction is another silent killer. If the area along your hedge is a frequent footway, the soil particles become squashed, pushing out the air pockets that roots need to breathe. In heavy clay soils, this can lead to waterlogging in winter and concrete-like hardness in summer, both of which stress the lower portions of the plant.
Identifying pests and diseases
While environmental stress is the usual suspect, sometimes the problem is biological. Certain pests and diseases thrive in the sheltered, humid environment at the base of a dense hedge. If you notice that the leaves aren't just falling off, but are turning a specific colour or showing signs of distress, you may be dealing with an infestation.
Box blight is a classic example in UK gardens, often starting near the ground where airflow is poorest. Similarly, Honey Fungus can attack the root system, causing the lower branches to wilt and die first. Keeping a close eye on the specific symptoms can help you decide whether you need to reach for the pruning shears or a more specialised treatment.
Common signs of hedge distress include:
- Small dark spots on leaves that eventually merge and turn the whole leaf brown.
- A white, felt-like fungal growth visible under the bark near the soil line.
- Sticky "honeydew" or black sooty mould on the lower stems, indicating aphids or scale insects.
- Bare patches that appear suddenly rather than thinning gradually over several seasons.
How to prune for better growth
If your hedge is already bare at the bottom, a light trim won't be enough to bring it back. You need to perform what we call "renovation pruning." This involves cutting back the top and sides quite significantly to allow light into the centre of the plant and stimulate dormant buds on the old wood.
For deciduous hedges like Beech, Hornbeam, or Privet, you can be quite bold. Late winter, while the plant is still dormant, is the best time for this. By reducing the height of the hedge, you redirect the plant's energy downward. Once the sun can hit those bare lower stems, you will often see new green shoots appearing within a single growing season.
Evergreen hedges require a more cautious touch. Species like Yew can handle a hard prune and will grow back from old wood, but many conifers, such as Leylandii or Lawson Cypress, will not. If you cut into the "brown" dead wood of most conifers, it will never turn green again. In those cases, you must prune lightly and focus on the tapering shape to prevent further loss.
Feeding your hedge back to health
Once you have addressed the light and pruning issues, you must fuel the new growth. A hedge that is trying to regenerate needs a steady supply of nutrients. I always recommend using a balanced, organic fertiliser in early spring just as the buds begin to swell.
Look for a fertiliser with a balanced NPK ratio. Nitrogen (N) is essential for the leafy green growth you want to see at the base. Phosphorus (P) aids in root development, ensuring the hedge can find water during dry spells, and Potassium (K) strengthens the overall structure and disease resistance of the plant. Avoid synthetic "quick-fix" fertilisers that can scorch tender new roots; instead, opt for something that releases slowly.
After feeding, it is vital to mulch. A 5-10cm layer of well-rotted garden compost or leaf mould spread along the base of the hedge does wonders. Not only does this suppress the weeds that compete for nutrients, but it also acts as a sponge, holding moisture in the soil where the hedge can reach it. Just ensure the mulch isn't touching the main stems directly, as this can cause the bark to rot.
Watering for deep root recovery
Watering a hedge is not the same as watering a flower bed. Because hedges have deep, established root systems, a quick sprinkle with a hosepipe does more harm than good. It encourages roots to stay near the surface where they are vulnerable to heat and drought.
To revive a dying base, you need to practice "deep watering." This means applying a large volume of water slowly so it soaks down 20-30cm into the soil. During a dry UK summer, a thirsty hedge might need a thorough soaking once or twice a week rather than a daily light misting.
To ensure your watering is effective, follow these steps:
- Clear away any grass or weeds from a 30cm strip at the base of the hedge.
- Use a soaker hose or "leaky pipe" laid along the ground for several hours.
- Water in the early morning or late evening to reduce evaporation.
- Check the soil moisture by digging down a few centimetres; if it’s dry, keep watering.
Choosing the right tools for the job
Having the right equipment makes the task of reviving a hedge much easier and ensures clean cuts that heal quickly. Blunt shears can crush stems rather than cutting them, leaving the plant open to infection. I always keep my bypass loppers and pruning saws sharpened and disinfected before starting a renovation project.
For larger hedges that have become overgrown at the top, a sturdy pair of long-reach hedge trimmers is invaluable. This allows you to achieve that essential tapered "A" shape without struggling on a ladder. For the fine work of stimulating new buds at the base, a sharp pair of secateurs is your best friend, allowing you to remove dead wood with precision.
| Tool Type | Best Used For | Maintenance Tip |
|---|---|---|
| Bypass Secateurs | Removing small dead twigs and precision shaping. | Wipe with methylated spirits to prevent disease spread. |
| Loppers | Cutting through thicker branches (up to 3cm) at the base. | Tighten the pivot bolt regularly for a clean snip. |
| Pruning Saw | Removing large, old limbs to let light into the centre. | Use a pull-stroke saw for better control in tight gaps. |
| Soaker Hose | Delivering consistent moisture to the root zone. | Cover with mulch to protect the rubber from UV damage. |
Long term maintenance for a dense hedge
Once you see those first green shoots appearing at the base, the temptation is to leave them alone. However, to create a truly dense screen, you need to "pinch out" or lightly trim these new shoots once they reach about 10cm in length. This encourages the branch to sub-divide, turning one spindly shoot into three or four, which fills the gap much faster.
Maintain your tapered shape every time you trim. Even if it feels counter-intuitive to keep the top narrow, remember that you are protecting the health of the bottom. A well-maintained hedge should always be a few inches wider at the bottom than it is at the shoulder.
Finally, keep up the annual cycle of mulching and feeding. In our UK climate, the winter rains can leached nutrients out of light soils, so a fresh application of organic matter every spring is the best insurance policy you can give your garden. By staying on top of these simple tasks, you ensure that your hedge remains a vibrant, floor-to-ceiling green wall that provides beauty and privacy for years to come.
Taking these steps now will transform your thinning hedge into a vigorous, healthy feature of your garden. If you focus on getting the light right and supporting the soil, you will soon see the lush results of your hard work. For more advice on keeping your garden in peak condition, explore our other guides on seasonal pruning and soil health.
Frequently asked questions
Why is only the bottom brown?
The top is shading the base, or the hedge is sitting in dry, compacted soil. Conifers that go brown inside often will not green up again.
Can I cut it hard to restart growth?
Only if the species reshoots from old wood. Many conifer hedges will not. A staged reduction and better light is safer than a one-off massacre.
When do I replace the hedge?
If the brown is woody and leafless, or disease is confirmed. A gardener can tell you whether feeding and a different cutting height will do, or whether you are buying new plants.