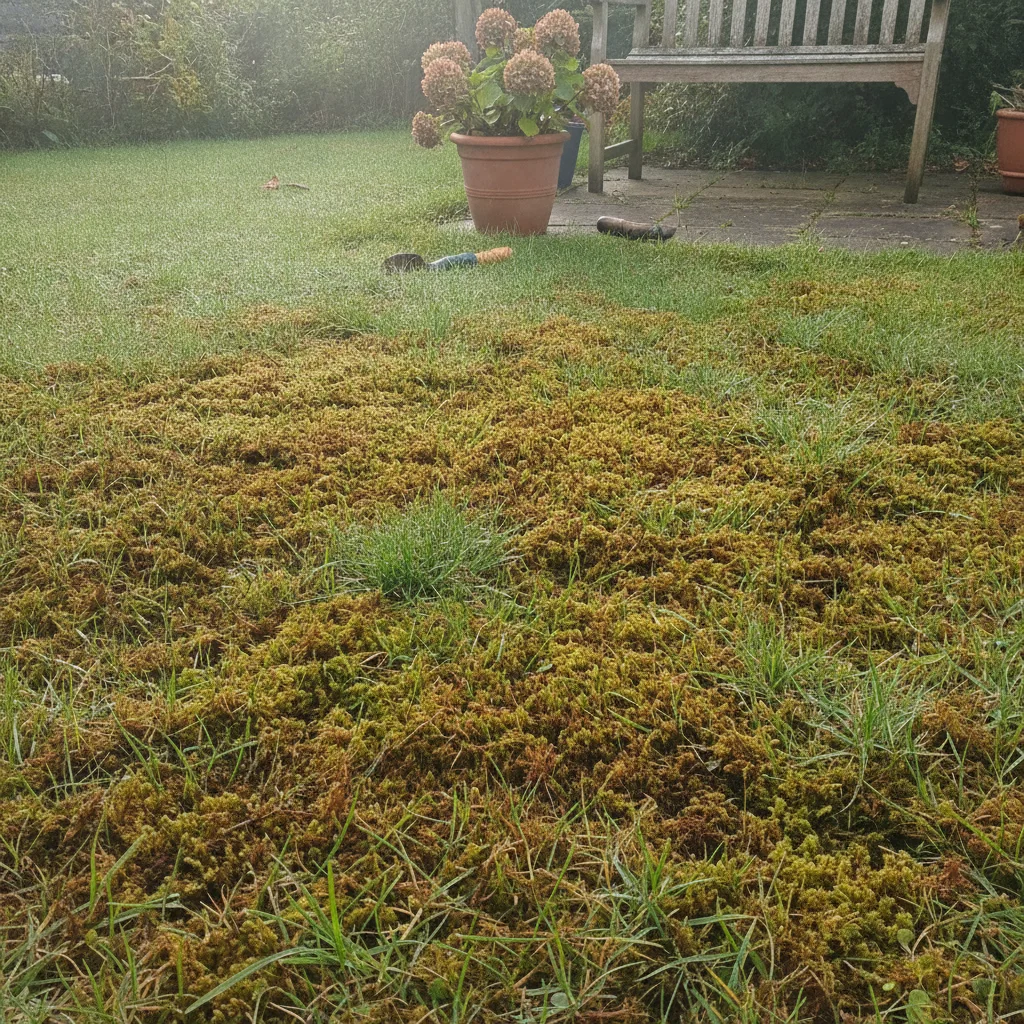
Walking across a lawn that feels more like a damp sponge than a crisp carpet is a frustrating experience for any gardener. Moss is one of the most common issues we face in the UK, particularly during our long, wet winters and humid springs. While it might look like a simple green cushion, its presence is usually a loud signal that your soil is struggling beneath the surface.
I have spent years managing estate lawns where moss was a constant adversary. What I have learned is that you cannot simply "kill" your way out of a moss problem. If you don't address the reasons why the moss arrived in the first place, it will return the moment your back is turned. We need to look at the garden as an ecosystem, understanding that moss is an opportunist that moves in only when the grass is too weak to defend its territory.
Getting rid of moss requires a two-pronged approach: a quick intervention to clear the immediate growth and a long-term strategy to bolster your soil health. By following a methodical plan, you can shift the balance of power back to your grass. You don't need harsh industrial chemicals to achieve this, but you do need a bit of elbow grease and an understanding of what makes your lawn tick.
Why moss chooses your lawn
Moss does not have traditional roots like grass; instead, it uses tiny hair-like structures called rhizoids to anchor itself. Because it doesn't need to draw nutrients from deep in the soil, it can thrive in conditions where grass would simply give up. If your lawn is looking more green-gold than emerald, it is usually because the environment has become hostile to grass.
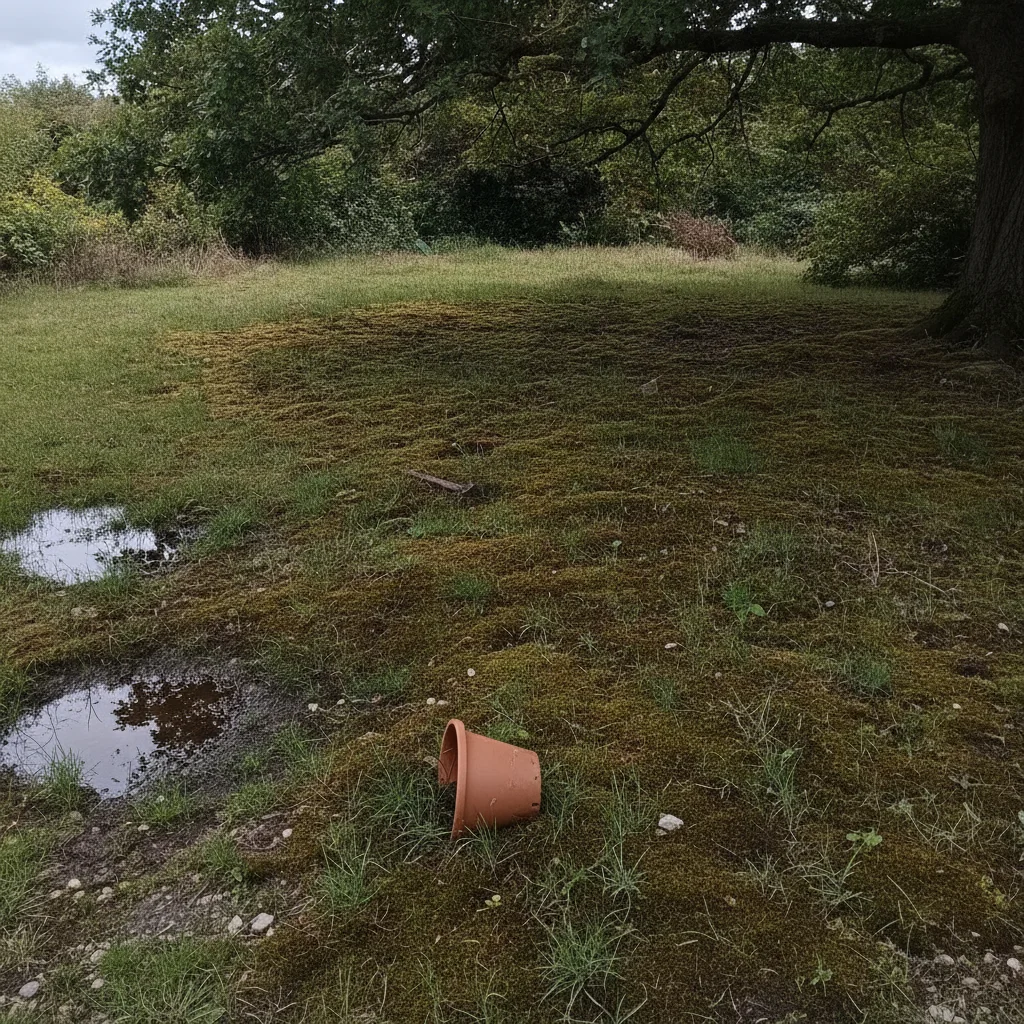
The most common culprit in the UK is poor drainage. Grass roots need oxygen to survive, and when soil becomes waterlogged or heavily compacted, those roots effectively suffocate. Moss, on the other hand, loves a damp surface and will happily spread across the top of heavy clay soil. If you find your lawn is squelching well into the spring, drainage is the first thing we need to investigate.
Shade is another significant factor that tips the scales in favour of moss. Most lawn seed mixes require at least six hours of sunlight to stay vigorous, whereas moss is perfectly content in the shadows of north-facing walls or under the canopy of large trees. When grass cannot photosynthesise effectively, it thins out, leaving bare patches that moss is all too happy to colonise.
Finally, we must consider the nutritional state of the soil. Grass is a hungry plant that requires a steady supply of nitrogen, phosphorus, and potassium (NPK) to maintain its density. If the soil is depleted or the pH has become too acidic, the grass will lose its competitive edge. Moss thrives in low-nutrient, acidic environments, making it the ultimate survivor in neglected corners of the garden.
The simple way to kill moss
Before we can fix the soil, we need to remove the existing moss. The most effective "quick fix" is the application of sulphate of iron, often sold as "moss killer" or included in "lawn sand" products. This compound works by rapidly dehydrating the moss, causing it to turn black and die within a matter of days.
When applying iron sulphate, timing is everything. You should aim for a day when the moss is moist but the weather is relatively calm to ensure even coverage. I prefer using a liquid application for a more targeted strike, but granular versions are perfectly fine for larger areas. Be very careful around paving and stonework, as iron sulphate will leave permanent rust-coloured stains on your patio.
Once the moss has turned black and brittle—usually after 7 to 14 days—it is time for the most physically demanding part of the process: scarifying. This involves raking out the dead organic matter to allow light and air to reach the soil surface. For a small lawn, a sturdy spring-tine rake is sufficient, but for anything larger, I highly recommend hiring or buying a mechanical scarifier.
You might be shocked by how much "thatch" and dead moss you pull up during this process. It is common for a lawn to look quite ragged and bare immediately after scarifying, but do not panic. By removing that thick layer of debris, you are clearing the way for new grass to grow and allowing the soil to breathe for the first time in months.
Essential tools for the job
Having the right equipment makes the difference between a weekend chore and a month-long struggle. I always advise gardeners to invest in quality tools that will last a lifetime, rather than cheap plastic alternatives that break under the pressure of heavy clay.
- Spring-tine rake: Essential for manual scarifying and clearing light debris without damaging the grass crowns.
- Hollow-tine aerator: This tool removes small plugs of soil to reduce compaction and improve oxygen flow to the roots.
- Knapsack sprayer or spreader: For even application of moss killers and fertilisers to avoid "scorching" the lawn.
- Half-moon edging iron: To keep the borders crisp, which prevents moss from creeping in from the flower beds.
- Grass seed and top dressing: A mix of high-quality seed and peat-free compost to repair the patches left behind.
Improving drainage and aeration
If you want to stop moss from returning, you must address soil compaction. Over time, the weight of foot traffic and the natural settling of the earth squeeze the air out of the soil. This is particularly common in the UK where many of us garden on heavy clay. Aeration is the process of creating holes in the lawn to let the soil "breathe" and allow water to move away from the surface.
For most domestic lawns, a hollow-tine aerator is the best choice. Unlike solid spikes, which can actually increase compaction by pushing soil sideways, hollow tines remove a core of earth. This creates genuine space for the soil to expand and for roots to grow deeper. I aim to aerate my lawn every two to three years, usually in the autumn when the ground is soft enough to work but not yet saturated.
After you have aerated, you can significantly improve the soil structure by applying a top dressing. This is a mix of sharp sand and well-rotted organic matter, such as peat-free compost. By brushing this mix into the holes you’ve created, you ensure that the drainage channels stay open and you gradually improve the overall quality of the root zone.
If your lawn has a serious drainage issue that aeration cannot fix, you might need to consider more significant measures. This could involve installing a French drain or creating a "rain garden" in the lowest part of the site. However, for 90% of mossy lawns, regular aeration and top dressing will be enough to tip the balance back in favour of the grass.
Repairing the bare patches
Once you have removed the moss and improved the drainage, you will likely be left with some unsightly bare spots. Leaving these patches open is an invitation for moss and weeds to return. Overseeding is the process of sowing new grass seed over an existing lawn to increase its density and fill in any gaps.
Choose a seed mix that is appropriate for your specific garden conditions. If your lawn is shaded by trees, look for a "shady lawn" mix that contains fescues and poa supina, which are more tolerant of lower light levels. If your lawn is a high-traffic area for children and pets, a hard-wearing ryegrass blend is usually the best bet.
Scatter the seed evenly across the prepared area and lightly rake it in so it makes good contact with the soil. I always recommend covering the area with a thin layer of top dressing to protect the seeds from birds and to keep them moist. Keep the area well-watered if the weather is dry, and try to keep foot traffic to a minimum until the new blades are at least 5cm tall.
The moss removal checklist
To ensure you get the best results, it helps to follow a logical sequence. Trying to sow seed before you've killed the moss, for example, is a waste of time and money. Follow these steps during the spring or autumn for the most successful renovation.
- Mow the lawn: Cut the grass slightly shorter than usual to expose the moss at the base.
- Apply moss killer: Use a sulphate of iron product and wait for the moss to turn completely black.
- Vigorous scarifying: Rake out all the dead moss and thatch until you can see the soil surface.
- Aerate the soil: Use a hollow-tine tool to relieve compaction and improve drainage.
- Overseed and dress: Apply fresh seed and a light layer of peat-free top dressing to the bare areas.
- Water and wait: Keep the soil moist for the first two weeks to ensure the new grass germinates.
Feeding your lawn for success
A healthy, well-fed lawn is the best natural defence against moss. When grass has all the nutrients it needs, it grows densely, forming a thick "sward" that leaves no room for moss spores to take hold. However, we must be careful not to over-fertilise, which can lead to excessive thatch buildup and environmental runoff.
In the spring, use a fertiliser high in nitrogen to encourage lush green growth. This helps the grass recover quickly from the winter and fill in any gaps left by the moss removal. In the autumn, switch to a "winter" feed which is lower in nitrogen but higher in potassium. This strengthens the roots and toughens the grass blades against frost and disease without encouraging soft, sappy growth that is prone to mould.
I am a big advocate of using organic fertilisers or well-composted organic matter where possible. These slow-release options feed the soil microbes as well as the plants, leading to a more resilient lawn over time. If you use a mulching mower, you can even leave your clippings on the lawn occasionally, as they return valuable nitrogen to the soil as they decompose.
Remember that pH also plays a role in nutrient availability. If your soil is very acidic (common in areas with pine trees or heathland), the grass may struggle to take up the nutrients you provide. A simple soil test kit can tell you if you need to apply a bit of garden lime to neutralise the acidity. Moss thrives in acidic soil, so bringing the pH closer to neutral (around 6.5) is a great way to discourage it.
Sustainable moss management
Before we finish, it is worth asking if you really need to get rid of all the moss. In the modern gardening world, we are increasingly aware of the benefits of biodiversity. Moss is a fantastic carbon sink, it provides a habitat for microscopic invertebrates, and it stays green even during the hottest summer droughts when grass turns brown.
If you have a corner of the garden that is permanently damp and shaded, you might find that fighting moss is a losing battle. In these areas, I often suggest leaning into the conditions. A "moss garden" can be a beautiful, low-maintenance alternative to a struggling lawn, especially when paired with shade-loving ferns and hostas. It creates a serene, woodland feel that requires no mowing or fertilising.
However, if you want a functional lawn for sitting, playing, or aesthetics, then the steps we’ve discussed are essential. By focusing on soil health and proper maintenance, you are working with nature rather than against it. You aren't just killing moss; you are creating an environment where grass is the natural champion.
A beautiful lawn is not the result of one single "miracle" product, but the outcome of consistent, thoughtful care throughout the seasons. By improving your drainage, reducing compaction, and feeding the soil, you will find that the moss naturally retreats. Start with a thorough scarifying this season, and you will be well on your way to enjoying a thick, healthy lawn that can stand up to whatever the British weather throws at it.