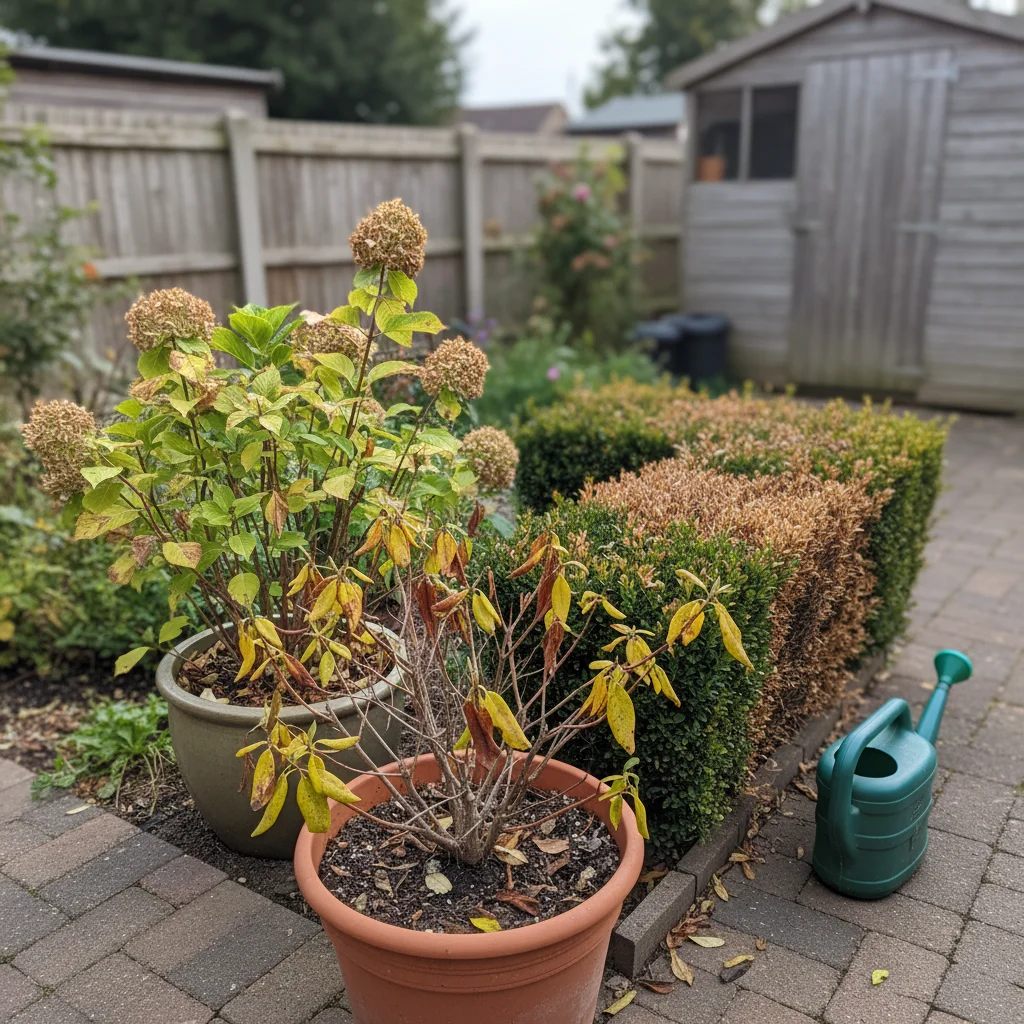
It is a common frustration for many gardeners when a once-vibrant shrub begins to look a little tired. You might notice the leaves turning a pale yellow, the stems becoming leggy, or perhaps a total lack of the flowers you were promised on the plant label. When a shrub fails to thrive, it is rarely due to a single catastrophic event but rather a combination of environmental stresses that have built up over time.
As a former head gardener, I have spent decades troubleshooting these very issues across all types of British gardens, from heavy clay sites in the Midlands to sandy coastal plots. The key to reviving a struggling plant is to stop guessing and start observing the specific signals the plant is sending you. We often want a quick fix, like a splash of fertiliser, but true plant health starts with understanding the ecosystem beneath your feet and the conditions surrounding the branches.
In this guide, I will walk you through a methodical approach to diagnosing your shrub’s problems. We will look at the three pillars of plant health: the soil, the water, and the light. By the time you reach the end of this article, you will have a clear, actionable plan to turn your struggling greenery into a flourishing focal point once again.
Check Your Soil Health First
The most common reason for a shrub failing to thrive is hidden underground. Soil is not just dirt; it is a complex living system that provides the anchor, the nutrients, and the oxygen your plants need to survive. If your soil is compacted, the roots cannot breathe or expand, which leads to stunted growth above the surface.
In many UK gardens, particularly in newer builds, the soil can be heavily compacted by construction machinery. This creates a "bathtub effect" where water sits around the roots instead of draining away. If you suspect your soil is the problem, I recommend performing a simple drainage test to see exactly what is happening beneath the surface.
To test your drainage, dig a hole about 30cm deep and fill it with water. If the water hasn't disappeared within a few hours, you are likely dealing with poor drainage or heavy clay. This lack of oxygen at the root level is a silent killer for many popular garden shrubs like Lavender or Hebes, which require free-draining conditions to stay healthy.
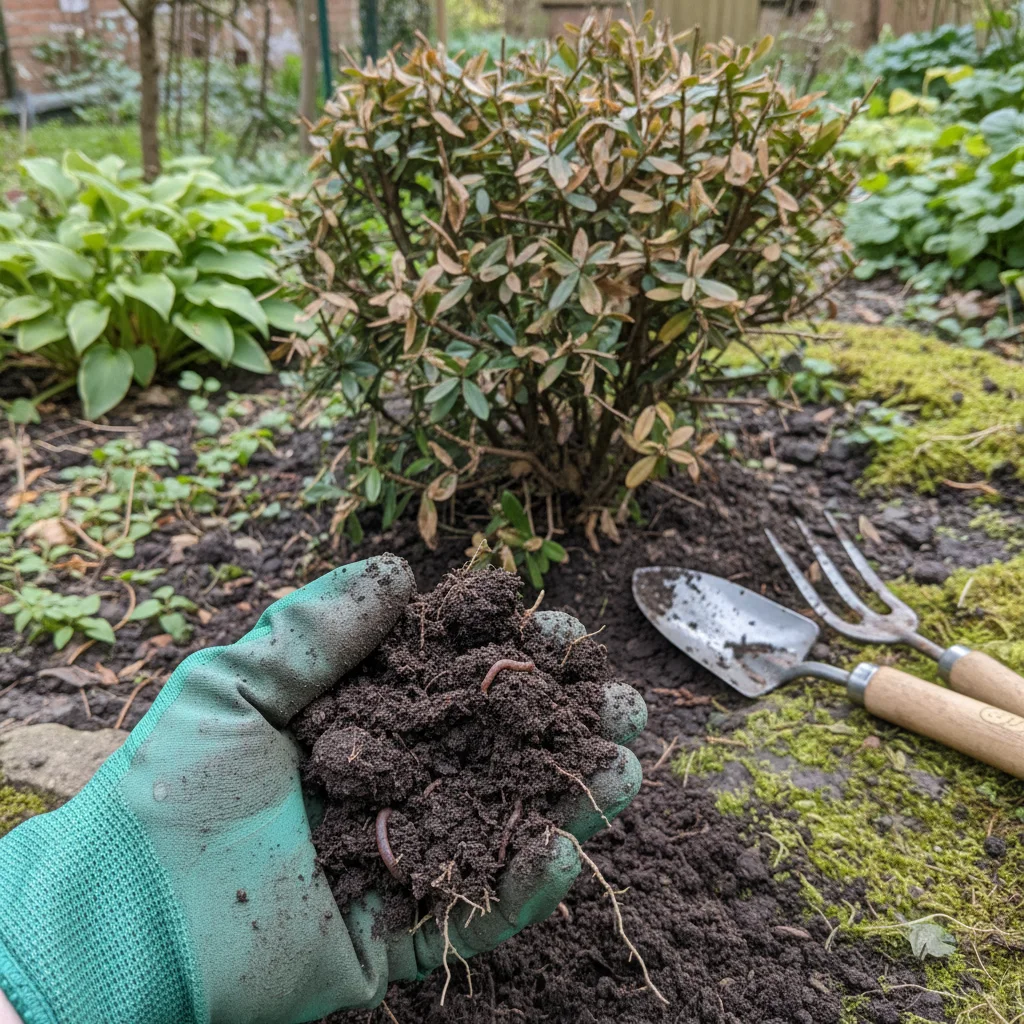
Improving soil health is a long-term commitment to adding organic matter. I always suggest using a high-quality, peat-free compost or well-rotted garden manure to mulch around the base of your plants. This doesn't just add nutrients; it encourages earthworms and beneficial fungi to do the hard work of aerating the soil for you.
Master the Art of Proper Watering
Watering is one of those tasks that seems simple but is frequently misunderstood. I often see gardeners giving their shrubs a light sprinkle every evening during a dry spell. While this might make the surface look damp, the water rarely reaches the deep roots where it is actually needed.
Shallow watering encourages roots to stay near the surface, making the plant much more vulnerable to heat and drought. Instead, you should aim for "deep watering" which involves giving the plant a thorough soaking less frequently. This encourages the roots to grow downwards into the cooler, moister layers of the soil.
A good rule of thumb is to check the soil moisture by pushing your finger about two centimetres into the ground. If it feels dry at that depth, it is time to water. During the height of a British summer, a mature shrub might need two or three full watering cans once or twice a week, rather than a quick five-second blast with a hose every day.
We must also be careful not to overwater, especially in heavier soils. If the leaves are turning yellow and feeling soft or mushy, the plant may be suffering from root rot. In these cases, the best course of action is to stop watering immediately and let the soil dry out significantly before you intervene again.
Find the Right Light for Every Shrub
Every plant has a specific "light budget" that it needs to balance to produce energy through photosynthesis. If a sun-loving shrub like a Buddleja is planted in a dark, north-facing corner, it will become "etiolated." This is a fancy way of saying the plant is stretching out its stems in a desperate search for light, resulting in weak, spindly growth.
Conversely, shade-loving plants like certain Hydrangeas or Ferns can suffer from leaf scorch if they are exposed to the midday sun. You will recognise this by brown, papery patches on the leaves that look like they have been burnt. If your shrub is in the wrong place, it will spend all its energy trying to survive rather than growing or flowering.
Before you decide to remove a plant entirely, consider whether its position is the primary issue. In the gardening world, we often talk about "right plant, right place." If a shrub is struggling despite good soil and watering, it might simply be in the wrong spot for its specific light requirements.
If you do need to move a shrub, the best time to do so is in the autumn or early spring when the plant is dormant. This reduces the stress on the root system and gives the plant a chance to establish itself in its new home before the heat of summer arrives. Always take as large a root ball as possible to ensure a successful transition.
Improve Airflow with Correct Pruning
Sometimes a shrub stops thriving because it has become a victim of its own success. When a plant becomes too dense, the air cannot circulate through the middle of the branches. This creates a humid microclimate that is the perfect breeding ground for fungal diseases like powdery mildew or black spot.
Pruning is not just about keeping a plant at a certain height; it is about maintaining its health and vigour. By removing old, congested wood, you allow light and air to reach the centre of the plant. This stimulates the shrub to produce fresh, new growth from the base, which is often more productive and colourful.
When you approach a struggling shrub with your secateurs, I want you to look for the "Three Ds" first. Removing these specific branches will immediately reduce the stress on the rest of the plant and prevent the spread of further issues.
- Dead wood which is brittle and shows no green when scratched.
- Damaged branches that have been broken by wind or physical impact.
- Diseased growth showing signs of canker, rot, or fungal spots.
- Dying stems that are clearly on their way out and wasting resources.
- Displaced branches that are rubbing against each other and creating wounds.
Always use sharp, clean tools to make your cuts. A jagged cut or a blunt blade can crush the stem, making it much harder for the plant to heal. I recommend wiping your blades with a little surgical spirit between different plants to ensure you aren't accidentally moving pathogens around your garden.
Feed Your Plants the Sustainable Way
While soil health is the foundation, there are times when a shrub needs a little extra help, especially if it is growing in a container or a very busy border. However, we should move away from the idea of "feeding the plant" and instead think about "feeding the soil."
Synthetic fertilisers can provide a quick green-up, but they often do nothing for the long-term structure of your soil. They can also lead to a flush of very soft, sappy growth that is incredibly attractive to pests like aphids. I prefer using organic, slow-release feeds that break down naturally over several months.
Seaweed extracts or chicken manure pellets are excellent choices for most garden shrubs. These provide a balanced NPK ratio (Nitrogen, Phosphorus, and Potassium) while also adding trace elements that are vital for plant immunity. Apply these in the spring just as the new growth starts to appear to give the plant a sustainable boost.
Don't forget the power of a good mulch. A 5cm layer of bark chippings or leaf mould around the base of your shrubs does three jobs at once: it suppresses weeds, retains moisture, and slowly releases nutrients as it decomposes. Just be sure to keep the mulch a few centimetres away from the main stem to prevent the bark from rotting.
Address Root Issues and Compaction
If you have tried everything else and your shrub is still failing, the problem might be "pot-bound" roots. This happens when a plant has been left in its nursery pot for too long before planting. The roots begin to grow in a circle, and even when planted in the ground, they continue to spiral rather than spreading out into the surrounding soil.
This "girdling" of the roots eventually chokes the plant, preventing it from taking up enough water or nutrients. If you suspect this is the case, you can carefully dig around the base of the plant to inspect the root flare. If you see roots wrapping tightly around the main stem, you may need to gently prune them or use a garden fork to tease them outwards.
Soil compaction is another common culprit, especially in high-traffic areas or under lawns. If the soil is too hard for a garden fork to penetrate, it is certainly too hard for delicate root hairs to grow through. You can alleviate this by gently "vertical mulching," which involves making deep holes around the drip line of the shrub and filling them with gritty compost.
By taking these steps to address the physical environment of the roots, you are giving your shrub the best possible chance to recover. Gardening is a lesson in patience, and while you might not see a change overnight, a plant that is given the right foundations will eventually reward you with years of healthy growth.
Once you have addressed these core issues of soil, water, and light, you will find that your garden becomes much more resilient to the changing British climate. A healthy shrub is your best defence against pests and diseases, allowing you to spend less time worrying and more time enjoying the beauty of your outdoor space.