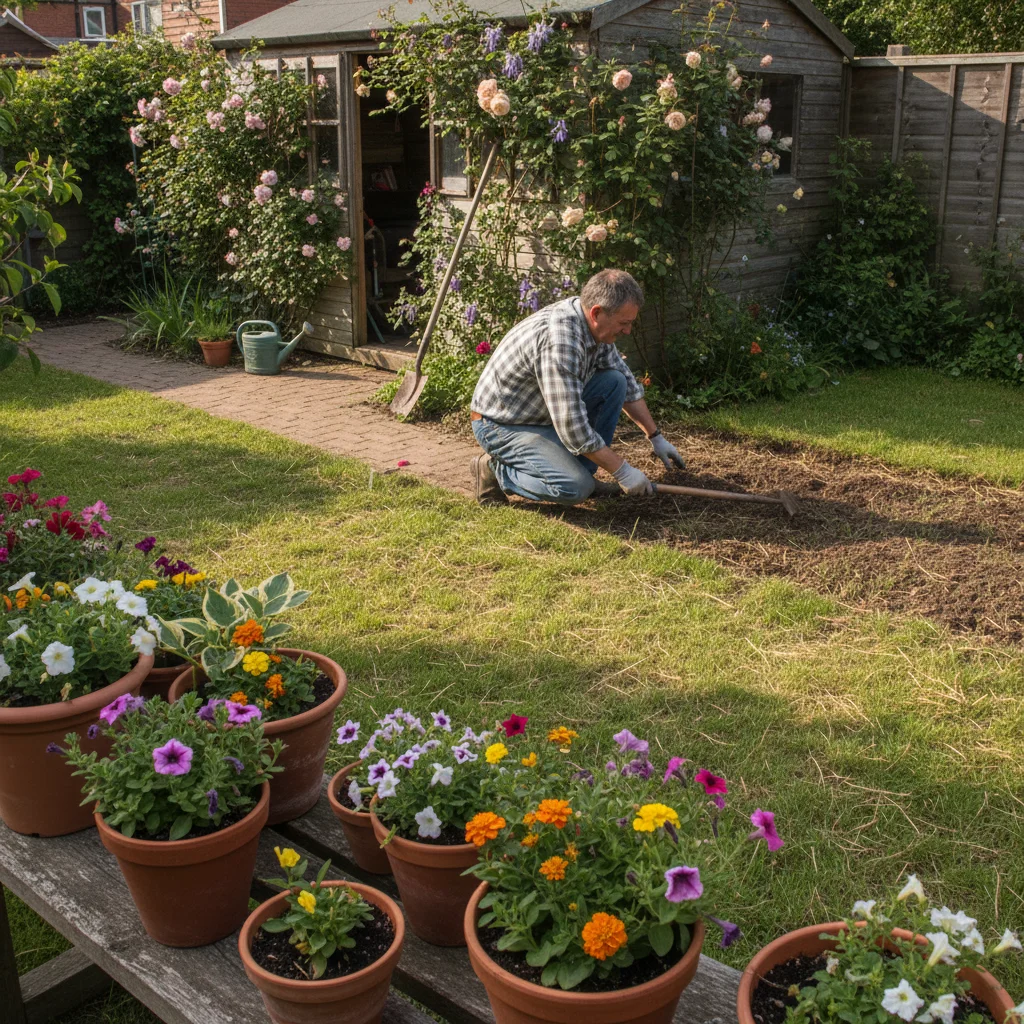
A lush, green lawn is often the centrepiece of the British garden. It provides a soft space for children to play, a cooling carpet during our increasingly warm summers, and a visual frame for your flower beds. However, a truly successful lawn isn't just about the green blades you see on the surface; it is built from the bottom up. Whether you are looking to replace a patchy, tired space or you are starting from scratch in a new-build garden, the secret to longevity lies in the preparation of the earth beneath.
Many homeowners find the prospect of a new lawn daunting because of the physical labour and the precision required. It is one of the most transformative projects you can undertake, yet it is also one where shortcuts lead to long-term headaches. If the ground isn't level or the soil is compacted, you will struggle with drainage issues and moss for years to come. By understanding the biology of the grass and the mechanics of the soil, you can ensure your investment—whether you do the work yourself or hire a professional—results in a lawn that thrives for decades.
Choosing between seed and turf
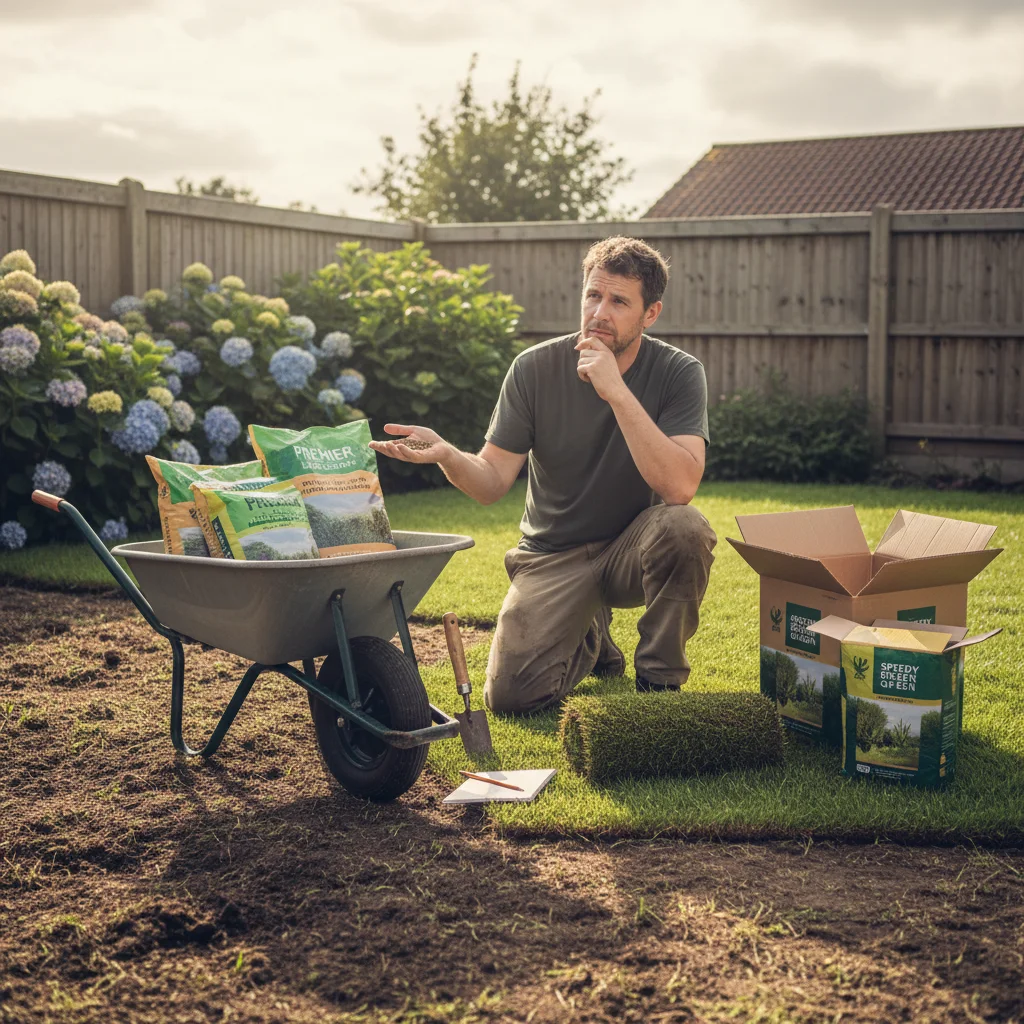
One of the first decisions you will face is whether to sow seed or lay cultivated turf. Both have their merits, and the right choice often depends on your budget, your patience, and the time of year. Turf provides what many call an "instant" lawn. While it isn't ready for heavy foot traffic immediately, it looks like a finished garden the moment the last piece is laid. This is often the preferred choice for those hiring professional landscapers, as the results are predictable and the visual impact is immediate.
Seed is significantly more cost-effective, especially for larger areas. It also allows you to choose specific grass blends tailored to your garden’s conditions, such as high-shade mixes or drought-tolerant fescues. However, seed requires a great deal of patience and protection. You must keep birds away and ensure the soil remains perfectly moist without washing the seeds away. In the UK, the best times for seeding are spring and early autumn when the soil is warm and rain is more frequent, whereas turf can be laid almost year-round, provided the ground isn't frozen or waterlogged.
From a sustainability perspective, seed has a lower carbon footprint. Turf is heavy to transport and is often grown using intensive fertilisers and a plastic mesh to hold the root system together during transit. If you are aiming for a more eco-friendly garden, look for "plastic-free" turf suppliers or consider the seeding route. Seeded lawns often develop a deeper, more resilient root system in situ, as they aren't suffering the "transplant shock" that occurs when turf is cut from its original field.
The importance of soil preparation
I cannot stress enough that the most important part of laying a lawn happens before a single roll of turf arrives. You are essentially building a life-support system for the grass. Grass roots need a balance of water, air, and nutrients. If the soil is too hard, the roots cannot penetrate; if it is too sandy, the water will drain away before the plant can drink; and if it is heavy clay, the roots may drown in anaerobic (oxygen-poor) conditions.
The first step is to clear the site of all existing vegetation and debris. This means removing old grass, weeds, and large stones. Simply turning over old turf is a mistake, as the buried grass will rot down unevenly, leading to a bumpy surface later. Once the site is clear, you should focus on the "tilth"—the physical condition of the soil. You want a friable, crumbly texture that allows for easy root penetration and good drainage.
If your soil is heavy clay, you should incorporate organic matter such as well-rotted, peat-free compost or grit to improve the structure. For very sandy soils, organic matter helps hold onto moisture. We often talk about the pH of the soil in gardening, and lawns are no different. Most grasses prefer a slightly acidic to neutral pH (around 6.5). If your soil is excessively acidic or alkaline, it may struggle to take up essential nutrients like Nitrogen, Phosphorus, and Potassium—the NPK you see on fertiliser boxes.
Creating a level foundation
Once the soil is improved, you must tackle the levels. A lawn that looks flat to the naked eye often reveals its humps and hollows once it is mown short. To achieve a professional finish, the ground needs to be "heeled in." This involves walking over the entire area with your weight on your heels to collapse any air pockets. It is a slow, methodical process, but it prevents the soil from sinking later and creating a "trip hazard" lawn.
After heeling, use a wide landscaping rake to level the surface. You are looking for a fine, "biscuit-crumb" finish on the top 2cm of soil. This is the stage where you should consider drainage. If your garden is prone to puddling, you might need to install land drains or create a slight "fall" (a gentle slope) to lead water away from the house or patio. A professional gardener will often use a laser level to ensure the fall is consistent across a large area.
Before laying your turf or sowing your seed, it is beneficial to apply a pre-turfing fertiliser. This should be high in phosphorus to encourage strong root development. Most people focus on nitrogen for green leaves, but in the early stages, the roots are far more important. By getting the foundation right, you are ensuring the grass can withstand the stresses of summer heat and winter frosts in the years to come.
The art of laying turf
When your turf arrives, it must be laid immediately. Turf is a living, breathing product; if left rolled up in a stack, it will begin to heat up and ferment, which kills the grass. On a warm day, a pallet of turf can be ruined in less than 24 hours. If you are hiring help, ensure the delivery is timed for when the team is ready to start. If there is a delay, unstack the rolls and keep them in a shaded spot, but never water them while they are still rolled up.
Start laying the turf from a straight edge, such as a patio or a fence line. Work away from this point so you aren't walking over the newly laid grass. Use a crawling board (a sturdy piece of plywood) to stand on; this distributes your weight and prevents you from creating indentations in your perfectly levelled soil. The rolls should be laid like bricks in a wall, with the joints staggered. This helps the lawn knit together and prevents long, straight lines of weakness where the turf might dry out and shrink.
As you lay each piece, ensure the edges are pushed tightly against one another without overlapping. You want a seamless join so the roots can bridge the gap quickly. Use the back of a rake or a light tamper to gently firm the turf down, ensuring there are no air gaps between the bottom of the turf and the soil. If there is an air gap, the roots will dry out and die. Once the main area is covered, use a long-handled half-moon edger or a sharp knife to trim the edges for a crisp, professional finish.
Establishing a lawn from seed
Sowing a lawn requires a slightly different approach to the finishing touches. Once you have your fine tilth, you should divide the area into manageable squares using string or canes. This allows you to sow the seed evenly. Most lawn seed mixes require an application rate of about 35g to 50g per square metre. If you sow too thinly, the lawn will be patchy and weeds will move in; if you sow too thickly, the young seedlings will compete for resources and may succumb to "damping off" fungal diseases.
To ensure even coverage, it is best to split your seed into two batches. Sow the first batch walking in one direction (north to south) and the second batch walking at right angles to the first (east to west). This "criss-cross" method ensures you don't end up with stripes of bare earth. After sowing, lightly rake the seed into the surface. You don't want to bury it deeply—about 5mm is plenty—as grass seed needs a little light to germinate.
The most challenging part of seeding is the first three weeks. You must protect the area from birds, who view your new lawn as a giant bird feeder. Netting or shimmering "scare" tape can help. You also need to keep the surface consistently moist. In dry weather, this might mean a light misting with a hose twice a day. You aren't looking to soak the ground, which can cause the seeds to float and clump, but rather to keep the top layer of soil from drying out and crusting over.
Essential tools for the job
Having the right equipment makes a significant difference in the quality of the finish and the strain on your back. While many homeowners will have a basic spade, a professional-grade project often requires more specialised kit.
- Landscaping rake: Wider than a standard garden rake, used for creating a perfectly level surface.
- Half-moon edger: Essential for cutting clean lines along the perimeter of the new lawn.
- Crawling boards: Large pieces of timber or ply to stand on while laying turf to prevent soil compaction.
- Sprinkler and timer: For consistent watering during the establishment phase.
- Seed spreader: A mechanical "drop" spreader ensures the most even distribution for seeded lawns.
Critical aftercare and watering
The first few weeks after laying or sowing are the most critical in the life of your lawn. For turf, the goal is to get the roots to "knit" into the soil below. You can check this by gently trying to lift a corner of a turf roll after a week. If you feel resistance, the roots are taking hold. Until that happens, the turf is entirely dependent on the water you provide. In the UK, even a "dull" day can be drying for new turf if there is a breeze.
Watering should be deep and thorough. A light sprinkle only wets the blades of grass and the top few millimetres of the turf, which encourages the roots to stay near the surface. You want the water to soak through the turf and into the soil beneath, enticing the roots to grow downwards. In the first two weeks, you should water every evening unless there is significant rainfall. Avoid watering in the heat of the midday sun, as much of it will evaporate before it reaches the roots, and water droplets on the blades can occasionally cause scorching.
Once the lawn is established, you can gradually reduce the frequency of watering but increase the duration. This encourages "drought resistance" by forcing the roots to seek moisture deep in the earth. Your first mow is another milestone. Wait until the grass is about 5cm to 8cm high. Set your mower to its highest setting; you only want to "tip" the grass, removing no more than the top third of the blade. Mowing too short too soon will stress the young plants and can pull up un-knitted turf.
Avoiding common pitfalls
Even with the best intentions, things can go wrong. One of the most frequent mistakes I see is "walking on the grass" too soon. It is tempting to admire your work from the middle of the lawn, but new turf and seedlings are incredibly fragile. For turf, wait at least three weeks before regular use; for seed, it may be six weeks or more depending on the growth rate. Compaction from footsteps at this stage can kill young roots and leave permanent dips in the surface.
Another common issue is "turf shrinkage." If turf isn't watered enough in the first few days, the individual rolls will shrink, leaving brown gaps between the pieces. These gaps quickly become home to weeds. If this happens, you should fill the gaps with a mixture of sifted soil and grass seed rather than trying to pull the turf back together. Prevention is always better, so keep those edges tight and the water flowing during that first fortnight.
Finally, do not be tempted to apply heavy "weed and feed" fertilisers too early. Young grass is sensitive to the chemicals in weedkillers. A pre-turf fertiliser is fine, but wait at least six months before applying any standard lawn chemicals. If you see a few weeds popping up—which is common as the soil is disturbed—simply pull them out by hand. As the grass thickens up, it will naturally out-compete most opportunistic weeds.
Hiring a professional for your lawn
While laying a lawn is something a fit homeowner can do, hiring a professional gardener or landscaper can ensure a level of finish that is difficult to achieve alone. A professional will have the heavy-duty machinery, such as rotavators and heavy rollers, to prep the ground more efficiently. They also have the experience to spot potential drainage issues that might not be obvious to the untrained eye.
When hiring help, ask about their preparation process. If they suggest simply "skimming the old grass and laying on top," they are taking a shortcut that will cost you later. A good professional will talk to you about soil structure, levels, and a long-term watering plan. They should also be able to advise on the best variety of turf for your specific garden conditions, whether it’s a hard-wearing utility mix for a family garden or a fine fescue for a showpiece front lawn.
A new lawn is an investment in your home’s value and your own enjoyment of the outdoors. By focusing on the health of the soil and being disciplined with aftercare, you can transform a tired outdoor space into a vibrant, living carpet. Once the work is done and the roots are deep, you’ll find that a well-installed lawn is much easier to maintain, leaving you more time to simply sit back and enjoy the view.