There is a particular kind of satisfaction that comes from stepping into a well-organised potting shed or garage at the start of a spring morning. When every spade is clean, every pair of secateurs is sharp, and every handle is smooth to the touch, the work ahead feels less like a chore and more like a craft. Quality garden tools are an investment, often costing a significant amount of money, yet they are frequently the most neglected items in the garden.
We often spend hours nurturing our soil and tending to our plants, but we forget that our tools are the primary interface between us and the earth. A rusty spade is harder to push into heavy clay, and a blunt pair of loppers will crush a branch rather than slice through it, leaving the plant vulnerable to disease. Proper maintenance isn't just about making things look tidy; it is about efficiency, plant health, and ensuring your equipment lasts for decades rather than just a few seasons.
By adopting a methodical approach to cleaning, sharpening, and storage, you can prevent the slow decay caused by moisture and neglect. This guide will walk you through the essential steps to keep your kit in peak condition, from the daily wipe-down to the deep-clean routines required before the winter sets in. Taking care of your tools is a sustainable habit that reduces waste and ensures you always have the right, sharp edge ready for the task at hand.
Why proper tool care matters
The most immediate enemy of any metal tool is oxidation, more commonly known as rust. When steel is exposed to moisture and oxygen, a chemical reaction occurs that eats away at the metal, creating a pitted, rough surface. In the garden, this process is accelerated by the presence of soil, which holds moisture against the metal long after you have finished your work.
Beyond the physical damage to the tool, dirty equipment can pose a serious threat to your plants. Fungal spores, bacteria, and viruses can easily hitch a hike on a pair of secateurs used to prune a diseased rose. If you don't clean those blades before moving on to the next shrub, you are effectively inoculating your healthy plants with pathogens. A clean tool is a vital part of your garden's biosecurity.
Efficiency is the final piece of the puzzle. A sharp, well-oiled tool requires significantly less physical effort to use. If you have ever struggled to cut through a thick root with a blunt spade, you know how much extra strain it puts on your back and shoulders. Maintaining your tools ensures that the tool does the work, not your muscles, making gardening a much more enjoyable and sustainable activity as we get older.
Essential supplies for tool maintenance
Before you begin a deep clean or an end-of-season overhaul, it helps to have a dedicated kit ready. You don't need expensive machinery, but a few specific items will make the process much more effective and safer for both you and the environment.
We should always aim for products that are as gentle on the earth as they are on our tools. While some traditional petroleum-based oils are effective, there are many plant-based alternatives that work just as well without introducing unwanted chemicals into your soil.
- A stiff-bristled brush or wire brush for removing stubborn soil and rust.
- Steel wool or fine-grit sandpaper for smoothing metal and wood.
- Boiled linseed oil for protecting wooden handles and metal surfaces.
- A flat file and a whetstone for sharpening various blade types.
- Methylated spirits or isopropyl alcohol for disinfecting pruning blades.
- Clean, lint-free rags for applying oil and wiping down surfaces.
Cleaning your tools after a day in the garden
The most important habit you can develop is the post-use clean. It is tempting to lean your spade against the shed wall and head inside for a cup of tea, but those five minutes of neglect allow moisture to settle. Start by using a stiff brush or a wooden spatula to scrape off any large clumps of soil.
If the soil is particularly sticky or wet, you may need to rinse the tool under a tap. If you do use water, it is imperative that you dry the metal thoroughly with an old rag. Never put a wet tool away in a dark, poorly ventilated shed, as this creates a microclimate perfect for rust to form overnight.
For pruning tools like secateurs, loppers, and shears, pay close attention to the pivot point. Sap and resin from trees and shrubs can act like glue, gumming up the mechanism and making the tool difficult to operate. A quick wipe with a cloth dipped in methylated spirits will dissolve the sap and disinfect the blades in one go.
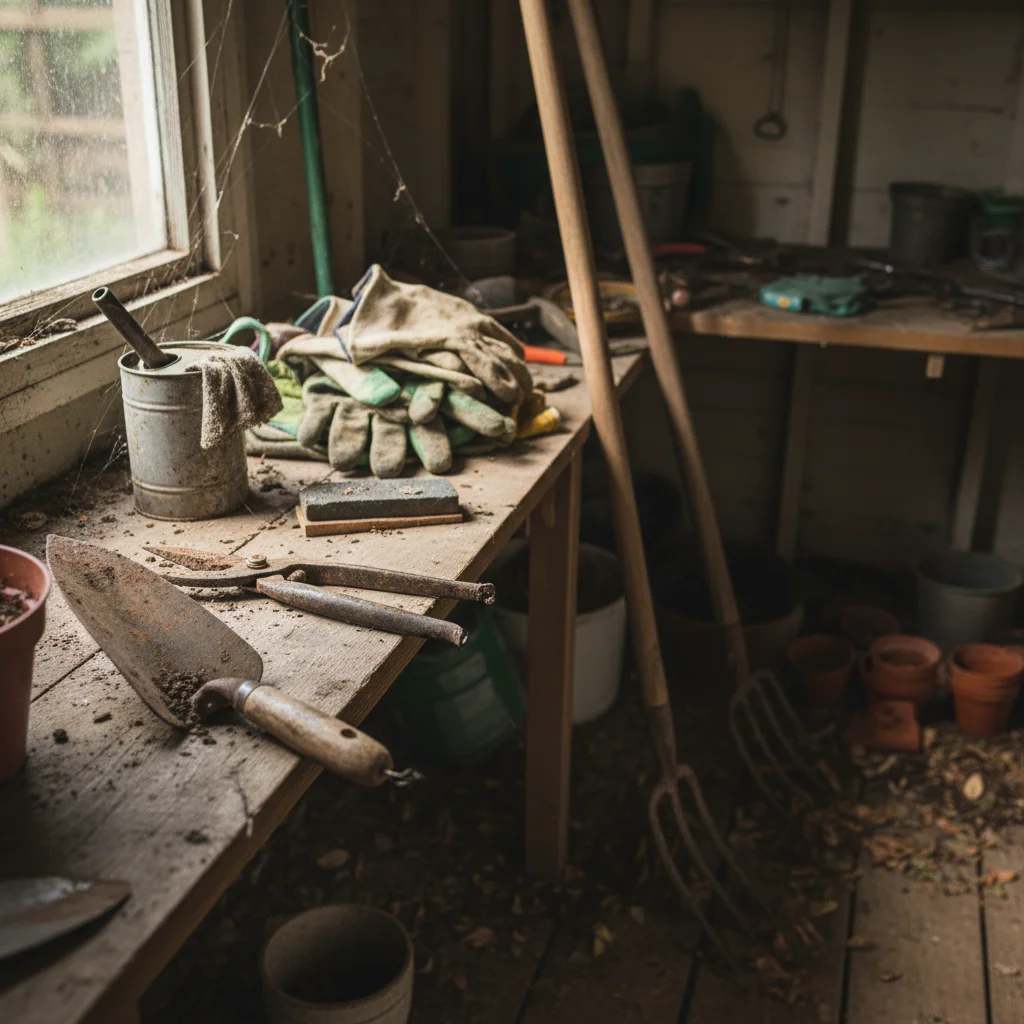
Removing stubborn rust and grime
If you have inherited some old tools or perhaps let your own slip into a state of disrepair, don't lose hope. Most surface rust can be removed with a bit of elbow grease and the right abrasives. Start with a wire brush to take off the flaking layers, then move to a medium-grade sandpaper or steel wool to get down to the clean metal.
For very heavy rust, you can use a natural solution like white vinegar. Submerging the metal parts in vinegar for 12 to 24 hours will chemically loosen the rust, allowing it to be scrubbed away easily. Once you remove the tool from the vinegar, neutralise the acid by rinsing it in a mixture of water and bicarbonate of soda, then dry it immediately.
After removing rust, the metal will be "raw" and highly susceptible to new corrosion. This is the moment to apply a protective layer. Even if you aren't ready for a full sharpening session, a quick wipe with an oily rag will seal the surface from the air and prevent the rust from returning while the tool sits in the shed.
The art of sharpening for health and efficiency
Sharpening is perhaps the most daunting task for many gardeners, but it is simpler than it looks once you understand the bevel. Most garden tools have a single-sided bevel, meaning one side is flat and the other is angled. You only ever want to sharpen the angled side, following the existing factory line.
For larger tools like spades, hoes, and lawn edgers, a simple flat mill file is usually sufficient. Hold the tool securely—a workbench vice is ideal—and push the file across the edge in long, smooth strokes away from your body. You aren't looking for a razor edge that could shave hair; you want a clean, consistent bevel that will slice through soil and small roots with ease.
Pruning tools require a finer touch. Use a diamond sharpener or a whetstone for secateurs and loppers. For bypass secateurs, where the blades cross like scissors, only sharpen the outside edge of the cutting blade. After sharpening, you might notice a small "burr" or wire-edge on the flat side; a single light pass with the stone held flat against that side will remove it and leave the blade perfectly honed.
Maintaining wooden handles and grips
The metal parts of a tool often get all the attention, but the wooden handles are just as important for comfort and longevity. Over time, wood can become bleached by the sun and dried out by the wind, leading to cracks and splinters. A splintered handle isn't just uncomfortable; it can harbour bacteria and eventually cause the handle to snap under pressure.
Start by sanding down the handle with a medium-grit sandpaper to remove any rough patches or old, flaking varnish. We generally prefer an oiled finish over varnish, as varnish can crack and trap moisture against the wood, whereas oil penetrates the fibres and allows the wood to breathe.
Once the wood is smooth and clean, apply a generous coat of boiled linseed oil using a soft rag. Let it soak in for about fifteen minutes, then wipe off any excess. Boiled linseed oil is treated to dry much faster than raw linseed oil, making it a more practical choice for the garden shed. This treatment will keep the wood supple, water-resistant, and much more comfortable in the hand.
Oiling metal surfaces for long term protection
Once your tools are clean and sharp, they need a barrier to protect them from the humidity found in most UK sheds and garages. While you can use a multi-purpose spray like WD-40 for a quick fix, it tends to evaporate over time. For long-term storage, especially over the winter months, a heavier oil or wax is more effective.
A traditional and highly effective method is the "sand bucket" trick. Fill a sturdy bucket with sharp sand and mix in about half a litre of vegetable oil or mineral oil. After each use, simply plunge your clean spade or fork into the sand a few times. The sand acts as a mild abrasive to keep the metal polished, while the oil leaves a thin, protective film.
For your fine pruning tools, a drop of 3-in-1 oil or specialist tool oil on the pivot point and the spring will keep the action smooth. Open and close the tool several times to work the oil into the mechanism. This prevents the "sticking" sensation that often occurs after tools have been stored for a few weeks without use.
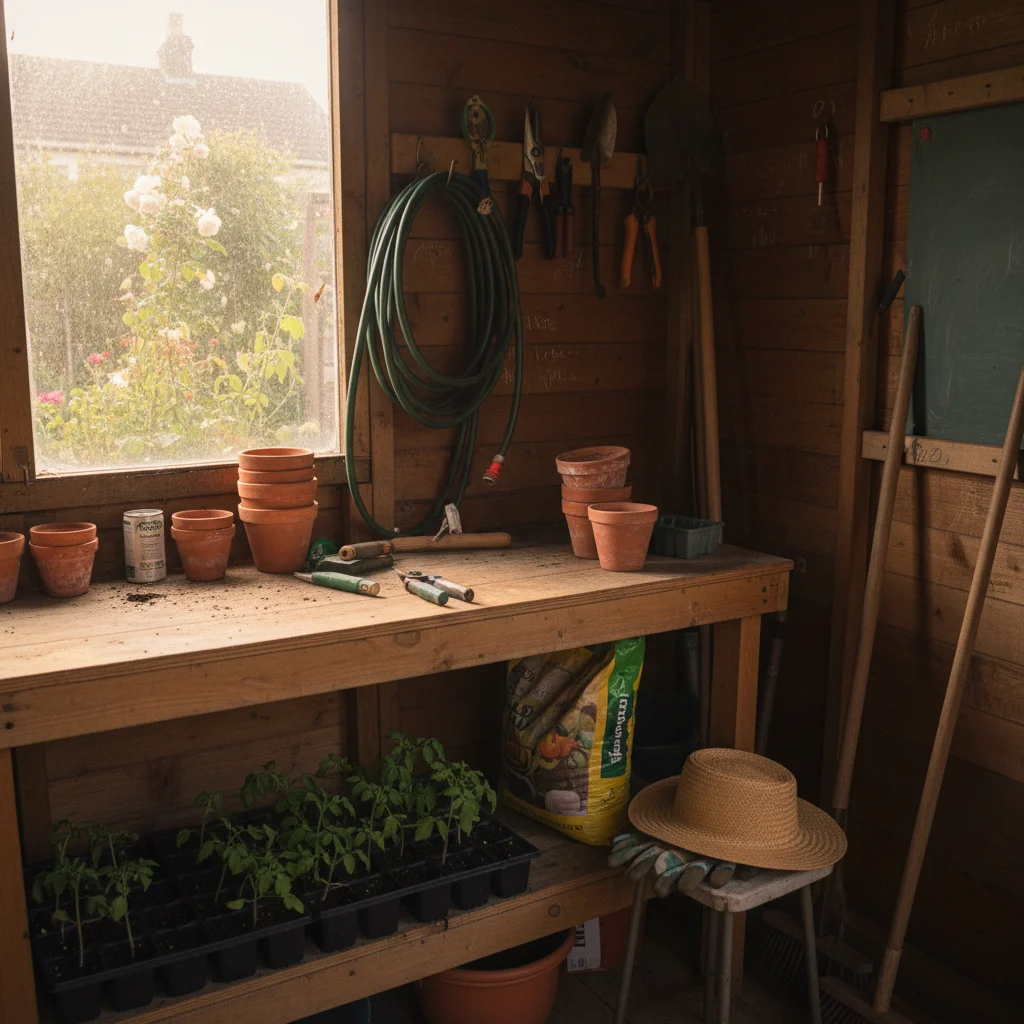
Creating the ideal storage environment
Where you store your tools is just as important as how you clean them. The ideal environment is dry, well-ventilated, and out of direct sunlight. While many of us use a wooden garden shed, these can often become damp in the autumn and winter. If your shed feels humid, consider adding a small moisture absorber or ensuring there is adequate airflow through the vents.
Avoid storing tools directly on a concrete or earth floor. Concrete can "wick" moisture upwards, leading to rusted ferrules and rotting handles. It is far better to hang your tools on the wall. This not only keeps them dry but also prevents the edges from being dulled by contact with other metal items.
Using a wall-mounted rack or even simple heavy-duty nails allows air to circulate around each tool. It also makes it much easier to see what you have at a glance, preventing that frustrating hunt for the hand trowel at the bottom of a cluttered box. If space is at a premium, a vertical tool tower can keep everything off the floor while taking up minimal square footage.
Quick habits for better tool longevity
Building a routine doesn't have to be time-consuming. If you integrate small actions into your daily gardening flow, the need for a massive "rescue" session at the end of the year disappears. Consistency is the secret to tools that last a lifetime.
- Always remove soil before the tool enters the shed.
- Disinfect pruning blades between different plants to prevent disease spread.
- Check for loose bolts or nuts on shears and loppers once a month.
- Wipe down metal surfaces with an oily rag after every wet-weather session.
- Store hand tools in a dedicated bag or box to keep them together.
Seasonal maintenance and winter preparation
As the growing season winds down in late autumn, it is time for the "Big Clean." This is when you should go through every item in your shed, from the lawnmower to the smallest dibber. Check for any damage that occurred during the busy summer months and make a list of anything that needs professional repair or replacement.
Winter is the perfect time to do the heavy sanding and oiling that you might not have time for in May. It is also a good opportunity to check your power tools. Drain the fuel from petrol mowers or add a fuel stabiliser, as modern petrol can go "stale" and clog up the carburettor over the winter. Clean the underside of the mower deck to prevent wet grass from rotting the casing.
By the time the first snowdrops appear in January or February, you want to be able to reach for any tool and find it ready for action. There is a great sense of peace in knowing your equipment is prepared. It allows you to focus entirely on the plants and the soil, knowing that your tools will support you rather than hinder you.
Taking care of your garden tools is a mark of a thoughtful gardener. It reflects a respect for your resources and a commitment to the health of your green space. When you treat your tools well, they become reliable companions in the garden, maturing with age and becoming more comfortable to use with every passing season. Start today by giving your favourite spade a quick clean and a light coat of oil; your future self, and your plants, will certainly thank you for it.