Many of us living in urban spaces feel that rose propagation is a craft reserved for those with sprawling country estates and heated glasshouses. When you are working with a handful of pots on a London balcony or a tiny courtyard in Manchester, the idea of "creating" a rose might feel a bit ambitious. However, budding and grafting are actually some of the most space-efficient ways to expand your collection. Instead of buying five different bushes, you can learn to host multiple varieties on a single rootstock, saving precious floor space while enjoying a riot of different colours.
Grafting is essentially the art of plant marriage. We take the vigorous, hardy roots of one rose (the rootstock) and join them with the beautiful, fragrant top of another (the scion). For those of us dealing with the unpredictable British summer or the damp chill of a city autumn, this technique is a game-changer. It allows us to grow delicate varieties that might otherwise struggle in a pot or succumb to the soot and shade of urban life by giving them a much stronger "engine" to grow on.
You don't need a shed full of expensive equipment to get started. In fact, most of what you need can fit into a small tool bag kept under the kitchen sink. By mastering a few simple cuts, you can turn a basic wild rose into a bespoke floral display that fits perfectly into your specific microclimate. Whether you want a "standard" rose to add height to a flat patio or you want to rescue a cutting from a friend’s favourite old climber, budding and grafting are your best routes to success.
Why Grafting Works for Small Spaces
In a small garden, every square inch of soil or potting compost has to work hard. We often don't have the luxury of planting a hedge of roses, so we need the ones we have to be exceptional. Grafting allows you to choose a rootstock that is specifically adapted to container life or heavy clay soil, which is so common in UK gardens. This means your rose will be more resistant to diseases like blackspot and more capable of handling the restricted root space of a large planter.
Another huge benefit for the urban gardener is the ability to create "multi-way" roses. Imagine a single stem in a pot that produces deep red blooms on one side and pale pink ones on the other. This isn't just a novelty; it is a practical way to enjoy variety without cluttering your walkway. By budding different varieties onto one hardy stem, you create a focal point that looks like a professional installation but costs almost nothing to produce.
We also have to consider the "standard" rose, which is essentially a long, clear stem with a ball of flowers at the top. These are perfect for balconies because they lift the blooms up to eye level and leave the base of the pot free for trailing lobelia or herbs. Buying these from a garden centre can be incredibly expensive, but if you learn to graft, you can create your own for the price of a few cuttings and a bit of patience.
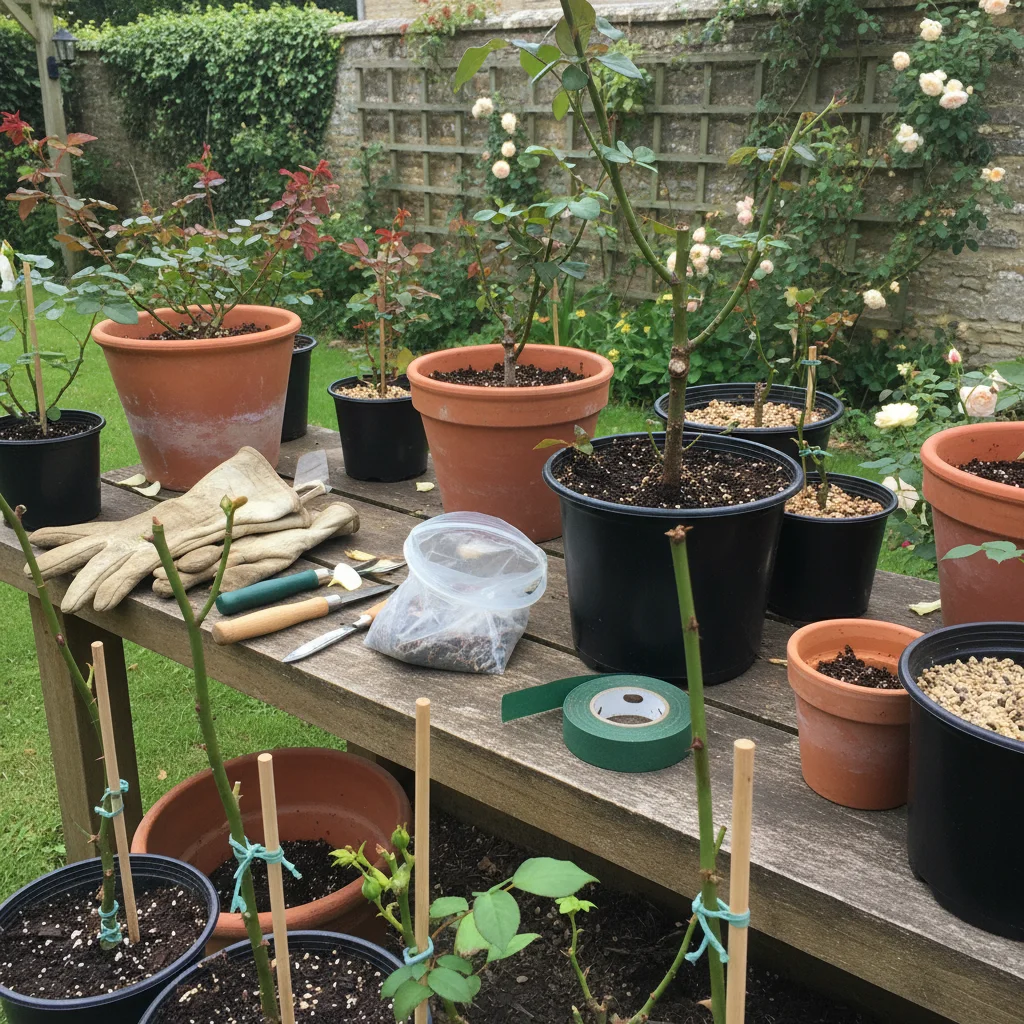
A Simple Toolkit for Rose Propagation
You really don't need much to begin your grafting journey. Most urban gardeners already have the basics, and the specialist items are small enough to store in a cutlery drawer. The key is cleanliness rather than complexity, as the most common reason a graft fails is infection or dirt getting into the "wound" of the plant.
- A very sharp budding knife or a clean craft blade.
- Specialist grafting tape or even simple strips of clear polythene.
- Sharp secateurs for collecting your "scion" wood.
- Methylated spirits or alcohol wipes to sterilise your blades between cuts.
- Plant labels and a waterproof pen to track your varieties.
Keeping your tools sharp is the most important part of the process. A dull blade will crush the delicate tissues of the rose stem rather than slicing them, which prevents the two plants from fusing together properly. I always keep a small sharpening stone nearby and give my blade a quick hone before I start working on a new set of plants. It makes the work much easier and significantly increases the chances of your new rose taking hold.
Selecting the Right Rootstock
The rootstock is the foundation of your plant, and in the UK, we have a few reliable options that thrive in our temperate climate. Most commercial roses in Britain are budded onto Rosa laxa, which is favoured for its lack of suckers and its ability to handle a variety of soil types. If you are growing in pots, look for rootstocks that don't mind restricted space. You can often find rootstock plants for sale online, or you can even use a vigorous wild rose like Rosa canina if you find one growing in a suitable spot.
When you are choosing your rootstock, look for a stem that is roughly the thickness of a pencil. It should be healthy, green, and full of sap. In the city, we often deal with "tired" soil, so starting with a fresh, vigorous rootstock in high-quality John Innes No. 3 compost is a smart move. This gives the plant the best possible start and ensures it has the energy to heal the graft and push out new growth come spring.
Don't be afraid to experiment with what you have. If you have a rose bush that produces lovely foliage but disappointing flowers, you can actually use that as your base. By cutting back the existing branches and budding new, more beautiful varieties onto them, you can "upcycle" a boring plant into something spectacular. It’s a sustainable way to garden that saves you from throwing away a perfectly healthy root system.
The Best Time for Budding in the UK
Timing is everything when it comes to budding. In the UK, the "sweet spot" is usually between July and August. This is when the sap is flowing freely, and the bark "slips" easily away from the wood. You can test this by making a small nick in a test branch; if the bark peels back cleanly to reveal a moist, green layer underneath, you are ready to go. If it’s stuck fast, wait a week or two and try again.
Urban gardens can be slightly warmer than the surrounding countryside, so if you are in the heart of London or another major city, your window might stay open a little longer into September. However, you want the bud to have enough time to "callus" or heal before the first hard frosts hit in late autumn. We’ve all seen how a sudden British cold snap can catch plants off guard, so aim for that mid-summer window to be safe.
If you miss the summer window, don't worry. There is another technique called "bench grafting" that we do in the winter, usually around February. This is done while the plants are dormant. It’s a great project for those dark, wet weekends when you can’t get out into the garden but want to feel productive. You can do this at the kitchen table, which is perfect for those of us without a potting shed.
Mastering the T Budding Technique
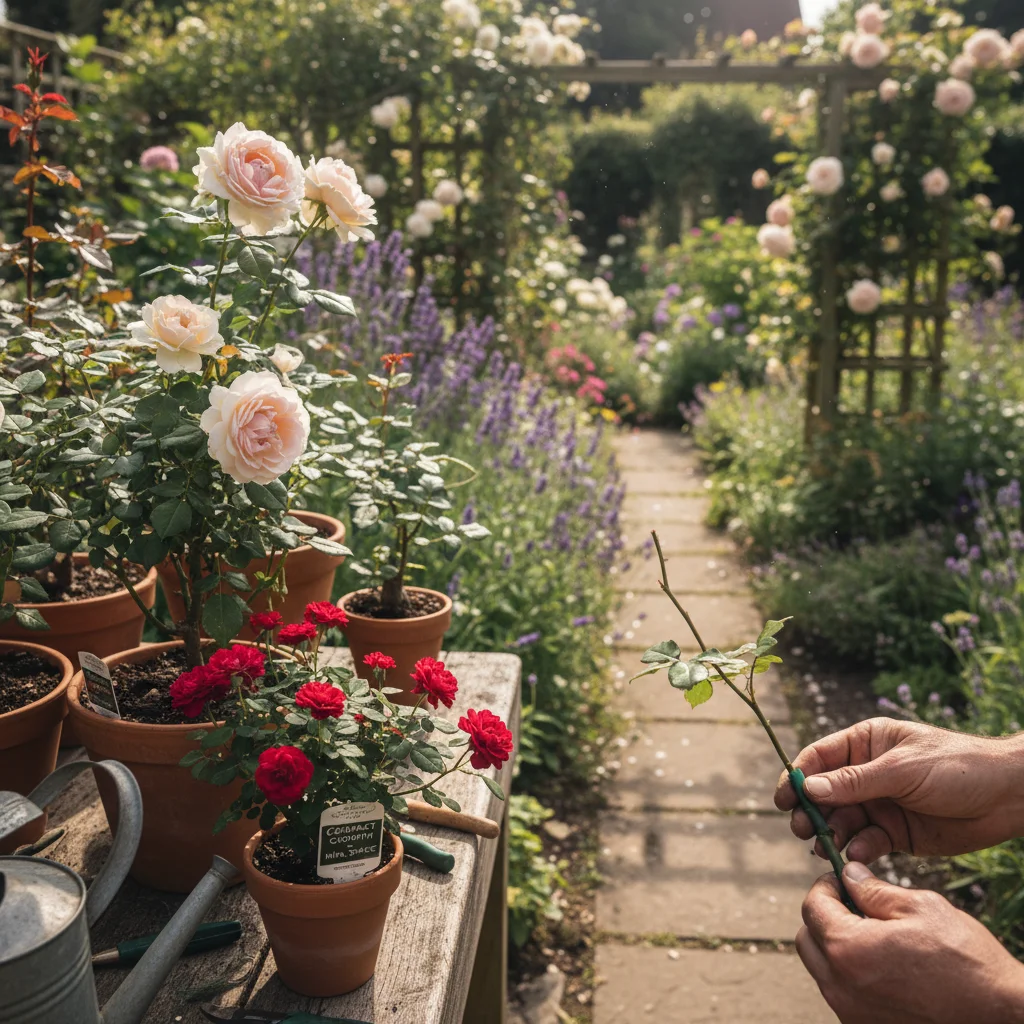
T-budding is the most common method for roses and is surprisingly simple once you get the hang of it. First, you need to collect your "bud wood" from the rose you want to replicate. Look for a stem that has just finished flowering. The buds in the "axils" (the point where the leaf meets the stem) should be plump but not yet growing out into leaves. Remove the leaves but leave a small piece of the leaf stalk to act as a handle.
On your rootstock, make a horizontal cut about 1cm wide, then a vertical cut about 2-3cm long starting from the middle of the horizontal one, forming a "T" shape. Use the blunt side of your knife to gently lift the corners of the bark. Then, slice a single bud from your scion wood, taking a thin sliver of wood with it. Slide this bud into the "T" slit on the rootstock, trim any excess from the top so it fits snugly, and wrap it tightly with grafting tape.
The goal is to get the "cambium" layers—the green growing tissue just under the bark—to touch. This is where the magic happens. Once they are pressed together, the two plants will begin to swap cells and fuse into one. Leave the actual bud exposed so it can breathe, but wrap everything else tightly to keep moisture in and pathogens out. After about three weeks, you’ll know if you’ve succeeded; a healthy bud will stay green, while a failed one will turn brown and shrivel.
Winter Grafting for Potted Roses
If you prefer to work in the winter, the "whip and tongue" graft is a fantastic alternative. This is often used when the rootstock and the scion are the same thickness. It involves making long, sloping cuts on both pieces and then cutting a small "tongue" into each slope so they can interlock like a jigsaw puzzle. This creates a very strong physical bond that is less likely to be snapped by the wind—a common problem on high-rise balconies.
Winter grafting is ideal for creating new rose bushes from scratch. You can buy "bare root" rootstocks very cheaply in the winter, graft your chosen variety onto them indoors, and then pot them up. Keep them in a sheltered spot, like a cold frame or a protected corner of a patio, until the spring. By the time the weather warms up, the graft should have healed, and the new rose will be ready to burst into life.
Because urban gardens can be wind tunnels, winter grafts need a bit of extra protection. I often use a simple bamboo cane to support the graft union for the first year. Even the strongest graft can be vulnerable to a sudden gust of wind before the wood has fully hardened. A little bit of twine and a steady stake can make the difference between a thriving rose and a broken heart.
Caring for Your New Grafts
Once you’ve performed the surgery, your rose needs a bit of TLC. The most important thing is to ensure the plant doesn't dry out. In a pot, this is even more critical. The energy required to heal a graft is significant, and if the rootstock is stressed by lack of water, the graft is likely to fail. Keep the compost moist but not waterlogged, and try to keep the plant out of the harshest direct midday sun for the first fortnight.
- Check the grafting tape after 6-8 weeks; if it’s starting to constrict the stem, carefully slice it away.
- Remove any "suckers" or shoots that grow from the rootstock below the graft line immediately.
- Look for the bud "plumping up" as a sign that the sap is flowing into the new variety.
- Avoid heavy pruning in the first year to allow the union to become completely solid.
- Feed with a high-potash liquid fertiliser once the new growth is well established to encourage blooms.
In the UK, we also have to watch out for the damp. If you notice any mould or fuzz around the graft, you might need to improve the airflow around your pots. On a balcony, this might mean moving the pot a few inches away from a wall. Urban air can be stagnant, and roses love a bit of a breeze—just not a gale. Finding that balance is part of the fun of city gardening.
Troubleshooting Common UK Issues
Not every graft will take, and that is perfectly okay. Even the most experienced gardeners have failures. One common issue in the UK is "bleeding," where the rootstock produces so much sap that it literally pushes the bud out of the slit. This usually happens if you try to bud too early in the spring or if the plant is over-watered. If this happens, just try again on a different part of the stem once the plant has settled down.
Another issue is the "blind bud," where the bud stays green but refuse to grow. This often happens if the bud wasn't mature enough or if the plant is focusing its energy elsewhere. You can encourage a stubborn bud by "notching" the bark just above it in the following spring. This interrupts the flow of hormones and tells the plant to activate that specific bud. It’s a clever little trick that often saves a graft that seems to be going nowhere.
Finally, keep an eye out for pests like aphids, which love the soft, succulent new growth of a fresh graft. In a small garden, you can usually manage these by hand or with a quick blast from a water spray. We want to avoid heavy chemicals where possible, especially if we are gardening in close quarters with neighbours or trying to encourage city bees. A healthy, well-grafted rose will eventually be strong enough to handle a few pests on its own.
Taking the leap into budding and grafting is one of the most rewarding steps you can take as a gardener. There is a unique sense of pride in seeing a flower bloom from a bud you carefully tucked into a stem yourself. It transforms you from a plant buyer into a plant creator, giving you total control over the beauty and resilience of your garden. Start with one or two experiments this summer, and before you know it, your small space will be home to a collection of roses that are truly one of a kind.