In my years as a head gardener, I have noticed that pruning is the one task that fills most people with a sense of trepidation. There is often a fear that one wrong cut will ruin a tree or stop it from fruiting entirely. In reality, fruit trees are remarkably resilient and they actually want to grow.
Pruning is not about fighting against the tree but rather working with its natural energy. By removing a small amount of wood each year, we encourage the tree to put its resources into producing high-quality fruit rather than a tangled mess of unproductive leafy branches. A well-pruned tree is healthier, lives longer, and is much easier to harvest.
We all want a garden that feels balanced and productive. Taking the time to understand the basics of fruit tree pruning will transform your orchard from a daunting chore into one of the most rewarding parts of the gardening year.
Why We Prune Fruit Trees
The primary reason we prune is to manage light and air. Fruit needs sunlight to ripen and develop sugars, and if the canopy is too dense, the fruit in the middle will remain small, green, and sour. By opening up the centre of the tree, we ensure every apple or pear gets its fair share of the sun.
Airflow is just as important for the long-term health of your trees. In our damp UK climate, stagnant air trapped inside a dense canopy is a breeding ground for fungal diseases like apple scab or canker. A clear, open structure allows the wind to dry the leaves quickly after rain, significantly reducing the need for any chemical interventions.
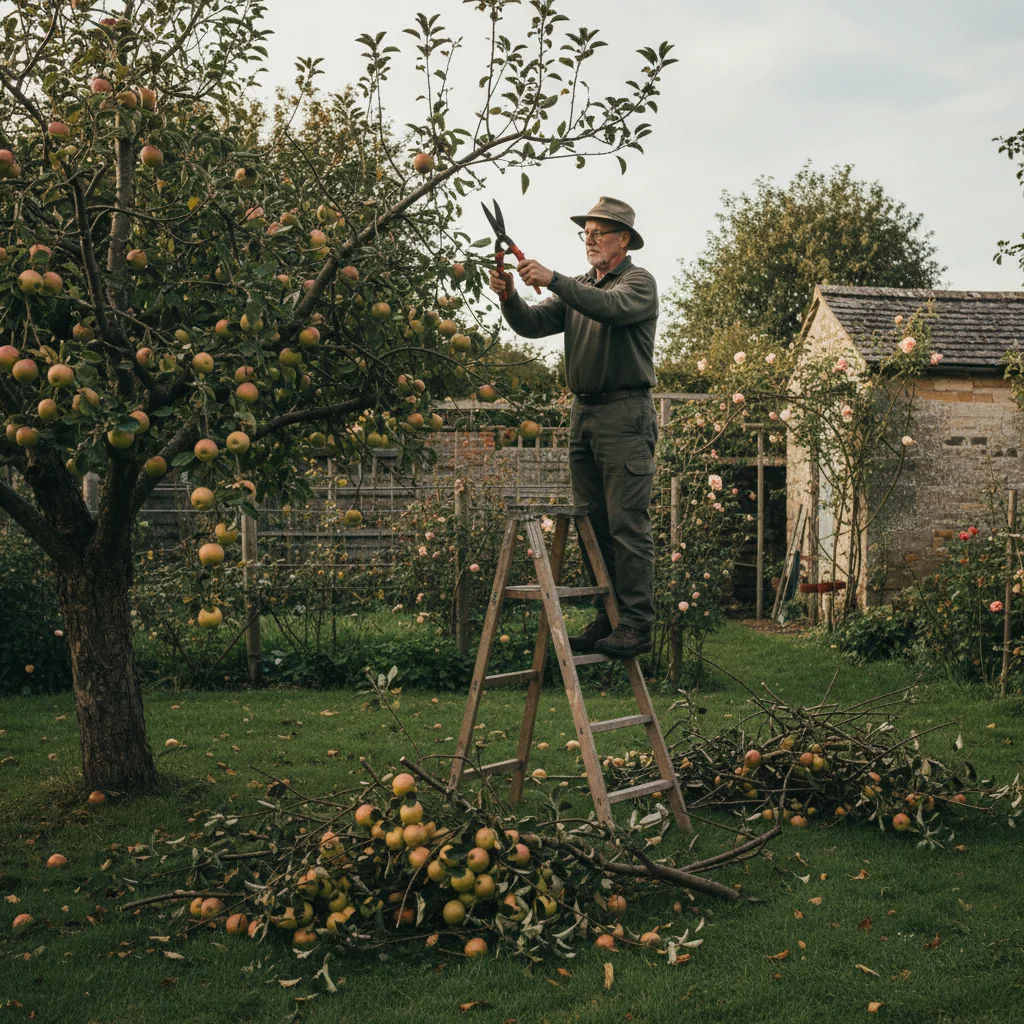
Pruning also allows us to control the size of the tree. Most of us don't have the space for a full-sized traditional orchard tree, so we use pruning to keep them at a manageable height. This makes it safer to pick the fruit and easier to inspect the branches for any signs of pests or disease throughout the season.
Essential Tools for Precision Pruning
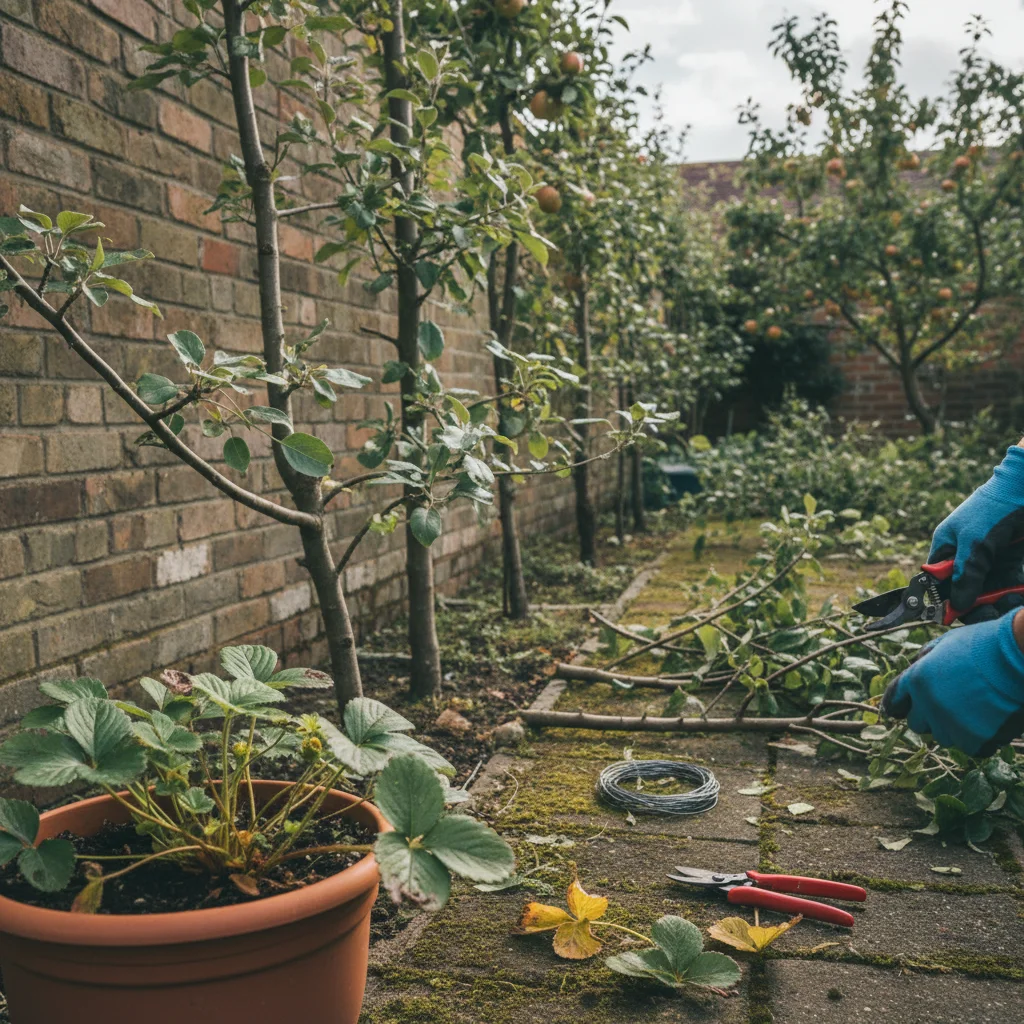
Before you head out into the garden, you must ensure your tools are up to the task. Using blunt or dirty tools is the quickest way to introduce disease into a healthy tree. A jagged cut takes longer to heal and provides an entry point for pathogens that can cause serious rot.
I always recommend investing in the best quality tools you can afford. High-carbon steel blades stay sharp for longer and are much easier to maintain. If you take care of them, they will last a lifetime, which is far better for the environment than replacing cheap, plastic-heavy alternatives every few years.
To get the job done properly, you should have a small kit ready:
- Bypass secateurs for small twigs and stems.
- Loppers for branches up to the thickness of a thumb.
- A folding pruning saw for larger structural limbs.
- A sharpening stone to keep edges honed.
- A clean cloth and methylated spirits to disinfect blades between trees.
The Best Time to Prune
Timing is everything when it comes to pruning, and it depends entirely on the type of fruit you are growing. We generally categorise fruit trees into two groups: pome fruits and stone fruits. Getting the timing wrong can leave the tree vulnerable to specific seasonal diseases.
For apples and pears, which are pome fruits, the main pruning session happens in the winter. Between November and early March, the tree is dormant and the sap has retreated to the roots. This allows you to see the structure of the branches clearly without the leaves getting in the way.
Stone fruits, such as plums, cherries, and damsons, require a completely different approach. These should never be pruned in the winter because they are highly susceptible to silver leaf disease and bacterial canker. Instead, we prune them in mid-summer when the tree is in full growth and can heal the wounds much faster.
Pruning Rules for Every Tree
Regardless of the species, there are a few fundamental principles that apply to every pruning job. I always start by looking for the "Three Ds" to clear the way before making any aesthetic or production-led cuts. This simple process helps you see the true shape of the tree before you make any big decisions.
Working methodically around the tree ensures you don't over-prune one side while leaving the other congested. Always take a step back every few minutes to look at the overall balance. It is much easier to take a branch off later than it is to put one back on.
Follow these basic steps for a healthy start:
- Remove all dead wood that is brittle or snapping.
- Cut out damaged branches that have been broken by wind.
- Prune away diseased wood, such as stems with canker or mildew.
- Remove "water shoots," which are the thin, vertical stems growing straight up.
- Clear away crossing branches that are rubbing against each other.
Pruning Apple and Pear Trees
When you move beyond the basic cleanup, the goal for apples and pears is to encourage the development of fruiting spurs. These are short, knobbly little branches where the blossom and fruit will form. If you leave a tree unpruned, it will produce fruit at the very tips of long, spindly branches that often snap under the weight.
For established trees, we use a technique called "spur pruning." This involves cutting back the previous year's growth on the main lateral branches to about two or three buds. This concentrates the tree's energy into those remaining buds, which will eventually thicken up and become the permanent fruiting sites for years to come.
If your tree is a "tip-bearer," which is less common but includes varieties like 'Bramley's Seedling', you need to be more careful. These trees produce fruit at the ends of the branches, so if you cut everything back to two buds, you will remove your entire crop. For these, you should only thin out the oldest branches to make room for new ones.
Managing Plum and Cherry Trees
Stone fruits are generally more vigorous and less cooperative than apples. Because we prune them in the summer, we focus more on "thinning cuts" rather than "heading cuts." A thinning cut removes an entire branch back to its point of origin, whereas a heading cut just shortens it.
In the summer, your main aim is to keep the centre of the tree open. Plum trees have a habit of becoming very congested very quickly. I usually look for the most upright branches in the middle of the canopy and remove them entirely. This keeps the tree lower to the ground and allows light to reach the fruit ripening on the lower limbs.
Be cautious not to remove more than twenty per cent of the canopy in a single summer. Stone fruits can react poorly to heavy pruning, often producing "gumming," where clear or amber sap oozes from the cuts. A light touch every year is far better than a heavy-handed approach every five years.
Shaping Young Trees for the Future
If you have recently planted a young tree, the first three years are the most important for its long-term structure. We call this formative pruning. The goal here is to create a strong "goblet" shape with a clear central stem and four or five main scaffold branches radiating outwards.
In the first winter after planting, you should head back the main leader to encourage those side branches to develop. It can feel heart-breaking to cut back a tree you've just bought, but it is essential for building a sturdy frame. Without this initial cut, the tree may grow tall and thin, making it prone to snapping in high winds.
By the second and third years, you are simply selecting the best-placed branches and removing any that are growing too close together. You want to aim for a balanced look where the branches are evenly spaced around the trunk. This creates a solid foundation that will support heavy crops of fruit for decades.
Renovation Pruning for Overgrown Trees
Many of us inherit gardens with old, neglected fruit trees that have become a tangled thicket of branches. While they may look beyond repair, most can be brought back into production with a bit of patience. The golden rule here is never to do all the work in one year.
I recommend a three-year plan for renovation. In the first year, focus on the "Three Ds" and remove one or two of the largest, most congested central limbs. This will immediately let light back into the heart of the tree. In the second and third years, you can start to thin out the outer branches and lower the overall height.
If you prune an old tree too hard in one go, it will react by producing hundreds of "water shoots." These are fast-growing, vertical stems that look like a forest of sticks on your branches. They use up a huge amount of the tree's energy but won't produce fruit for several years, creating even more work for you next season.
Aftercare for a Bumper Harvest
Pruning is a surgical procedure for a tree, so it is important to provide some "aftercare" to help it recover. Once you have finished your winter pruning, it is the perfect time to give the tree a nutritional boost. I like to apply a balanced organic feed around the base of the tree, extending out to the "drip line" where the branches end.
Following the feed, apply a thick layer of organic mulch, such as well-rotted garden compost or leaf mould. This helps to retain moisture in the soil, suppresses weeds, and feeds the soil biology. Make sure you leave a small gap between the mulch and the trunk of the tree to prevent the bark from rotting.
By combining careful pruning with good soil health, you are giving your trees everything they need to thrive. You will find that the trees become more self-regulating over time, requiring less intensive work each year. The reward for your efforts will be a garden full of blossom in the spring and a heavy harvest of delicious, home-grown fruit when autumn arrives.