Walking into a garden that has been left to its own devices for a few seasons can feel a little daunting. What was once a tidy border of structured shrubs and elegant small trees can quickly transform into a tangled thicket that blocks out light and smothers smaller plants. However, as a former head gardener, I can tell you that an overgrown plant is rarely a lost cause; it is simply a plant with untapped potential waiting for a bit of disciplined intervention.
Reclaiming your garden through pruning is one of the most rewarding tasks you can undertake. It is not just about aesthetics, though a well-shaped shrub certainly improves the view from the kitchen window. Correct pruning encourages better air circulation, reduces the risk of fungal diseases, and stimulates the growth of fresh wood which often carries the best flowers and foliage.
Before you reach for the loppers, it is essential to understand that pruning is a conversation with the plant. You are directing its energy away from leggy, unproductive stems and towards a stronger, more balanced frame. By following a methodical approach, you can transform a chaotic "green wall" back into a collection of healthy, vibrant specimens that enhance your outdoor space.
Assessing the challenge before you start
The first step in any restoration project is observation. Before making a single cut, take a walk around the plant to understand its natural habit and current condition. Look for the main structural branches and identify where the growth has become congested or lopsided. This is also the time to check for any immediate hazards, such as branches rubbing against buildings or overhead lines.
In the UK, we must also be mindful of our local wildlife. Between March and August, it is vital to check for nesting birds before you begin any significant pruning work. Under the Wildlife and Countryside Act, it is an offence to intentionally damage or destroy a nest while it is in use. If you find a nest, simply delay your pruning until the fledglings have flown the coop.
Think about what you want to achieve with each specific plant. Are you trying to reduce its overall height, thin out a dense interior to let more light into the garden, or perhaps encourage a flush of new flowering wood? Having a clear objective prevents the "haircut" look, where a shrub is simply sheared into a flat-topped box, which often leads to a mass of weak, twiggy growth at the tips.
Selecting the right tools for the job
Using the correct equipment makes the work safer for you and much cleaner for the plant. A clean, sharp cut heals quickly, whereas a jagged tear caused by blunt blades can become an entry point for pests and pathogens. I always recommend investing in high-quality tools that can be stripped down, cleaned, and sharpened over the years.
For most restoration pruning, you will need a small selection of specialised gear. Bypass secateurs are your primary tool for stems up to the thickness of a pencil, as their scissor-like action provides the cleanest finish on living wood. For thicker branches, you will need the extra leverage of a pair of loppers or a dedicated pruning saw.
- Bypass secateurs for precision cutting of stems up to 10mm.
- Bypass loppers for branches between 10mm and 30mm thick.
- A folding pruning saw for anything larger than a standard broom handle.
- Sharpening stones or diamond files to maintain a keen edge on all blades.
- Methylated spirits or a mild disinfectant to clean blades between different plants.
Maintaining your tools is a core part of sustainable gardening. Instead of replacing cheap tools every few years, look after a professional-grade set by wiping them down after use and applying a light coat of oil to prevent rust. This reduces waste and ensures that every cut you make is as precise as possible, which is the kindest thing you can do for your trees and shrubs.
Starting with the three Ds
Whenever I approach an overgrown specimen, I always start with the "Three Ds": Dead, Damaged, and Diseased wood. Removing these elements immediately improves the plant's health and makes it much easier to see the remaining structure. It is the gardening equivalent of clearing the clutter before you start decorating a room.
Dead wood is usually brittle and lacks any green tissue under the bark when scratched with a fingernail. Damaged branches might have been broken by wind or crushed by the weight of other growth, leaving them vulnerable to rot. Diseased wood often shows discolouration, cankers, or unusual fungal growths and should be removed back to healthy, green wood.
When removing diseased material, be sure to prune back to a healthy bud or a main branch collar. Do not put this material on your home compost heap, as the temperatures reached in domestic bins are rarely high enough to kill off persistent pathogens. Instead, use your local authority’s green waste collection or safely burn it if your local bylaws allow.
Understanding renewal pruning
For many deciduous shrubs that have become a mass of old, unproductive wood, the best approach is renewal pruning. This is a gradual process that takes place over three years, ensuring the plant is never completely stripped of its foliage or energy reserves. It is a patient method that yields the most natural-looking results.
In the first year, identify about one-third of the oldest, thickest stems and cut them down almost to ground level. This may seem drastic, but it triggers the plant to send up vigorous new shoots from the base. These new stems will eventually form the fresh, healthy framework of the rejuvenated shrub.
In the second year, remove another third of the original old wood, and in the third year, remove the final remaining old stems. By the end of this period, you will have a completely "new" plant on an established root system. This technique works exceptionally well for shrubs like Philadelphus (Mock Orange), Forsythia, and many types of Ribes (Flowering Currant).
The art of hard pruning and coppicing
Some plants respond well to a much more aggressive approach known as hard pruning or rejuvenation pruning. This involves cutting the entire plant back to within a few inches of the ground in one go. While it can look shocking initially, certain species are incredibly resilient and will bounce back with remarkable vigour.
Shrubs grown for their winter stem colour, such as Cornus (Dogwood) and Salix (Willow), actually benefit from being cut back hard every year or two. This is because the brightest colours are found on the youngest wood. Cutting them back in late winter ensures a fresh crop of vibrant stems for the following season.
Buddleja davidii (The Butterfly Bush) is another prime candidate for hard pruning. If left unpruned, it becomes a leggy, top-heavy mess with flowers only at the very tips. By cutting it back to a low permanent framework of about 30cm in March, you encourage a dense, bushy habit and much larger flower spikes that are easier for butterflies to reach.
Timing your cuts for success
Timing is everything in the world of pruning. Cutting at the wrong time of year won't necessarily kill a healthy plant, but it can ruin its flowering potential or cause it to "bleed" sap. As a general rule, we prune based on when the plant flowers and whether it is deciduous or evergreen.
Spring-flowering shrubs, like Forsythia or Chaenomeles, should be pruned immediately after they have finished flowering. These plants bloom on wood produced during the previous summer, so pruning them in winter would remove all the flower buds. By cutting them in late spring, you give them the entire summer to grow the wood that will carry next year's blossoms.
Summer-flowering shrubs are usually pruned in late winter or early spring before they start into growth. They flower on the current season's wood, so you want to encourage as much new growth as possible. Evergreens are a different story; they are best pruned in mid to late spring once the risk of hard frost has passed, as new growth triggered by pruning can be damaged by late cold snaps.
Making the perfect pruning cut
The way you make an individual cut determines how well the plant heals. You should always aim to cut just above a healthy bud that is facing in the direction you want the new growth to go. Usually, this means choosing an outward-facing bud to keep the centre of the shrub open and airy.
Make your cut at a 45-degree angle, sloping away from the bud. This ensures that rainwater runs off the cut surface rather than sitting on the bud, which can cause it to rot. If you cut too far above the bud, you leave a "snag" of wood that will die back and potentially invite decay into the stem.
When removing larger branches from a tree, look for the "branch collar"—the slight swelling where the branch meets the trunk. You want to cut just outside this collar. The collar contains specialised cells that quickly form a protective callus over the wound. Cutting too close (a flush cut) or leaving too much of a stump prevents this natural healing process from working effectively.
Supporting recovery with soil health
Pruning is a significant physiological event for a plant. When you remove a large portion of its canopy, you are taking away its food-producing leaves and forcing it to draw on stored energy to regrow. To help your plants recover, you must pay attention to what is happening beneath the surface in the soil.
After a heavy pruning session, I always recommend giving the plant a helping hand. Clear away any weeds from around the base to reduce competition for nutrients and water. Apply a generous mulch of well-rotted garden compost or leaf mould around the root zone, keeping it a few inches away from the main stem to prevent bark rot.
This mulch acts as a slow-release fertiliser and helps to retain moisture in the soil, which is vital for the new, soft growth that will soon appear. If the weather is particularly dry in the weeks following a hard prune, ensure you water the plant deeply once or twice a week. A healthy soil environment is the foundation upon which your revitalised plant will build its new structure.
Managing the green waste sustainably
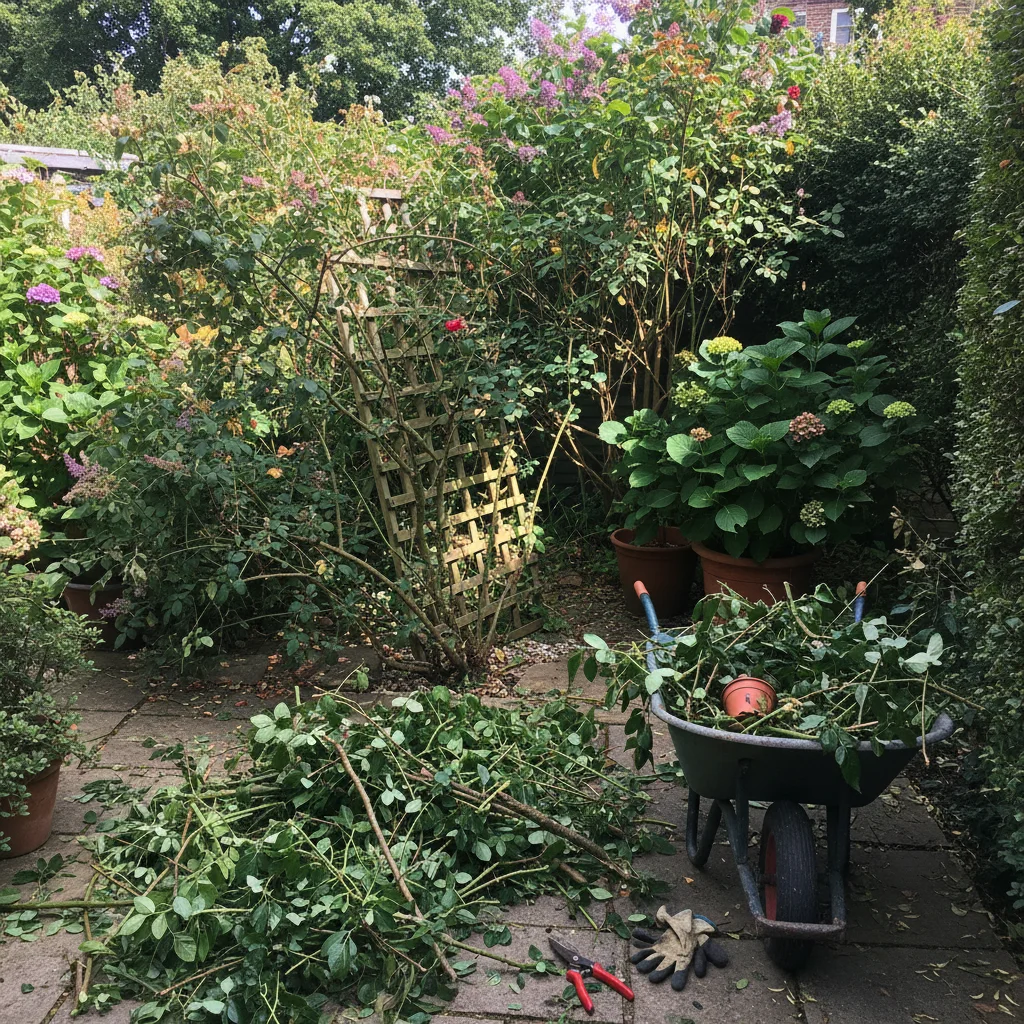
One of the challenges of tackling overgrown plants is the sheer volume of material you end up with. Rather than seeing this as a problem, view it as a valuable resource for your garden's ecosystem. There are many ways to handle green waste that benefit the environment and save you trips to the recycling centre.
Large branches can be cut into logs and stacked in a shady corner to create a "dead wood" habitat. These log piles are essential for beetles, fungi, and even small mammals like hedgehogs. Thinner, straight stems can be stripped of their leaves and kept as natural plant supports for your perennials or climbing beans later in the year.
- Create a "dead hedge" by piling long branches between upright stakes to mark a boundary.
- Chop smaller twigs into 5cm lengths and add them to your compost heap as "browns."
- Use a garden shredder to turn woody waste into a sustainable mulch for paths.
- Retain sturdy forks from branches to use as rustic supports for heavy-headed flowers.
By keeping this organic matter on-site, you are returning nutrients to your own soil rather than exporting them. This closed-loop system is at the heart of sustainable gardening. Even the smallest twigs can be bundled together to make "bee hotels" or simply tucked under a hedge to provide cover for beneficial insects that help control pests naturally.
Watching your garden transform
The beauty of restoration pruning is that it is a long-term investment in your garden’s future. In the first few months after a significant prune, the plant might look a little bare, but soon you will see the surge of new, healthy growth. This fresh wood is often more flexible, has more vibrant bark, and will eventually produce a more spectacular display of flowers or fruit than the old, congested wood ever could.
As the new shoots develop, you can begin to "train" the plant by selectively thinning out any rubbing or crossing stems. This ongoing maintenance is much easier than the initial restoration and ensures that your plants never reach that unmanageable state again. You are no longer just reacting to a jungle; you are actively shaping a living landscape.
Taking the time to revitalise your overgrown trees and shrubs is a gift to both the plants and yourself. You will find that as the light returns to the lower levels of your garden, previously smothered plants will begin to thrive again, and the entire space will feel more intentional and harmonious. Grab your secateurs and start with a few small cuts today; your garden will thank you with a flush of new life in the coming season.---