There is a particular quietude in the garden during late winter, a time when the soil is cold and the roses stand as skeletal reminders of last summer’s glory. As a head gardener, I always found this to be the most rewarding window of the year. It is the moment we transition from maintenance to preparation, setting the stage for a spectacular display. Pruning is often viewed with trepidation by many gardeners, yet it is arguably the kindest thing you can do for your roses.
Beyond the aesthetics of a well-shaped bush, pruning is a fundamental act of plant healthcare. By removing old wood and opening up the centre of the plant, we encourage the flow of air and light. In our often damp UK climate, this is our primary defence against fungal issues like blackspot and powdery mildew. When you prune correctly, you aren't just cutting back a plant; you are directing its energy into producing the strongest stems and the most vibrant blooms possible.
Choosing the right moment for the task
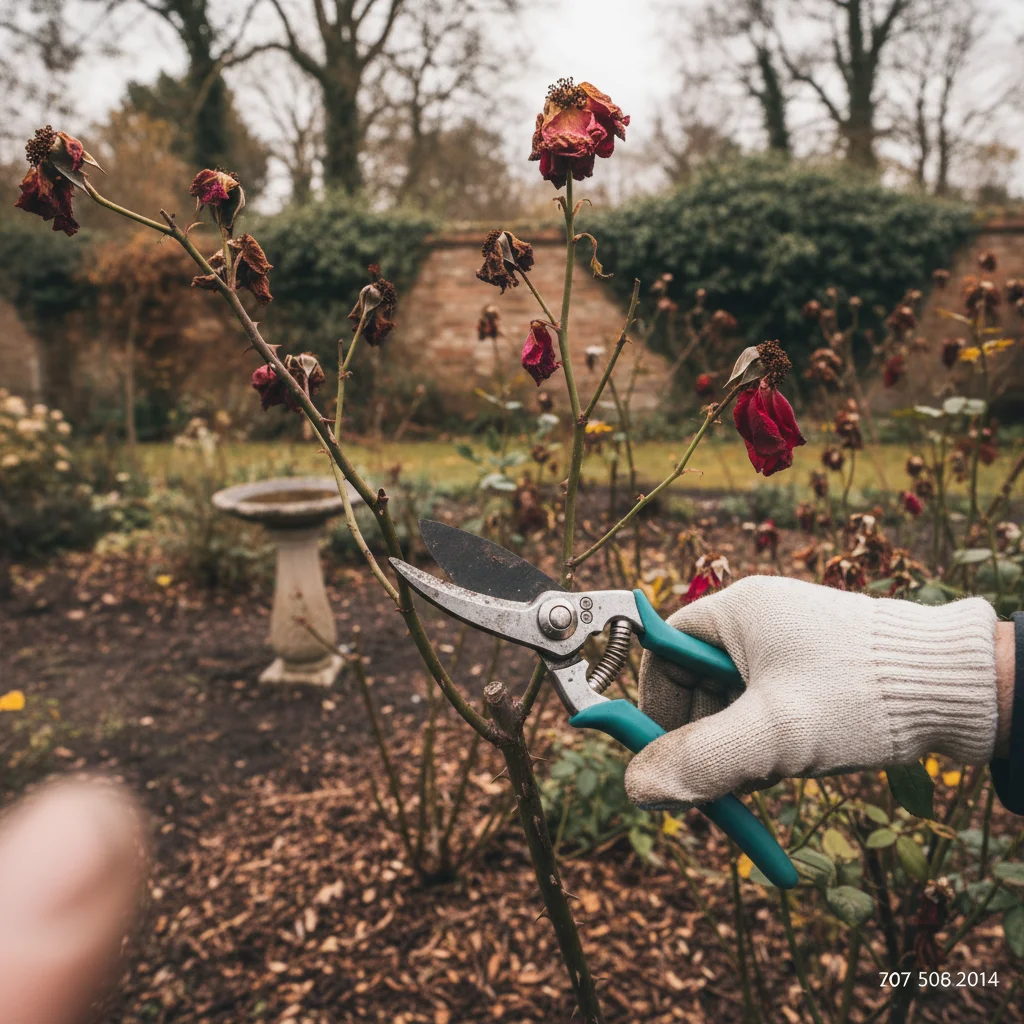
Timing is everything when it comes to the health of your roses. In the UK, the ideal window typically falls between late February and early March. We want to wait until the worst of the winter frosts have passed but act before the plant has invested too much energy into new spring growth. If you see the buds beginning to swell and take on a pinkish hue, that is your signal to get the secateurs ready.
Pruning too early in the winter can leave the fresh cuts vulnerable to hard frosts, which can die back and damage the stem further down. Conversely, waiting until the plant is in full leaf means you are wasting the rose's stored energy. By hitting that sweet spot in late winter, you ensure the rose can heal quickly and channel all its resources into the new season’s shoots.
Investing in quality tools
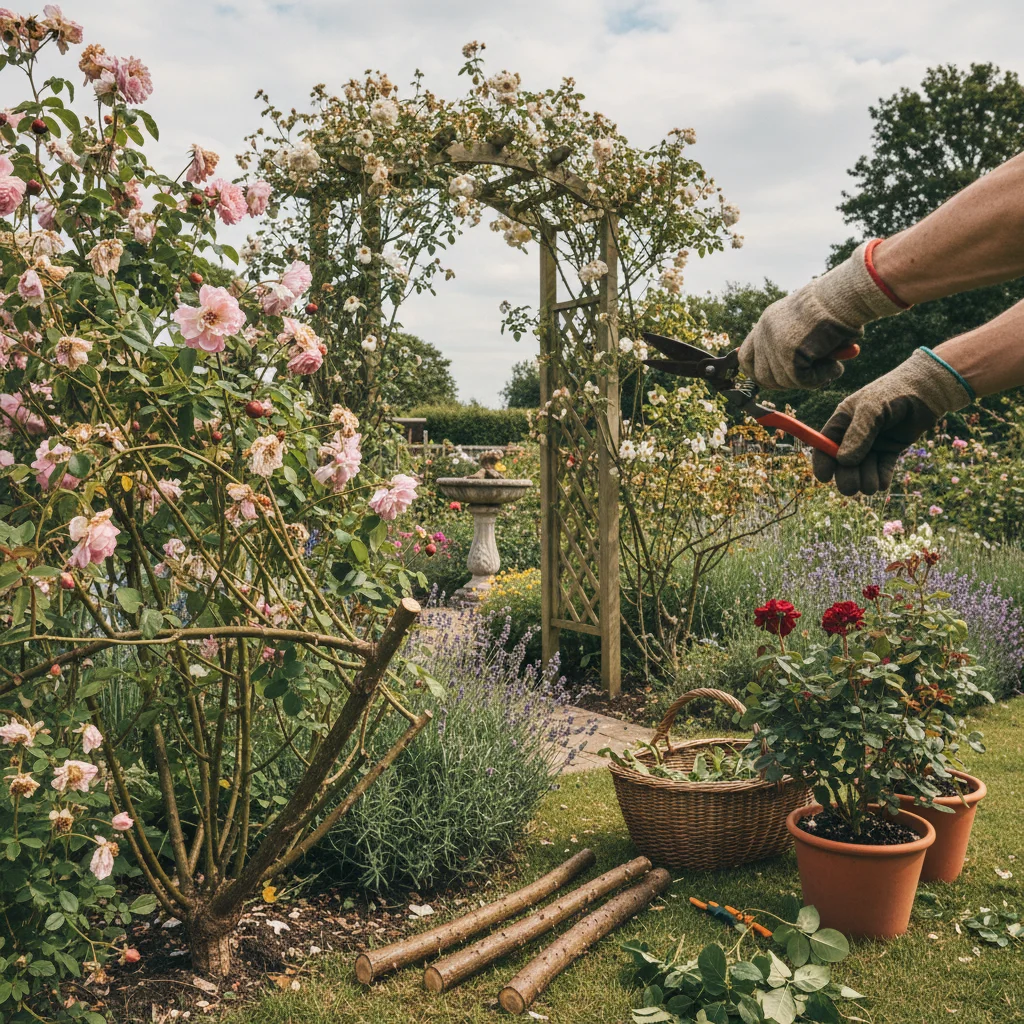
Before you make a single cut, you must consider the state of your equipment. A clean, sharp cut heals quickly, whereas a jagged tear from a blunt blade is an open invitation for disease. I always recommend a high-quality pair of bypass secateurs, which work like scissors to provide a clean slice. Anvil secateurs, which crush the stem against a flat base, are better suited for dead wood and should generally be avoided for live rose stems.
Maintenance is a key part of sustainable gardening. Rather than replacing tools every few years, invest in a pair that can be dismantled, sharpened, and oiled. Keeping your blades clean with a quick wipe of surgical spirit between different plants also prevents the accidental spread of pathogens. For thicker, older stems on climbing roses, a small pruning saw or a pair of long-handled loppers will provide the leverage you need without straining your wrists or the plant.
Mastering the fundamental cut
The way you make an individual cut determines how the rose will grow for the rest of the year. We always aim for a 45-degree angle, sloping away from a bud. This ensures that rainwater runs off the cut rather than sitting on top of it, which significantly reduces the risk of stem rot. The cut should be about 5mm above an outward-facing bud to encourage the plant to grow outwards, keeping the centre of the bush open and airy.
We talk about apical dominance in horticulture, which is simply the plant’s natural tendency to grow most vigorously from the highest point. By pruning back to a specific bud, you are telling the rose exactly where to start its new growth. If you prune to an inward-facing bud, the new branch will grow into the middle of the plant, crossing other stems and creating a congested mess that invites pests.
The golden rule of the three Ds
Regardless of the variety of rose you are growing, every pruning session should begin with the same three priorities. This process clears the "skeleton" of the plant so you can see the structure you are working with. It is a methodical way to ensure the plant remains vigorous and healthy year after year.
- Dead wood which appears brittle, brown, or shrivelled and serves no purpose for the plant.
- Damaged wood caused by winter gales or stems rubbing against one another.
- Diseased wood identified by black blotches, cankers, or unusual discolouration.
- Dying wood which may still have some life but looks weak and unproductive.
Once these elements are removed, you can assess the remaining healthy stems. If you find two healthy branches crossing and rubbing against each other, remove the weaker or more poorly positioned one. Rubbing creates wounds in the bark, which act as entry points for spores and bacteria. Opening up the plant in this way is the most effective organic method for reducing disease pressure in your garden.
Pruning hybrid teas and floribundas
Bush roses are the mainstay of many UK gardens, prized for their repeat flowering and scent. Hybrid teas usually produce one large flower per stem, while floribundas produce clusters. For hybrid teas, we want to be quite bold. You can prune these back to about 15cm to 20cm from the ground, leaving a strong framework of three to five outward-facing stems. This heavy pruning results in fewer but much larger, show-quality blooms.
Floribundas require a slightly lighter touch to encourage the mass of flowers they are known for. Prune the strongest stems back to about 30cm and leave the less vigorous ones a little longer. This creates a tiered effect of flowers. In both cases, the goal is to create a wine-glass shape with an open centre. This allows the summer sun to reach the base of the plant, ripening the wood for the following year.
Managing shrub and David Austin roses
Shrub roses, including the ever-popular English Roses bred by David Austin, have a more natural, arching habit. We don't want to prune these into a rigid structure. Instead, think of it as a light "shaping" exercise. Generally, you should reduce the length of the main stems by about one-third. This maintains the height and the graceful form of the bush while still stimulating new flowering wood.
If you have an older shrub rose that has become leggy or unproductive at the base, you can practice renewal pruning. Every year, remove one or two of the oldest, woodiest stems right down to the ground. This encourages the rose to throw up fresh, vigorous "basal" shoots from the graft point. Over three or four years, you will have completely refreshed the plant without losing a season of flowers.
Climbing roses versus rambling roses
The distinction between a climber and a rambler is one of the most common points of confusion for gardeners. Climbing roses typically flower more than once and have large blooms on a stiff framework. Ramblers are usually much more vigorous, often flowering in one massive burst in midsummer with smaller flowers. Because they grow differently, they must be pruned at different times.
Climbing roses should be pruned in the winter, alongside your bush roses. The secret to a wall full of flowers is to train the main stems as horizontally as possible. This breaks the apical dominance I mentioned earlier and encourages flowering side-shoots to grow all along the length of the stem. Prune these side-shoots back to two or three buds from the main framework to create "spurs" that will carry the summer's roses.
Rambling roses are the exception to the winter rule. Because they flower on wood produced in the previous growing season, we prune them immediately after they have finished flowering in late summer. If you prune a rambler hard in the winter, you will likely cut off all of next year’s flowers. Simply thin out the most congested areas and remove any stems that have grown beyond their allotted space.
Sustainable disposal of rose waste
In a sustainable garden, we try to recycle as much as possible, but roses require a bit of caution. While healthy green waste is perfect for the compost heap, rose clippings often carry dormant fungal spores. If your roses suffered from blackspot or rust during the previous summer, it is best not to compost the prunings. The heat in a domestic compost bin rarely gets high enough to kill these pathogens, meaning you could end up spreading the disease back onto your beds when you mulch.
If the wood is healthy, you can shred it and add it to your heap, but for many, the local council’s green waste collection is a safer bet, as industrial composting reaches much higher temperatures. Alternatively, if you have a fire pit, burning the diseased wood is a traditional and effective way to break the cycle of infection. Always clear away any fallen leaves from the base of the plant at the same time, as these are the primary overwintering site for blackspot.
Feeding and mulching for success
Pruning is a significant "surgery" for a plant, and it will need a boost to recover and thrive. Once you have finished your pruning and cleared the area, it is time to feed the soil. I prefer a balanced organic rose food applied around the base of the plant. Look for something with a good potassium (K) content, which is essential for flower production and strengthening the plant's cellular structure against disease.
After feeding, apply a thick layer of mulch. A 5cm to 7cm layer of well-rotted garden compost or leaf mould is ideal. Ensure you use peat-free materials to protect our vital peatlands. Mulching serves three purposes: it suppresses weeds that would compete for nutrients, it retains moisture in the soil during dry spells, and it slowly improves the soil structure as worms pull the organic matter down. Be careful not to pile the mulch directly against the rose stems, as this can cause the bark to soften and rot; leave a small gap around the main trunk.
Essential post pruning checklist
To ensure your roses get the best possible start, follow these simple steps once the heavy work is done. These final touches make the difference between a rose that simply survives and one that truly flourishes in the British summer.
- Check the graft union to ensure no mulch is touching the main stem.
- Firm the soil around the base if winter gales have caused "wind rock."
- Clear all debris from the ground to prevent the return of fungal spores.
- Label your varieties if you have added new roses to the garden.
- Sanitise your tools with a quick wipe down before putting them away.
- Water the base if the late winter has been unusually dry.
The effort you put in now, during these cold months, will be repaid tenfold when June arrives. There is a profound satisfaction in seeing the first red-tinted leaves emerge from the very buds you carefully selected. By following these professional techniques, you are taking control of your garden’s health and ensuring a summer filled with the scent and colour that only a well-tended rose can provide.
As the days begin to lengthen, keep an eye on your newly pruned plants for the first signs of life. Once that vigorous new growth starts, you'll know your hard work has paid off, and you can look forward to a garden that isn't just growing, but truly thriving. Your roses are now primed and ready to produce their most abundant display yet, proving that a little expert knowledge and a sharp pair of secateurs are the best tools a gardener can own.