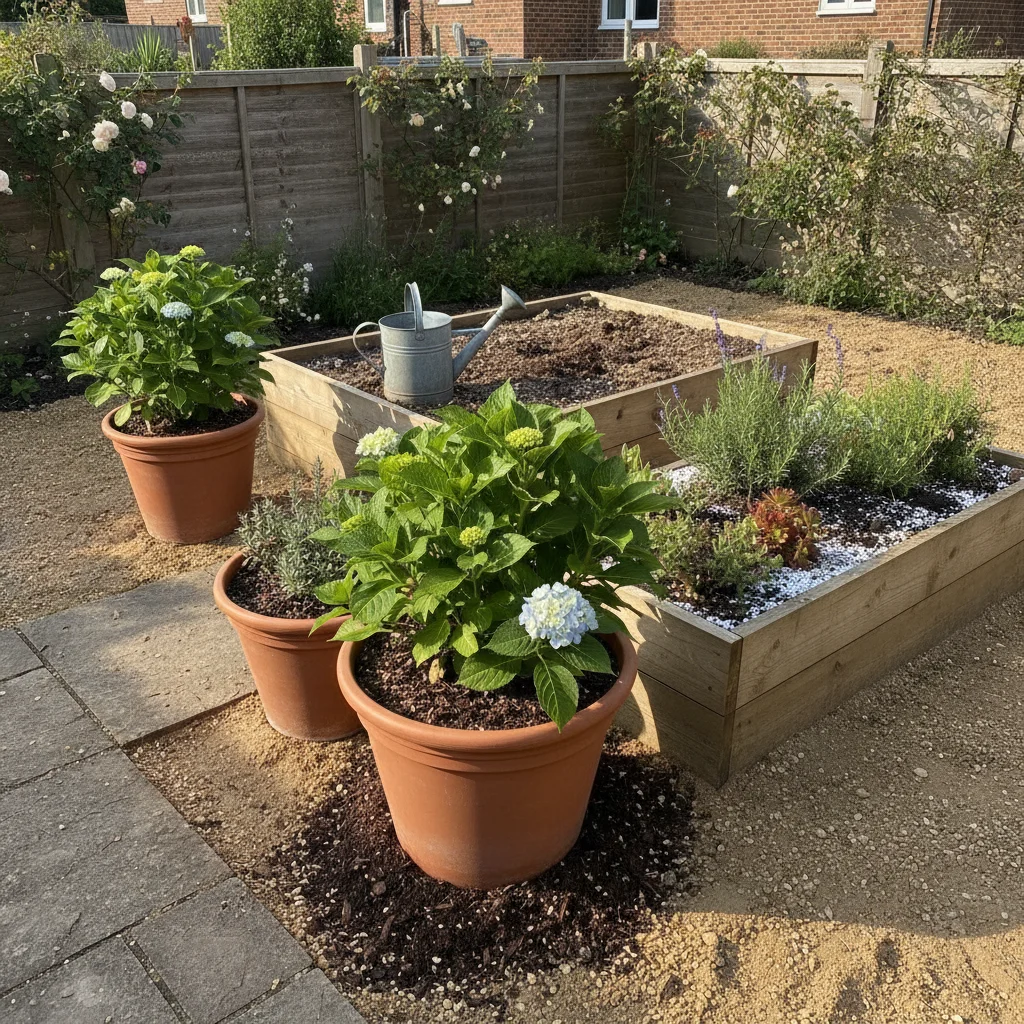
If you have ever felt like you are pouring water into a sieve when you’re out in the garden with your watering can, you probably have sandy soil. I know that feeling well. When I first started gardening on a light, sandy plot near the coast, I spent half my summer watching my prize lettuces wilt before my eyes, no matter how much I watered them. It can be incredibly frustrating to see all your hard work, and your expensive liquid seaweed feed, simply vanish into the earth.
The good news is that sandy soil isn't a curse. In fact, it has some wonderful benefits that clay-heavy gardeners would envy. It warms up quickly in the spring, which means you can often get your seeds in the ground a few weeks earlier than your neighbours. It’s also a dream to dig and never turns into that sticky, heavy "cloven hoof" mud that ruins a pair of boots. You just need to learn how to give it a bit more "body" so it can hold onto the things your plants need most.
Improving sandy soil is a bit like building a sponge. We want to take those large, gritty particles and weave something between them that traps moisture and keeps nutrients within reach of thirsty roots. It’s easier than you think, and you don’t need a massive budget to do it. With a few simple techniques and a bit of patience, you can turn that "sieve" into a rich, productive environment for everything from carrots to roses.
How to tell if your soil is sandy
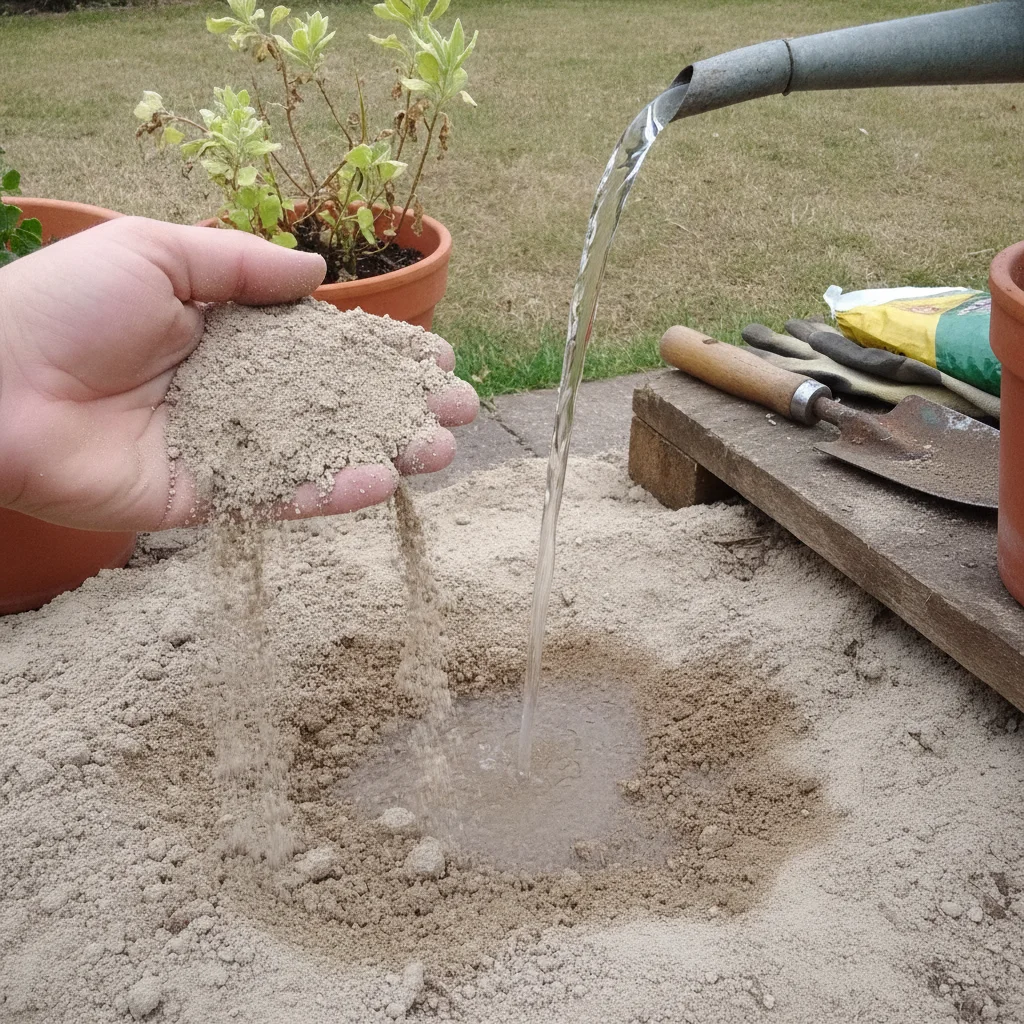
Before we get stuck into the fixes, it’s worth making sure you really are dealing with sandy soil. Soil is essentially a mix of tiny rock particles, and sand particles are the largest of the lot. Because they are big and chunky, they don't fit together tightly. This leaves big gaps where air and water move through very quickly.
You can do a very simple test right now with nothing more than your hands and a bit of water. I call it the "Squeeze Test," and it’s something I do every time I take on a new allotment or help a friend with their borders. It tells you everything you need to know about your soil's personality in about thirty seconds.
To perform the squeeze test and identify your soil type, follow these simple steps:
- Pick up a handful of damp soil from about ten centimetres below the surface.
- Squeeze the soil firmly in your fist to form a ball or a "sausage" shape.
- Open your hand and look at the results to see if it holds its shape.
- Poke the ball gently with one finger to see how easily it falls apart.
- Rub a little bit of the soil between your thumb and forefinger to feel the texture.
If the soil feels gritty and falls apart the moment you open your hand or give it a tiny poke, you have sandy soil. If it felt like sugar or coarse salt when you rubbed it between your fingers, that’s the sand particles you’re feeling. If it had stayed in a firm, sticky lump, you’d be looking at clay, but for us sandy-soil gardeners, it’s all about that loose, free-draining grit.
The problem with fast drainage
The reason your plants struggle in sandy soil isn't just about thirst. While the lack of water is the most obvious problem, especially during a typical UK summer dry spell, there is a hidden issue called leaching. Because water moves through sand so fast, it carries away all the soluble nutrients that plants need to grow.
Imagine you’ve just treated your tomatoes to a lovely dose of fertiliser. In sandy soil, a heavy rainstorm can wash that fertiliser deep down into the subsoil, far below where the roots can reach it. This is why plants in sandy gardens often look a bit pale or stunted. They are essentially living in a fast-food restaurant where the food is taken away before they can take a bite.
We also have to consider the lack of organic life. Because sandy soil dries out so fast and doesn't hold onto nutrients, it can be a tough place for beneficial earthworms and microbes to thrive. These tiny helpers are the "engine room" of a healthy garden. They break down old leaves and roots into food for your plants, so we need to make the soil a place where they want to live.
Adding organic matter is the golden rule
If you take only one thing away from this, let it be the power of organic matter. It is the single most effective way to improve sandy soil. Organic matter—which is just a fancy way of saying rotted plant or animal material—acts like a microscopic sponge. It fills the gaps between the sand particles, soaking up water and holding onto nutrients like a magnet.
In my own garden, I try to add as much well-rotted garden compost as I can get my hands on. If you have your own compost bin, that’s perfect. If not, you can buy bags of compost or well-rotted manure from a local garden centre. The key word here is "rotted." You never want to put fresh manure on your plants as it’s too strong and can burn the roots. It should look and smell like dark, crumbly earth.
I find it’s best to add this in the autumn or early spring. You don’t even have to dig it in deeply if you don't want to. Just spreading a thick layer (about five to ten centimetres) over the surface of your soil will do wonders. The rain and the few worms you have will gradually pull it down into the ground for you. Over time, you’ll notice the soil starts to look darker and feels a bit more "clumpy" rather than just like dry sand.
The magic of mulching
Mulching is one of those gardening jobs that feels like a bit of a chore at first, but it saves you so much time in the long run. A mulch is simply a layer of material that you sit on top of the soil surface. In a sandy garden, this layer acts as a lid on a saucepan, stopping the sun from baking the moisture out of the ground.
I’ve found that even a thin layer of bark chips, straw, or even grass clippings can make a huge difference. When the sun hits bare sandy soil, the temperature can skyrocket, which stresses the roots and evaporates every drop of water. By keeping the soil shaded and cool, the moisture stays where it’s needed—down in the root zone.
When you mulch, make sure the soil is already nice and damp. There’s no point mulching over bone-dry sand, as you’ll just be keeping the moisture out. I usually wait for a good rainy day in late spring, then head out and spread my mulch around the base of my plants. Just be careful not to pile it right up against the stems of your shrubs or trees, as this can cause the bark to rot. Leave a little "doughnut" of space around the main stem.
Using green manures over winter
One mistake many of us make is leaving our soil bare over the winter. In a sandy garden, this is a recipe for losing all your nutrients. The winter rains will wash through that empty soil, leaving it depleted by the time spring rolls around. This is where green manures come in handy.
Green manures are plants that you grow specifically to dig back into the soil. They aren't for eating; they are for feeding the ground. Plants like Phacelia, Crimson Clover, or Winter Vetch are brilliant for this. You sow them in late summer or autumn, and they grow a thick carpet of green that protects the soil from being washed away.
In the spring, about a month before you want to start planting your veg, you simply chop them down and let them wither on the surface or lightly dig them in. As they break down, they add a huge boost of organic matter and nitrogen back into the earth. It’s a bit like giving your garden a vitamin pill during the off-season. Plus, Phacelia has beautiful purple flowers that bees absolutely adore if you let a few of them bloom.
Watering the right way
When you have sandy soil, how you water is just as important as how much you water. If you just give the surface a quick sprinkle every evening, most of that water will evaporate or stay in the very top layer of sand. This encourages your plants to grow shallow roots, which makes them even more vulnerable the next time it gets hot.
The trick is to water deeply and less frequently. You want to encourage those roots to head down deep into the ground where it’s cooler and damper. Instead of five minutes every day, try giving your plants a really good soaking every two or three days. I like to use a "leaky hose" or a drip irrigation system for my more permanent borders. It delivers water slowly and directly to the soil, giving it time to soak in rather than just running off the surface.
If you are watering by hand, try making a small depression or a "moat" around the base of your larger plants. This holds the water in place while it drains down, rather than letting it wander off across the path. It’s a simple trick, but it ensures every drop you carry in your watering can is actually doing some good.
Choosing the right plants for your plot
While we can do a lot to improve our soil, sometimes it’s easier to work with nature rather than against it. There are plenty of plants that actually prefer the sharp drainage and lean conditions of sandy soil. If you choose these, you’ll spend far less time worrying about watering and feeding.
Mediterranean herbs are a fantastic choice for any sandy garden. They have evolved to live in dry, gritty environments and often have silvery leaves that help them reflect the sun and retain moisture. Many of our most beloved cottage garden classics also thrive in these conditions because they don't like their "feet" sitting in wet mud over the winter.
If you’re looking for plants that will thrive in your sandy soil with minimal fuss, consider these varieties:
- Lavender (especially 'Hidcote' or 'Munstead')
- Rosemary and Thyme for your herb patch
- Sea Holly (Eryngium) with its striking architectural shapes
- California Poppies (Eschscholzia) for a splash of easy colour
- Sedums and other succulents that store water in their leaves
- Cistus (Sun Rose) for beautiful, papery flowers in summer
By mixing these tough characters with your more "hungry" plants, you can create a garden that looks lush even in a dry spell. I always keep a few drought-tolerant stars in my borders to act as a safety net. Even if I forget to water for a couple of days, I know the lavender and rosemary will be perfectly happy.
The no-dig approach for sandy soil
You might have heard about "no-dig" gardening lately. It’s a method made famous by gardeners like Charles Dowding, and it is particularly brilliant for sandy soil. The idea is that we stop turning the soil over with a spade, which can destroy the delicate structure we are trying to build.
When you dig sandy soil, you introduce a lot of air, which causes organic matter to break down even faster. By simply layering compost and mulch on top and letting the soil life do the work, you help build a stable environment. Over a few years, a "no-dig" sandy bed will develop a much better ability to hold water than one that is dug over every spring.
It’s also much easier on your back! You start by clearing any big weeds, then put down a layer of cardboard to smother any remaining bits. On top of that, you add a thick layer of compost. You plant directly into the compost, and as the cardboard rots away, the roots find their way into the soil below. It’s a gentle, effective way to turn a sandpit into a thriving garden bed.
Feeding your plants in sandy ground
Because nutrients wash away so easily, we have to be a bit smarter about how we feed our plants. In a clay garden, you can often get away with one big feed in the spring. In a sandy garden, a "little and often" approach is much better.
I prefer using organic, slow-release fertilisers like chicken manure pellets or seaweed meal. These break down slowly over several weeks, providing a steady stream of food rather than one big "hit" that might just wash away in the next rainstorm. If you are using liquid feeds for things like tomatoes or pots, try using them at half-strength but twice as often.
Don't forget about the power of homemade liquid feeds too. If you have a corner of the garden where nettles or comfrey grow, you can make your own nutrient-rich "tea." Just soak the leaves in a bucket of water for a few weeks (fair warning: it will smell quite a bit!) and then dilute the dark liquid until it looks like weak tea. It’s a free, sustainable way to keep your plants fed throughout the growing season.
Keeping the momentum going
Improving sandy soil isn't a "one and done" job. Because the sand is always working to break down organic matter, you need to keep topping it up. Think of it as a hungry pet that needs regular feeding. Every time you clear a crop or finish a season, try to add another layer of compost or leaf mould.
It might sound like a lot of work, but I promise you’ll start to see the results within the first year. You’ll notice that you aren't reaching for the hose quite as often, and your plants will have a deeper, healthier green to their leaves. There is a real sense of satisfaction in seeing soil that once looked like beach sand turn into dark, crumbly earth that smells of a forest floor.
Start small if you feel overwhelmed. You don't have to fix the whole garden at once. Choose one flower bed or a couple of veg patches and give them the "organic treatment" this season. Once you see the difference it makes to your plants—and how much easier your gardening life becomes—you’ll be inspired to keep going across the rest of your plot.