We have all been there, looking at a pile of kitchen peelings and wondering if there is a better way to deal with them than just chucking them in the council bin. If you have a small garden, a balcony, or even just a bit of space under the kitchen sink, worm composting—or vermicomposting—is your new best friend. It is a brilliant way to turn your waste into the most incredible, nutrient-dense plant food you can imagine.
I remember when I first started my own worm farm in my small Yorkshire plot. I was worried it would be smelly or that the worms might make a bid for freedom across the kitchen floor. It turns out that those fears were completely unfounded. Once you get the balance right, a worm bin is a quiet, efficient, and almost magical little ecosystem that works away while you sleep.
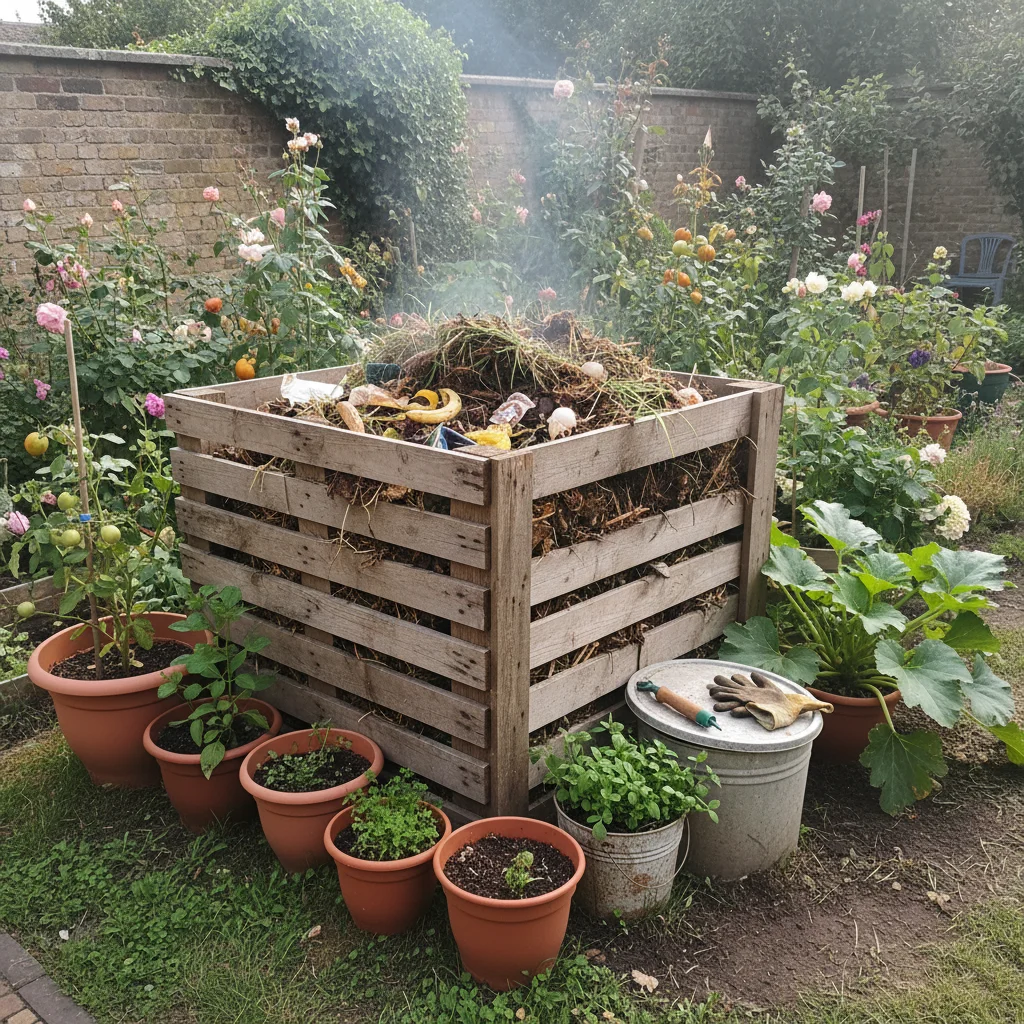
You don't need a massive allotment or a huge traditional compost heap to make this work. In fact, worms are often much faster and more efficient than a cold compost pile. Within a few months, you will have a supply of "black gold" that will make your 'Tumbler' tomatoes or your balcony herbs grow like never before.
Why you should try worm composting
Worm composting is essentially a fast-track version of nature’s recycling system. While a standard compost heap relies on bacteria and heat to break down organic matter over a year or more, worms can process waste in a matter of weeks. This makes it perfect for those of us who want results a bit sooner or don't have the space for three large wooden bins.
The real magic is in the quality of the compost produced. Worm castings—which is just a polite way of saying worm poo—are packed with beneficial microbes and minerals that are easily absorbed by plants. It is much more concentrated than regular compost, so a little goes a very long way. I often use it as a top dressing for my indoor houseplants or mix a handful into the planting hole for my more demanding vegetables.
Beyond the solid compost, most worm farms also produce a liquid by-product often called "worm tea." This is a fantastic liquid fertiliser that you can dilute and use to give your plants a real boost during the growing season. It is a completely free, organic alternative to the bottled feeds you buy at the garden centre.
Finding the perfect spot for your worms
One of the best things about a worm farm is its versatility. Because they don't smell when managed correctly, you can keep them in a variety of places. In my experience, the most important thing to consider is the temperature. Worms are a bit like us; they don't like being too hot or too cold.
In a typical UK summer, a shady spot on a patio or a balcony is perfect. However, if the temperature drops below five degrees in the winter, the worms will slow down significantly and might even die if the bin freezes solid. I usually move my bin into the shed or the garage once the first frosts come to keep them cozy and active throughout the darker months.
If you are very short on outdoor space, you can even keep a small worm bin indoors. A utility room or a cupboard under the stairs works well. As long as the bin has a tight-fitting lid and you are feeding them the right things, you won't even know they are there.
Picking the right bin for your space
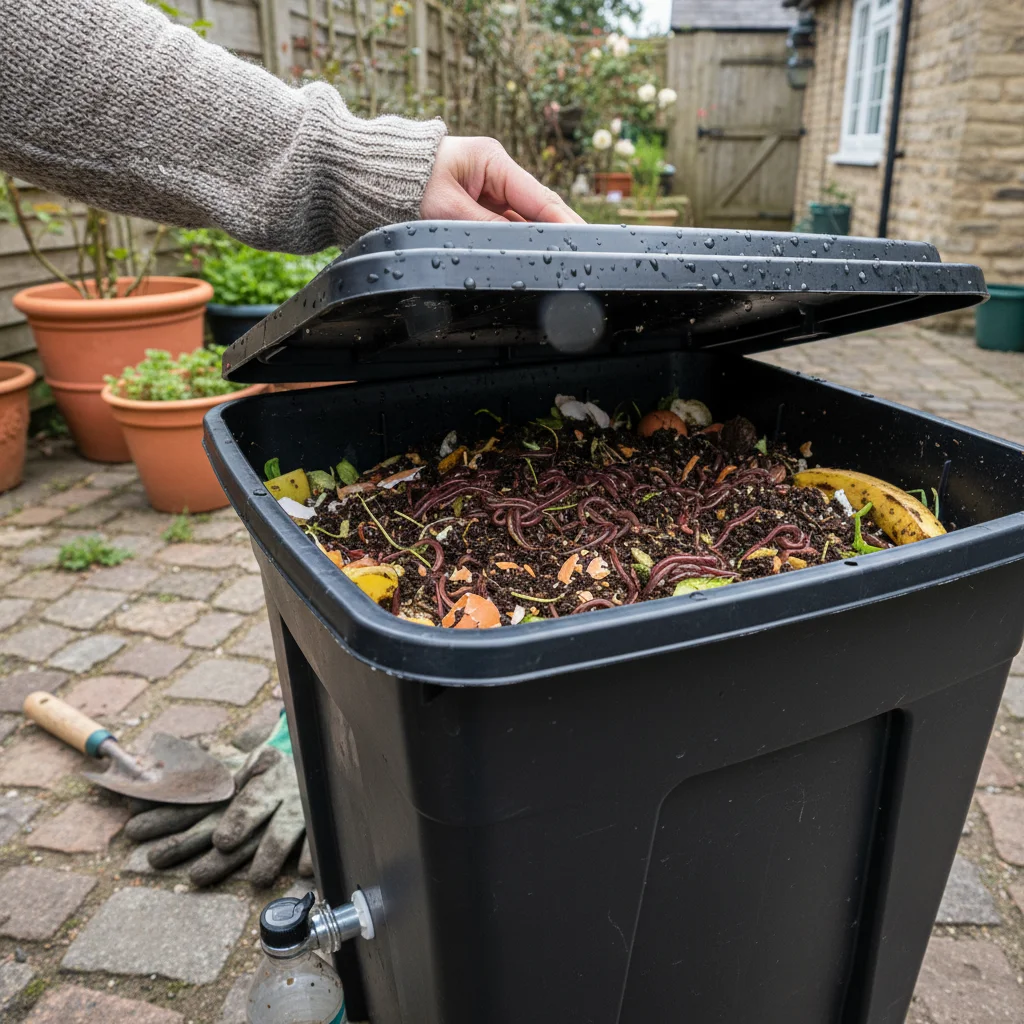
You can buy many different types of commercial worm bins, often designed as "stacking" systems. These are great because they allow the worms to move upwards through layers of waste, leaving the finished compost at the bottom for you to harvest easily. They usually come with a little tap at the base to drain off the liquid feed.
If you are on a budget or like a bit of DIY, you can easily make your own using two or three plastic storage boxes. You simply need to drill some small air holes in the sides and drainage holes in the bottom of the upper boxes. It’s an easy weekend project that saves you a bit of money and gets you started right away.
The size of the bin should depend on how much food waste your household produces. For a couple or a small family, a standard 40-litre bin is usually plenty. If you find you have more waste than the worms can handle, it’s better to start a second bin rather than overloading the first one.
Meeting your new garden helpers
You might be tempted to just dig up some worms from your garden, but those aren't usually the right kind for a compost bin. Common garden earthworms are deep-burrowers and won't be happy in the confined space of a bin. For composting, you need "epigeic" worms, which live near the surface and love eating organic matter.
In the UK, the two most common types used are Eisenia fetida (often called Tiger worms or Brandling worms) and Dendrobaena veneta. Tiger worms are particularly popular because they have a voracious appetite and breed very quickly. You can easily order these online from specialist suppliers, and they usually arrive in a breathable bag with a bit of bedding to keep them safe.
When your worms arrive, try to get them into their new home as soon as possible. They might be a bit stressed from their journey, so give them a day or two to settle in before you start adding large amounts of food. Once they are established, they will start to multiply, and your worm population will naturally grow to match the size of your bin and the amount of food available.
Creating the perfect worm bedding
Before the worms move in, you need to provide them with a comfortable "bedding" material. This acts as their home and a source of carbon to balance out the nitrogen-rich food scraps. It needs to be something that holds moisture well but also allows air to circulate so the worms can breathe through their skin.
I find that a mix of shredded brown cardboard and old newspaper works brilliantly. You can also add some coconut coir or well-rotted leaf mould if you have some. Avoid using glossy magazines or heavily inked paper, as these can contain chemicals that the worms won't appreciate.
To prepare the bedding, soak your cardboard and paper in a bucket of water and then wring it out until it is the consistency of a damp sponge. It should feel moist to the touch but not dripping wet. Fill your bin about halfway with this mixture, fluffing it up to keep it airy, and then you are ready to introduce your worms.
What to feed your hungry worms
Once your worms are settled, you can start adding your kitchen scraps. It is best to add food in small amounts at first, burying it slightly under the bedding to prevent fruit flies. As the worm population grows, they will be able to process more waste, but it is always better to underfeed than overfeed.
Worms have quite specific tastes, and keeping them happy means knowing what to put on the menu. A balanced diet ensures the bin stays healthy and doesn't become acidic or smelly. Generally, if it came from a plant, it is probably safe, but there are a few exceptions to keep in mind.
You can feed your worms most of your daily kitchen waste, including:
- Fruit and vegetable peelings (especially potato skins and carrot tops)
- Used tea bags and coffee grounds (the worms love the grit in coffee)
- Crushed eggshells (these provide essential calcium and help manage acidity)
- Small amounts of plain pasta, rice, or bread
- The cardboard rolls from inside loo paper or paper towels
- Small amounts of garden soft-growth like annual weeds
Avoid adding meat, dairy, or oily foods, as these will rot and cause unpleasant smells. I also suggest being very sparing with citrus peels and onions, as these are quite acidic and can irritate the worms' sensitive skin. If you find the bin is starting to smell a bit "off," stop feeding for a few days and add some extra dry shredded cardboard to soak up any excess moisture.
Keeping your worms happy through the seasons
Worm farming in the UK requires a little bit of seasonal awareness. During our damp autumns and winters, the main challenge is keeping the bin from getting waterlogged. If your bin is outside, make sure it has a good lid and isn't sitting in a puddle. Excess moisture can drown the worms or make the bin go anaerobic, which is when the bad smells start.
In the height of summer, the danger is overheating. If a plastic bin sits in direct sunlight, it can act like an oven. I’ve found that placing a piece of damp hessian or a few layers of wet newspaper on top of the bedding helps keep the temperature down and the humidity up. If the worms are all huddled at the bottom of the bin, it’s a sign they are trying to escape the heat.
Every few weeks, it’s a good idea to gently fluff up the bedding with a small hand fork. This prevents the material from becoming compacted and ensures oxygen reaches all levels of the bin. It’s also a great chance to check on the health of your worms and see how quickly they are processing the food.
Harvesting your black gold and worm tea
After about three to six months, you will notice that the bedding has turned into a dark, crumbly, soil-like material. This is your finished compost. If you are using a stacking system, you can simply remove the bottom tray. If you have a single-box system, you can move all the contents to one side and put fresh food and bedding on the other; the worms will naturally migrate to the fresh food, leaving the finished compost behind.
Don't worry if a few worms are still in the compost when you harvest it. They will be perfectly happy being moved into your garden borders or pots. I usually sieve my compost lightly to remove any large chunks of uncomposted material, which can then go back into the bin for another round.
If your bin has a tap, you should drain the liquid every week or two. This "worm tea" is very potent, so you’ll want to dilute it until it looks like weak tea—usually about one part liquid to ten parts water. Use it to water your container plants or as a foliar spray for a quick nutrient hit. It’s particularly good for leafy greens and flowering plants that need an extra bit of energy.
Solving common worm farm wobbles
Even the most experienced gardeners run into a few hiccups now and then. The key is to remember that a worm bin is a living system that sometimes needs a little tweak to stay in balance. Most issues are very easy to fix once you know what to look for.
If you find yourself facing a problem, it is usually down to one of three things: moisture, air, or acidity. Here are a few quick ways to get things back on track:
- Fruit flies: These usually appear if food is left exposed on the surface. Always bury your scraps deep under the bedding.
- Smelly bin: This often means it is too wet or you have added too much food. Add dry cardboard and stop feeding for a week.
- Worms escaping: If they are all climbing the walls, they might be unhappy with the conditions. Check if the bin is too acidic or if it has become too hot.
- Slow processing: In winter, this is normal. In summer, it might mean the food is too dry for them to eat easily.
- Mould growth: A little white mould is fine and part of the process, but if the bin is covered in it, try to improve the airflow.
Usually, simply adding a handful of crushed eggshells or a good amount of shredded cardboard solves most problems. Worms are incredibly resilient creatures, and as long as they have a damp, dark place to live and a bit of food, they will keep working for you year after year.
Starting a worm farm is one of the most rewarding things you can do for your garden. It’s a wonderful feeling to know that your kitchen waste is being turned into something so valuable rather than ending up in a landfill. Once you see the difference those worm castings make to your plants, you’ll wonder why you didn't start sooner. Why not set up your first bin this weekend and see the magic for yourself?