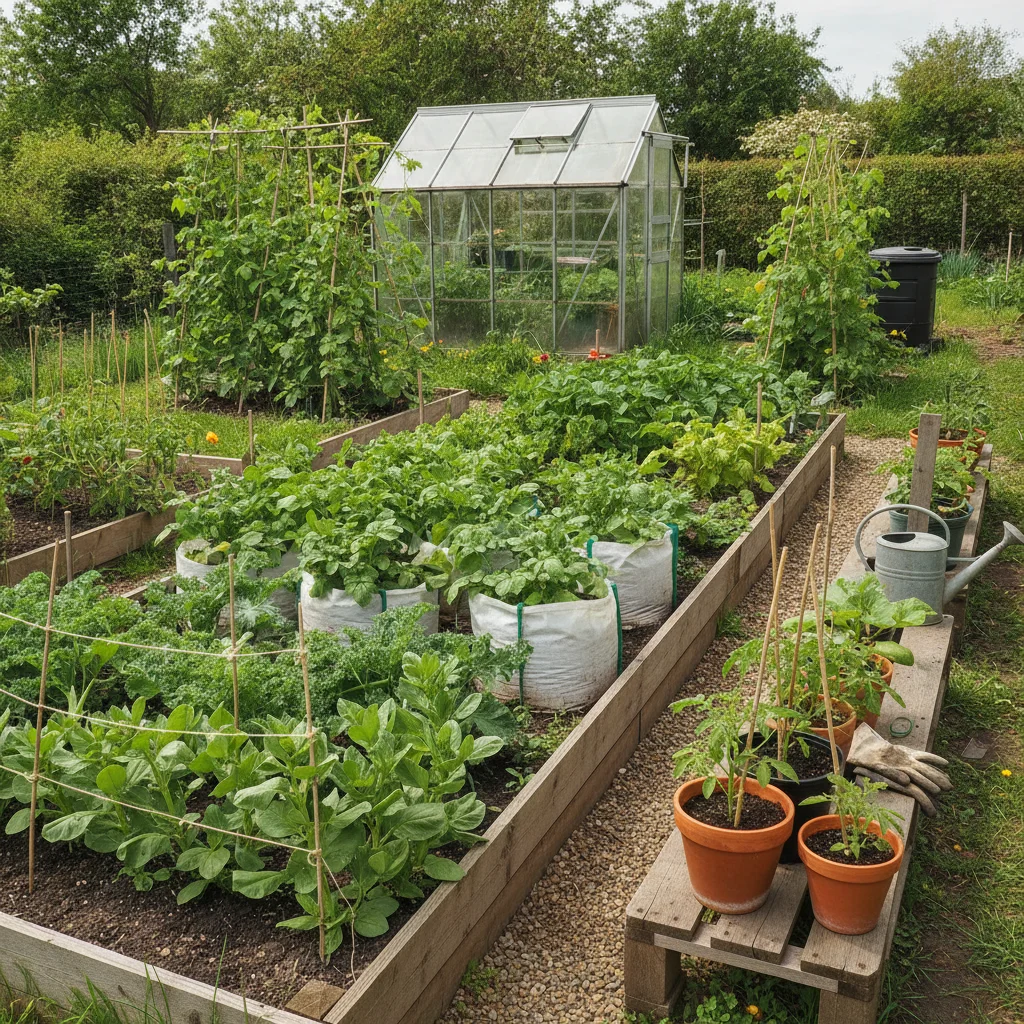
We’ve all been there, standing in the middle of a muddy patch of grass in early spring, clutching a packet of seeds and wondering where on earth to start. It’s incredibly tempting to just dig a hole and hope for the best, but a little bit of thinking now saves a mountain of backache later. Planning your vegetable garden layout isn't about creating a perfect, show-garden look; it’s about making sure your plants have what they need to thrive while making your life as easy as possible.
When I first started growing veg in a tiny, wind-swept corner of Yorkshire, I made every mistake in the book. I planted my tallest beans where they shaded out my lettuces, and I put my compost bin so far away that I stopped using it by mid-July. You don't need a massive estate to get a great harvest, and you certainly don't need to be an expert. Whether you have a sprawling allotment or just a few pots on a sunny balcony, a smart layout is the secret to growing more food with far less fuss.
The goal is to work with nature rather than against it. By understanding how the sun moves across your space and where the puddles tend to sit after a heavy British downpour, you can place every plant in its "happy place." When plants are happy, they grow faster, resist pests better, and taste much sweeter. Plus, a well-organised plot means you spend more time picking delicious home-grown treats and less time fighting weeds or dragging heavy watering cans across the lawn.
Finding the Brightest Spot in Your Garden
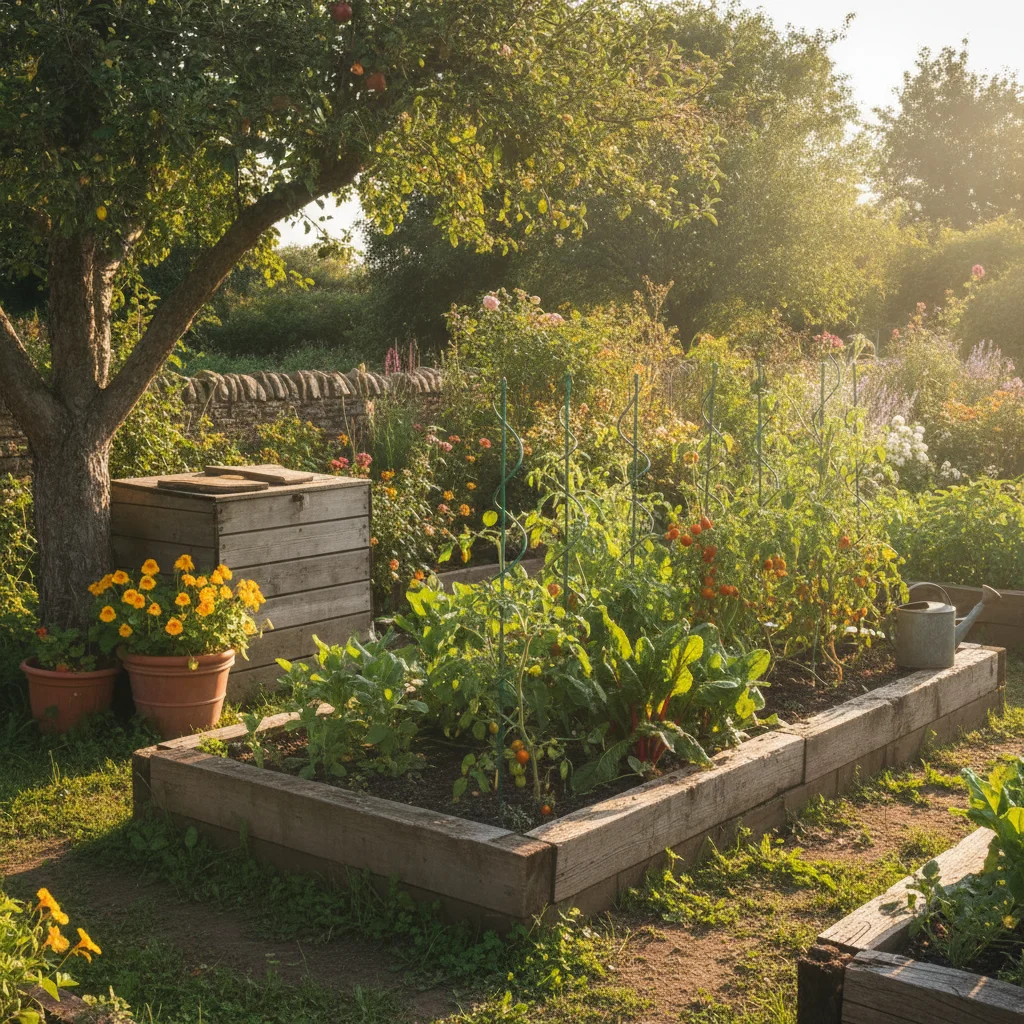
Sunlight is the fuel that turns tiny seeds into crunchy carrots and juicy tomatoes. Most vegetables need at least six to eight hours of direct sunlight every day to produce a decent crop. In our typical UK climate, where the sun can be a bit shy, every ray counts. Before you pick up a spade, spend a day watching how the light moves across your garden from breakfast until tea time.
South-facing spots are the gold standard for veg growing because they soak up the most warmth. If your garden is north-facing or heavily shaded by big trees or a neighbor’s fence, don’t panic. You can still grow plenty of greens like spinach, kale, and salad leaves which actually prefer a bit of cool shade during the height of summer. The trick is to place your "sun-worshippers" like tomatoes, peppers, and cucumbers in the brightest spots, and tuck the leafy greens into the dappled light.
Keep an eye out for "shadow creep" as well. A spot that looks brilliantly sunny in June might be completely covered in shadow by September when the sun sits lower in the sky. If you’re planning permanent beds, try to avoid placing them directly under the overhanging branches of large trees. Not only will the leaves block the light, but the tree roots will also compete with your vegetables for water and nutrients, which is a battle your cabbages are unlikely to win.
Handling Drainage and Heavy Soil
We get a fair amount of rain in the UK, and while our plants need a drink, they really don't like having "wet feet." If your soil stays soggy and waterlogged for days after a storm, the roots of your vegetables can literally suffocate. Before you decide on your layout, check how your ground handles water. A simple way to do this is to dig a small hole, fill it with water, and see how long it takes to disappear. If it’s still there an hour later, you might have heavy clay soil.
For gardens with drainage issues, raised beds are an absolute lifesaver. By building your growing area up above the natural ground level, you can fill it with a lovely, free-draining mix of compost and topsoil. This keeps the roots high and dry even during a soggy November. Raised beds also warm up much faster in the spring, which means you can start planting seeds like 'Boltardy' beetroot or early peas a few weeks sooner than your neighbours.
If you prefer growing directly in the ground, consider the natural slope of your land. Avoid putting your main veg patch at the very bottom of a hill where water might collect. You can also improve heavy soil over time by adding plenty of organic matter, like well-rotted garden compost or leaf mould. It’s easier than you think to turn a sticky, grey clay patch into rich, crumbly earth—it just takes a bit of patience and a lot of mulch.
Designing Paths for Effortless Maintenance
One of the biggest mistakes I see beginners make is creating beds that are far too wide. If you have to step onto the soil to reach the middle, you’ll end up squashing the earth down. This "compaction" makes it hard for roots to grow and ruins the soil structure. A good rule of thumb is to make your beds no more than 1.2 metres (about 4 feet) wide. This way, you can easily reach the centre from either side without ever having to set foot on the growing area.
Your paths are just as important as the beds themselves. They need to be wide enough for you to move around comfortably with a watering can or a basket of harvested goodies. If you have a larger space, make sure at least one main path is wide enough for a wheelbarrow. There is nothing more frustrating than trying to shimmy a heavy barrow of compost through a gap that’s two inches too narrow.
For the path surface, you have a few easy options. Grass looks lovely but requires constant mowing and can get very slippery in the winter. Woodchips are a fantastic, low-cost choice that feels soft underfoot and helps suppress weeds. If you want something more permanent, paving stones or gravel work well, though they can be a bit more of an investment. Whatever you choose, keeping your paths clear and tidy makes the whole garden feel more manageable and inviting.
Choosing Between Raised Beds and Open Ground
There is no "right" way to build a veg plot, but the style you choose will change how you look after it. Raised beds are brilliant for keeping things neat and contained. They act as a physical barrier that helps keep grass and weeds from creeping into your onions. They are also much easier on the back, as you don't have to bend down quite so far to do your weeding or planting.
| Feature | Raised Beds | Open Ground |
|---|---|---|
| Initial Cost | Higher (timber/stone) | Very low |
| Soil Control | Excellent (you choose the mix) | Dependent on natural soil |
| Drainage | Superb | Can be poor in clay areas |
| Maintenance | Easier on the back | More bending required |
| Flexibility | Fixed in place | Easy to change shape/size |
Open ground growing is the traditional "allotment style." It’s much cheaper to get started because you don't need to buy timber or bricks to build the sides. It also gives you more flexibility; if you decide you want to grow a massive patch of pumpkins next year, you can just dig a bigger area. However, it does require a bit more effort to keep the edges tidy, and you’ll need to be more diligent about improving your natural soil with compost every year.
Grouping Your Vegetables for Success
Once you’ve mapped out your beds, it’s time to think about what goes where. It’s a great idea to group plants with similar needs together. For example, thirsty plants like leafy greens and tomatoes should be near each other so you can water them in one go. Mediterranean herbs like rosemary and thyme prefer drier, grittier soil, so they are often better off in a dedicated spot or in pots near the house.
You’ve probably heard of "crop rotation," which sounds a bit technical but is actually very simple. It just means you don't grow the same thing in the exact same spot year after year. Pests and diseases that love a particular plant can build up in the soil if that plant is always there. By moving your "families" around—putting your potatoes where the beans were last year, for example—you keep the soil healthy and break the cycle of bugs.
Don't forget about companion planting, either. This is the lovely practice of growing certain plants together because they help each other out. Planting marigolds near your tomatoes can help ward off aphids, while growing tall sweetcorn can provide a natural trellis for climbing beans to scramble up. It’s a bit like a dinner party; some guests just get along better than others, and a happy mix makes for a much more vibrant and productive garden.
Making the Most of Vertical Space
If you have a small garden or a tiny patio, the only way is up! Many people forget that gardens are three-dimensional. You can grow a surprising amount of food on fences, walls, and even the sides of a shed. Climbing plants like runner beans, peas, and even certain types of squash are perfect for this. They take up very little room on the ground but produce a huge amount of food as they head for the sky.
Using trellises, arches, or simple bamboo tepees adds a lovely bit of structure to your layout. It also keeps the fruit off the damp ground, which prevents rotting and makes it much harder for slugs to get a midnight snack. In my own garden, I love using 'Tumbler' tomatoes in hanging baskets; they look beautiful with their cascading red fruits and don't take up any bed space at all.
Vertical gardening also helps with air circulation. When plants are crowded together on the ground, the air can get stagnant, which leads to fungal problems like powdery mildew. By encouraging your plants to grow upwards, you ensure they get plenty of fresh breezes, which keeps the leaves dry and the plants healthy. It’s a simple trick that can double your harvest in a small space.
Positioning Your Water and Compost
This is the "practical" part of planning that often gets overlooked. Think about where your water source is. If you have to lug a heavy watering can from the kitchen tap all the way to the bottom of the garden, you’ll quickly find it becomes a chore. If possible, install a water butt near your veg plot to collect rainwater from a shed or greenhouse roof. Not only is it better for your plants (rainwater is less "hard" than tap water), but it’s also much more convenient.
Your compost bin should also be easy to get to. You’ll be heading there constantly with vegetable peelings from the kitchen and cleared plants from the garden. If it’s tucked away in a dark, overgrown corner, you’re less likely to use it. Place it somewhere accessible but perhaps slightly screened by some tall flowers or a trellis if you don't like the look of it.
To make your planning even smoother, try to keep these items in mind:
- Place your most-used herbs (like parsley and mint) as close to the kitchen door as possible.
- Ensure your tool shed or storage box is near the main working area.
- Leave space for a small bench or chair so you can sit and enjoy your hard work.
- Keep a dedicated spot for "nursery" plants or seedlings that need a bit of extra care.
Planning for Smaller Spaces and Patios
You don't need a traditional "plot" to have a vegetable garden. If you only have a patio or a balcony, you can still have a very productive layout using containers. The key here is to use the largest pots you can fit; small pots dry out incredibly fast in the summer sun, which can stress your plants. Large troughs or even old galvanised buckets make fantastic homes for potatoes, carrots, and salads.
Think about the "flow" of your patio just as you would a larger garden. Group your pots together to create a little microclimate; this helps keep the humidity up and makes watering easier. You can use pot feet to improve drainage and prevent staining on your paving. If you’re short on floor space, look into "vertical planters" or tiered shelving units that let you stack your crops like a green skyscraper.
Even a single window box can be a mini veg plot. You can grow a surprising amount of cut-and-come-again salad leaves or a mix of fragrant herbs right on your windowsill. The most important thing is to start with what you have. You don't need to wait for the perfect garden to start growing your own food; a few seeds in a pot of compost is all it takes to begin your journey.
Planning your layout is really just about giving yourself the best chance of success. When you take the time to consider the sun, the soil, and your own comfort, the gardening itself becomes a joy rather than a struggle. Don't feel you have to get everything perfect in the first year; gardens are always evolving, and half the fun is learning as you go. Grab a notebook, sketch out a few ideas, and before you know it, you’ll be harvesting your very first home-grown feast.