We have all stood in a garden during a British winter and felt that familiar, sinking sensation. Heavy clay soil is one of the most common challenges for gardeners across the UK, turning into a sticky, impassable butter in the winter and a cracked, concrete-like surface in the summer. While it can be incredibly frustrating to deal with standing water and yellowing plants, clay soil is not a lost cause.
In fact, clay is often more fertile than sandy soil because its tiny particles have a high capacity for holding onto nutrients. The problem lies entirely in the structure. When those particles are packed too tightly together, there is no room for air or water to move, leading to the dreaded "puddling" that can drown your plants' roots.
Improving clay soil drainage is a marathon, not a sprint, but the results are profoundly rewarding. By understanding how to manipulate the soil structure and, where necessary, installing physical drainage systems, you can turn a boggy patch into a thriving, productive border. Let’s look at the methodical steps required to reclaim your garden from the damp.
Understanding the nature of clay
To fix a problem, we must first understand it. Clay soil is composed of microscopic, flat mineral particles that are less than 0.002mm in size. Because they are so small and flat, they tend to stack together like plates, leaving very little "pore space" between them. This is why water struggles to move through the profile; the gaps are simply too small for gravity to pull the water down quickly.
You can easily identify if you are dealing with true clay by performing a simple ribbon test. Take a handful of moist soil and rub it between your thumb and forefinger. If it feels smooth and soapy, and you can roll it into a long, thin sausage or "ribbon" that doesn't break, you have a high clay content. This density is exactly what causes the drainage issues we see after a heavy downpour.
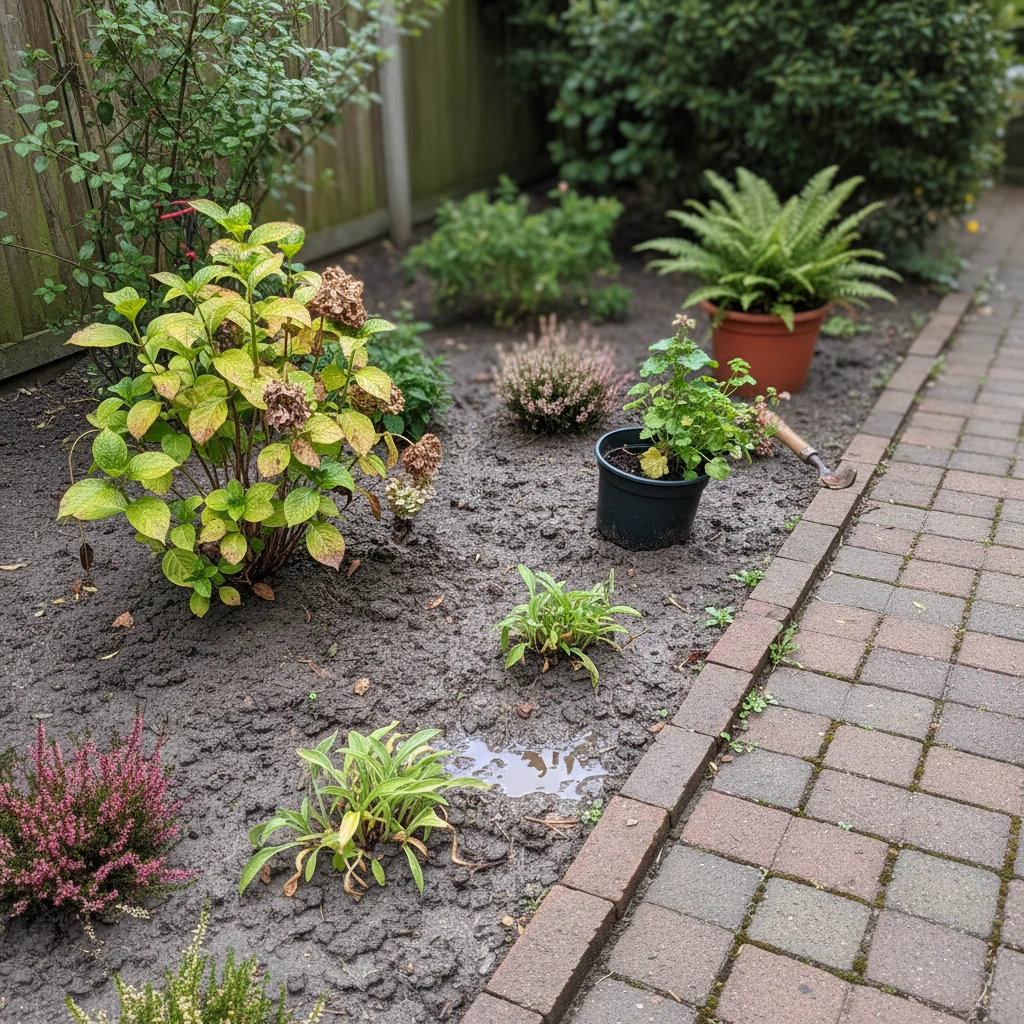
Poor drainage isn't just about wet feet for your plants. When soil is saturated, the air is pushed out, and the roots essentially suffocate. This lack of oxygen prevents the plant from taking up nutrients, which is why plants in waterlogged clay often look pale and stunted, even though the soil itself is rich in minerals.
The importance of timing your garden work
The first and most vital rule of managing clay is to stay off it when it is wet. This is often the hardest advice for an enthusiastic gardener to follow, especially in a rainy spring. However, walking on or digging wet clay causes "poaching," where the weight of your boots or tools squeezes out the remaining air pockets and collapses the soil structure.
Compacted clay is almost impossible for roots to penetrate and even harder for water to drain through. If you must work on your borders during the wetter months, always use "capping boards" or simple planks of wood to spread your weight. This prevents the pressure from being concentrated in one spot and protects the delicate pore spaces you are trying to create.
Wait for that sweet spot in the season—usually late spring or autumn—when the soil is moist but not sticky. If the soil sticks to your spade in large clumps, it is too wet. If it is so hard you need a pickaxe, it is too dry. Working the soil at the right time ensures that any improvements you make actually stay in place rather than creating a smeared, compacted mess.
Improving soil structure with organic matter
The most effective long-term solution for clay drainage is the addition of organic matter. We are looking to achieve a process called "flocculation." This is a slightly technical term for when the tiny clay particles clump together into larger granules, or "crumbs." When the soil has a crumbly tilth, the gaps between the crumbs are large enough for water and air to move freely.
You should aim to incorporate large volumes of well-rotted garden compost, leaf mould, or composted bark. Avoid using fresh manure, as it can be too high in nitrogen and may contain weed seeds; always ensure it is well-rotted and dark. As worms and soil microbes break down this organic matter, they create channels and produce "glues" that hold the soil crumbs together.
Applying a thick mulch of organic matter every autumn is the best way to maintain this structure. You don't necessarily need to dig it in; the "no-dig" approach is particularly effective on clay. By spreading 5-10cm of compost on the surface, you allow the weather and the earthworms to do the heavy lifting for you, gradually improving the drainage from the top down.
Choosing the right materials for soil improvement
When trying to open up the soil, many gardeners instinctively reach for sand, but this can be a grave mistake. Adding fine building sand to heavy clay can create a substance remarkably similar to weak concrete. The fine sand grains fill the tiny gaps between the clay particles, locking them together even more tightly than before.
If you want to use a mineral additive, always choose horticultural grit or sharp sand. The particles in these materials are large and angular, which helps to physically prop open the soil structure. However, keep in mind that you need a significant amount to make a difference—often up to 25% of the total soil volume—which can be expensive and back-breaking work.
For most UK gardens, a combination of organic matter and a smaller amount of grit is the most sustainable path. Here are the best materials to consider for your clay soil:
- Well-rotted garden compost: The gold standard for feeding the soil food web.
- Leaf mould: Excellent for improving structure without adding too many nutrients.
- Composted bark: Provides long-lasting air pockets as it takes years to break down.
- Horticultural grit: Best for localized drainage in planting holes.
- Peat-free soil conditioner: Commercially available mixes designed specifically for heavy ground.
Building raised beds for instant results
If your garden suffers from a high water table or the clay is particularly stubborn, the most practical solution is often to garden above the problem. Raised beds allow you to bypass the drainage issues of the native soil entirely. By building a frame and filling it with a free-draining mix of topsoil and compost, you create an ideal environment for root growth.
Raised beds should be at least 20cm to 30cm deep to allow for adequate root development. The beauty of this system is that the soil within the bed never gets stepped on, so it remains loose and aerated. Even if the clay beneath the bed is saturated, the upper root zone remains well-drained and oxygenated.
When installing raised beds on clay, it is a good idea to lightly fork the base of the native soil before filling the bed. This prevents a "sump" effect where water sits at the boundary between the new soil and the clay. Over time, the improved drainage in the bed will actually help the clay beneath it to become more friable as worms move between the layers.
How to install a French drain system
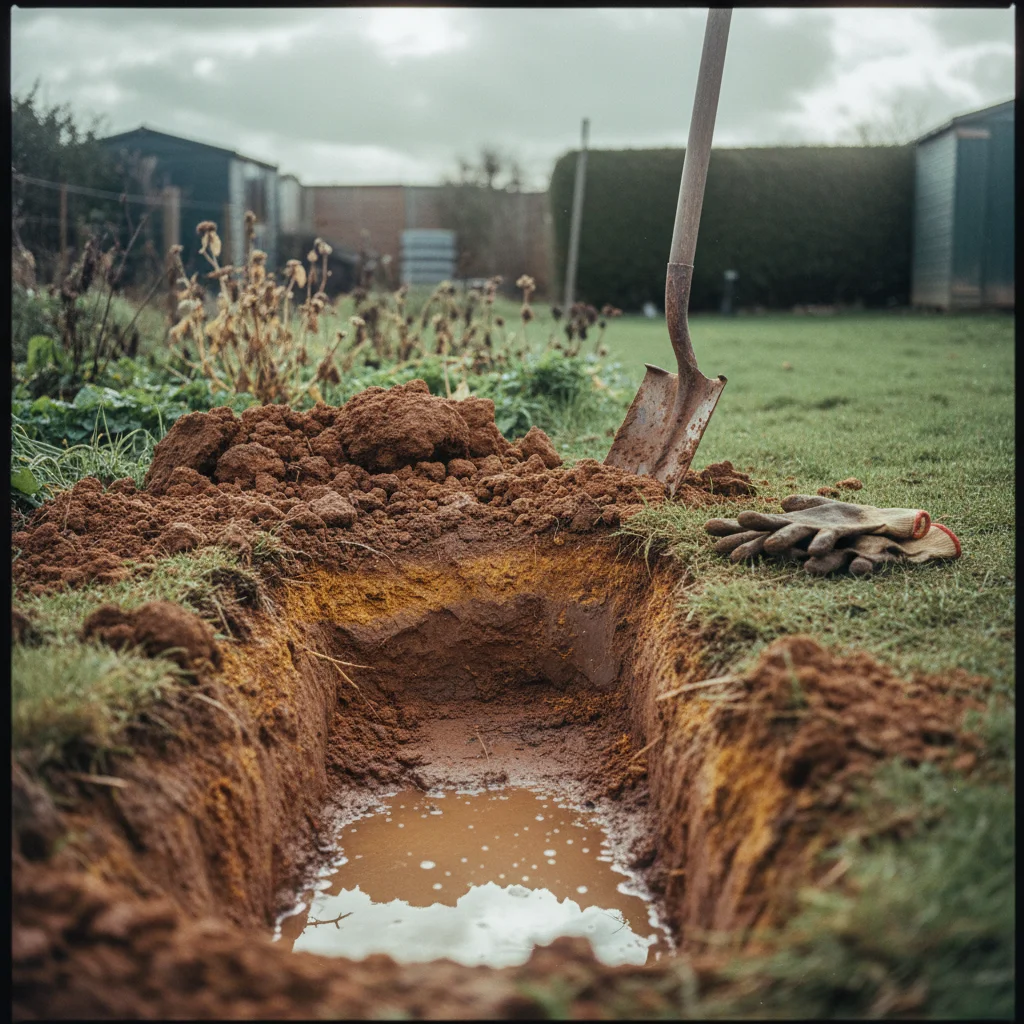
For gardens where water consistently stands in large pools after rain, mechanical intervention may be necessary. A French drain is a simple but effective way to redirect excess water away from a problem area. It consists of a trench filled with gravel that provides a path of least resistance for groundwater to follow.
Start by digging a trench about 30cm to 50cm deep, ensuring it has a slight downward slope—ideally a 1 in 100 fall—towards a lower part of the garden or a dedicated soakaway. Line the trench with a permeable geotextile fabric. This is a crucial step as it prevents fine clay particles from washing into the gravel and clogging the system over time.
Fill the bottom of the lined trench with a layer of clean 10mm to 20mm shingle, then lay a perforated drainage pipe on top. Cover the pipe with more shingle, wrap the fabric over the top like a parcel, and then replace the turf or topsoil. This creates a hidden "river" beneath your lawn that will whisk away surface water before it has a chance to saturate the root zone.
Designing a garden soakaway
If you are installing a French drain or diverting water from a patio, you need somewhere for that water to go. In the UK, it is usually illegal to divert garden drainage into the public foul water sewers. Instead, you should create a soakaway—a large hole filled with coarse stone where water can slowly seep back into the ground.
A soakaway should be located at least five metres away from any building foundations to prevent subsidence. The hole typically needs to be about one cubic metre in size, though this depends on the volume of water you are managing. Modern soakaway crates, which look like sturdy plastic milk crates, are much more efficient than just using rubble, as they provide more void space for water storage.
Once the crates are wrapped in geotextile and placed in the hole, they are backfilled with soil. During a heavy storm, the soakaway fills up rapidly, acting as a buffer. In the hours and days following the rain, the water gradually dissipates into the surrounding clay. This natural process recharges the groundwater without overwhelming the local drainage infrastructure.
Selecting plants that thrive in heavy soil
Sometimes the best approach is to stop fighting the soil and start working with it. There are many beautiful plants that have evolved to cope with "wet feet" and heavy textures. By choosing species that naturally thrive in clay, you can have a lush garden even while you are in the process of improving the soil structure.
Shrubs like Cornus alba (dogwood) and Salix (willow) are famous for their ability to soak up moisture and provide stunning winter colour. Many traditional cottage garden favourites, such as Rosa (roses) and Geranium, actually prefer the nutrient-rich, moisture-retentive nature of clay, provided it isn't permanently submerged.
For the dampest spots, consider moisture-loving perennials like Filipendula, Astrantia, and Lobelia cardinalis. These plants act as natural pumps, drawing water out of the soil through their root systems and releasing it into the atmosphere. Using plants to manage water is a sustainable, "green" engineering solution that adds beauty while solving a functional problem.
Embracing the no dig method
Once you have made the initial effort to break up compaction or install drainage, the best way to keep clay soil healthy is to stop digging it. Every time we turn the soil over with a spade, we disrupt the delicate networks of fungal hyphae and earthworm tunnels that provide natural drainage.
The no-dig method involves simply adding a layer of organic mulch to the surface every year. This mimics the natural floor of a forest, where leaves fall and rot down, creating a rich, porous topsoil. On clay, this layer of mulch protects the surface from "capping"—where heavy rain beats the surface into a hard crust—and keeps the soil biology active year-round.
Over several years, you will notice the dark, crumbly layer of improved soil getting deeper and deeper. The transition from heavy clay to workable loam is a slow process, but it is one of the most satisfying transformations in gardening. By feeding the soil from above and respecting its structure, you ensure that your drainage problems become a thing of the past.
The key to success with clay is patience and a commitment to soil health. Start by adding a thick layer of peat-free compost to your borders this autumn, and you will be amazed at how much easier the ground is to manage by the time spring arrives.