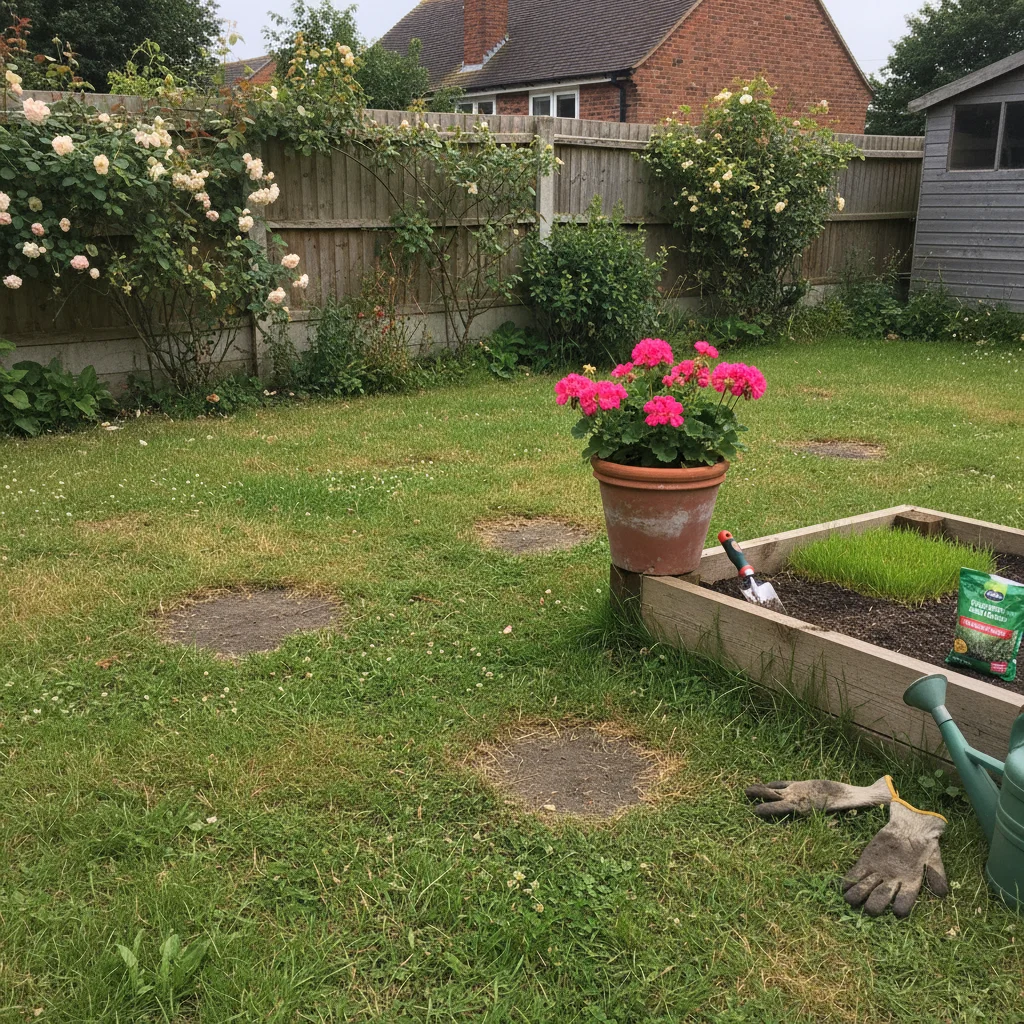
We all know the feeling of looking out at the garden in early March and seeing a lawn that looks more like a muddy battlefield than a lush green carpet. The British winter is notoriously tough on grass, with heavy rain, frost, and low light levels leaving even the best-kept lawns looking thin and yellow.
It is perfectly normal for a lawn to struggle during the colder months, but the way you react in spring determines how your garden will look for the rest of the year. Taking a methodical approach to repair now will save you hours of frustration when the summer sun finally arrives.
The key to a successful recovery is understanding that your lawn is a living ecosystem. We need to address the soil health and the physical structure of the turf before we simply throw down more seed. By following a few professional steps, you can turn those bare patches into thick, resilient grass that can withstand the heat of the months ahead.
Why your lawn looks patchy after winter
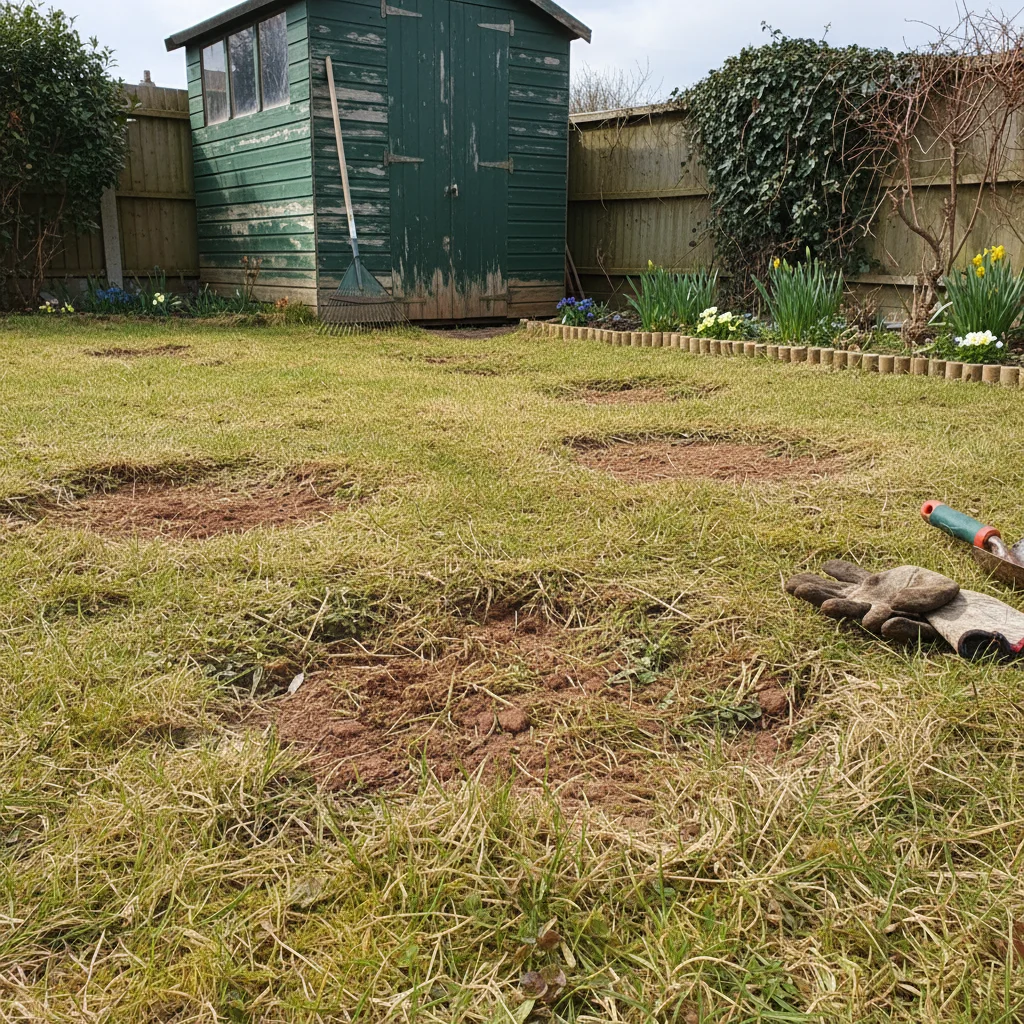
The most common cause of a patchy lawn is soil compaction. During the winter, heavy rain saturates the ground, and if we walk on the grass while it is wet, we squeeze the air out of the soil. This leaves the grass roots struggling to breathe and makes it nearly impossible for nutrients to reach them.
Moss is another frequent visitor in damp, shaded areas of the UK garden. It thrives in the cool, wet conditions where grass goes dormant, effectively choking out the weaker blades of grass. If you see a spongy, green carpet instead of individual grass blades, you are likely dealing with a significant moss problem that needs physical removal.
Finally, we have to consider the lack of light and nutrients. Grass stops growing when the temperature drops below roughly 6°C, but the damp conditions still encourage fungal issues like snow mould. This can leave circular, brown patches that look unsightly but are relatively easy to treat once the weather warms up.
Wait for the right soil temperature
One of the biggest mistakes I see gardeners make is rushing out to reseed as soon as the first sunbeam hits in February. Grass seed requires a consistent soil temperature of at least 10°C to germinate effectively. If you sow too early, the seed will simply sit in the cold, damp soil and rot or be eaten by hungry birds.
I always recommend waiting until you see the first signs of active growth in your existing grass. This usually happens in late March or early April in most parts of the UK. When you find yourself needing to mow the lawn for the first time in the year, that is your signal that the soil is warm enough for repair work.
Patience at this stage pays dividends later. By waiting for the right conditions, you ensure a much higher germination rate, which means you use less seed and get a more even finish. It also gives the soil time to dry out enough so that you aren't causing further compaction while you work.
Clearing the surface with scarification
Before we add anything new to the lawn, we need to clear away the debris. Scarification is the process of raking out "thatch," which is a layer of dead grass, moss, and old clippings that sits on the soil surface. A thin layer of thatch is healthy, but anything over a centimetre acts like a waterproof barrier.
You can use a simple spring-tine rake for smaller lawns, pulling it firmly through the grass to lift the debris. For larger areas, a mechanical scarifier is a worthwhile investment or hire. Don't be alarmed if the lawn looks terrible immediately after you have finished; it is a necessary part of the process to allow the soil to breathe.
Once you have removed the thatch, you have created the perfect "seedbed" for new grass. The soil surface is now exposed, meaning any seed or fertiliser you apply will make direct contact with the earth. This is the single most important step in ensuring your repair work actually lasts.
Relieving compaction through aeration
If your lawn has stood under water during the winter or feels hard underfoot, it needs aerating. This involves making holes in the soil to allow air, water, and nutrients to penetrate deep into the root zone. For a domestic lawn, a garden fork is often the only tool you need.
Push the fork into the soil about 10-15cm deep every 10cm or so across the patchy areas. If your soil is particularly heavy clay, you might want to use a hollow-tine aerator, which removes small plugs of soil rather than just pushing it aside. This is a brilliant way to improve drainage and encourage deeper root growth.
After aerating, I like to brush a top-dressing into the holes. A mix of sharp sand and well-rotted organic matter or peat-free compost works wonders. This keeps the holes open and provides a slow-release source of nutrients exactly where the grass needs it most.
Understanding the role of lawn fertilisers
Feeding your lawn in spring is about more than just making it green; it is about strengthening the plants. When looking at fertilisers, you will see three numbers representing NPK: Nitrogen (N) for leaf growth, Phosphorus (P) for root development, and Potassium (K) for overall plant health.
A spring lawn feed should be high in nitrogen to kickstart growth after the winter dormancy. I prefer using organic-based fertilisers where possible, as they release nutrients slowly and improve the overall biology of the soil. Synthetic feeds give a quick "flush" of green but can sometimes lead to weak, sappy growth that is more susceptible to disease.
Apply your fertiliser on a day when rain is forecast, or water it in well with a hose. If the granules sit on the dry grass blades, they can cause "leaf burn," leaving unsightly brown marks. A well-fed lawn will thicken up naturally, often filling in smaller patches without the need for extra seed.
How to reseed bare patches successfully
When the soil is prepared and fed, you can focus on the actual reseeding. Choosing the right seed is vital; a "tough" mix containing perennial ryegrass is best for family lawns, while a "fine" mix of fescues is better for an ornamental look. Ensure you buy fresh seed, as older packets lose their ability to germinate quite quickly.
To get the best results, follow this simple process for each patch:
- Scuff the surface of the bare patch with a hand fork to loosen the top 2cm of soil.
- Scatter the grass seed evenly at the rate recommended on the packet, usually around 20-30g per square metre.
- Mix the seed gently into the surface or cover with a very thin layer of sieved, peat-free compost.
- Firm the area down with your foot to ensure the seed is in good contact with the soil.
- Water the patch lightly using a fine rose on your watering can to avoid washing the seed away.
- Protect the area from birds using a bit of netting or even some reflective old CDs on strings.
Essential equipment for lawn maintenance
You don't need a shed full of expensive machinery to repair a patchy lawn, but having the right basic tools makes the job much more enjoyable. Investing in quality tools usually means they will last a lifetime if you look after them and keep them clean.
I recommend having these items ready before you start your spring lawn care:
- A sturdy spring-tine rake for removing moss and thatch.
- A sharp garden fork or a hollow-tine aerator for improving drainage.
- A hand trowel or small fork for prepping individual bare patches.
- A watering can with a fine rose or a hose with a mist setting.
- A pair of lawn edging shears to give the garden a crisp, finished look.
Managing your lawn with the environment in mind
As a gardener, I am always looking for ways to work with nature rather than against it. When repairing your lawn, consider using peat-free products for your top-dressing. Peat bogs are vital carbon sinks, and the horticultural industry is moving away from their use to protect these precious habitats.
Instead of using chemical weedkillers on your lawn, try to embrace a few daisies or clovers. Clover is actually excellent for a lawn because it "fixes" nitrogen from the air and shares it with the grass, acting as a natural fertiliser. A perfectly manicured monoculture of grass is rarely the most sustainable choice for a domestic garden.
You can also recycle your lawn clippings by composting them. Mix them with "brown" materials like shredded cardboard or dry leaves to create a balanced compost. This returns the nutrients gathered by the grass back to your garden beds, closing the loop and reducing the need for store-bought fertilisers.
Mowing for a healthier lawn
Once your new grass starts to appear, you need to be careful with the mower. For the first few weeks, let the new blades reach about 5-8cm in height before you even think about cutting them. When you do finally mow, set your blades to the highest setting.
Cutting grass too short is the quickest way to stress the plant and encourage moss to return. I follow the "one-third rule": never remove more than one-third of the grass blade in a single cut. This ensures the plant has enough leaf area left to photosynthesise and stay strong.
Keep your mower blades sharp. Dull blades tear the grass rather than cutting it, leaving jagged edges that turn brown and provide an entry point for diseases. A clean cut heals quickly and keeps the lawn looking vibrant and healthy throughout the growing season.
By taking the time to scarify, aerate, and reseed correctly this spring, you are doing more than just fixing a few patches. You are building a deeper root system and a more resilient lawn that will stay green even when the weather turns dry. A little effort now ensures you can spend your summer relaxing on the grass rather than worrying about it.