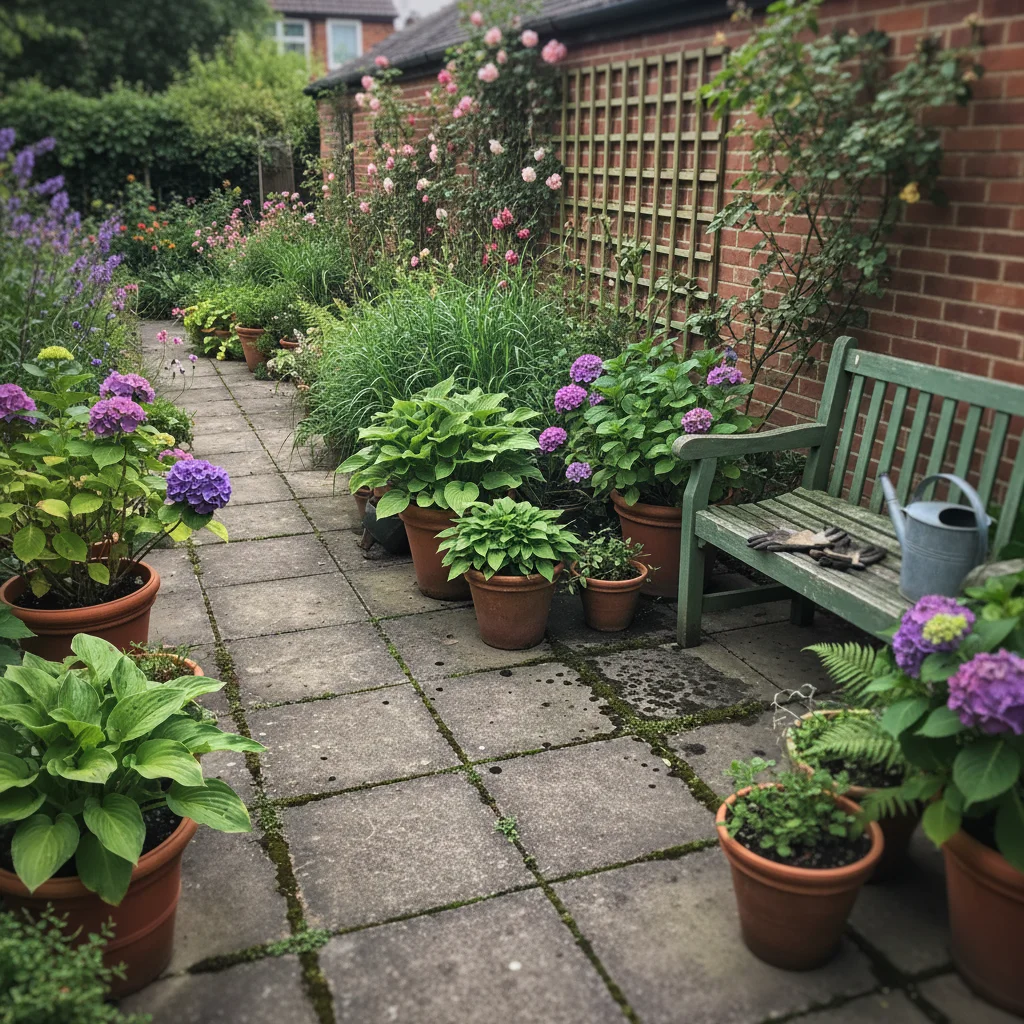
A clean patio is the foundation of a welcoming garden, providing a space for us to sit, relax, and enjoy the fruits of our horticultural labours. However, the British climate, with its frequent rainfall and damp winters, creates the perfect breeding ground for various biological growths. We have all stepped out onto a paving slab in mid-winter only to find it has become as slippery as an ice rink due to a fine film of green algae.
Beyond the safety risk of slips and falls, mould, algae, and the dreaded "black spot" lichen can dull the natural beauty of your stone and even cause long-term damage to the pointing. Understanding how to manage these organisms is a key part of garden maintenance, and it doesn't always require harsh, environmentally damaging chemicals. By taking a methodical approach, we can restore our outdoor spaces while remaining mindful of the soil and plants that border our paths.
The key to successful patio mould removal is identifying exactly what you are dealing with before you start scrubbing. Most green staining is caused by simple algae, which thrives in damp, shaded areas where moisture lingers on the surface. True mould and mildew are fungi that often appear as darker, fuzzy patches in corners that lack airflow. Then there is lichen, specifically the black variety, which anchors itself deep into the pores of the stone and requires a bit more persistence to dislodge.
Why algae and mould thrive on your paving
To tackle the problem effectively, it helps to understand why these growths appear in the first place. Most paving materials, whether they are natural sandstone, limestone, or concrete, are porous to some degree. These tiny pores trap water, creating a microscopic reservoir that supports life. When we combine this moisture with the organic matter that naturally settles on a patio—such as fallen leaves, grass clippings, and wind-blown dust—we provide a nutrient-rich buffet for spores to colonise.
Location plays a significant role in how quickly your patio turns green. Areas that face north or are overshadowed by high fences and overhanging trees will stay damp for much longer after a rain shower. Without the drying power of the sun and a gentle breeze to evaporate surface water, the biological cycle remains in constant motion. Even the runoff from your lawn can contribute, as nitrogen-rich fertilisers can inadvertently feed the algae on your paving edges.
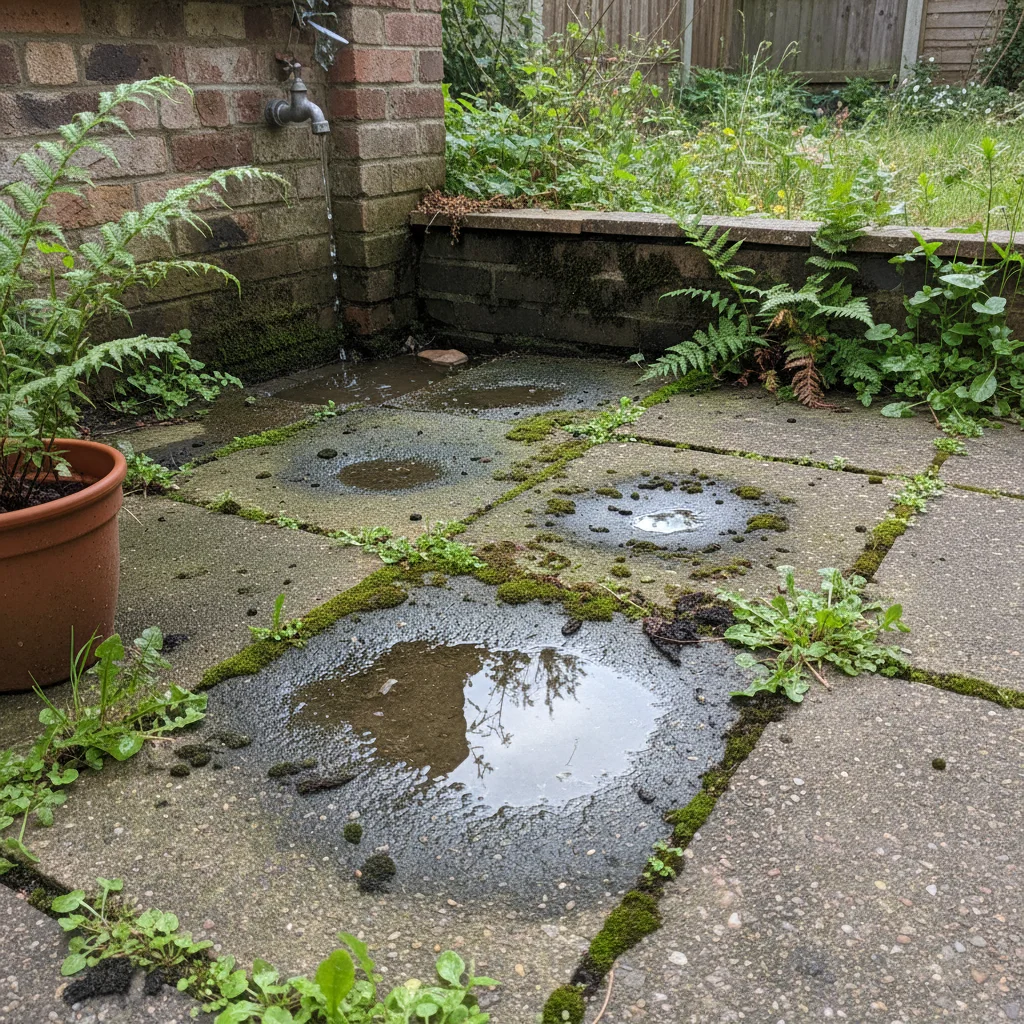
We must also consider the health of the stone itself. Over time, the surface of older paving can become weathered and pitted, increasing the surface area available for mould to take hold. If your patio has poor drainage or "ponding" where water sits in puddles, you are essentially inviting these organisms to set up home. Addressing the underlying moisture issues is often just as important as the cleaning process itself.
Essential tools for patio cleaning
Before you begin, it is worth gathering a few basic supplies to ensure the job goes smoothly. You do not need an expensive array of power tools to achieve a professional finish, but having the right manual equipment will save your back and your knees. I always recommend wearing a sturdy pair of gardening gloves and perhaps some waterproof trousers if you intend to use a lot of water.
- A stiff-bristled broom or a dedicated patio scrubbing brush.
- A large plastic bucket for mixing your cleaning solutions.
- A long-handled wire brush for stubborn patches in the joints.
- Safety goggles to protect your eyes from splashes.
- A watering can with a rose attachment for even application.
- A kneeling pad if you need to tackle specific spots by hand.
Having these items ready prevents you from having to stop halfway through the job. I find that a stiff broom is often the most underrated tool in the gardener's shed; a vigorous sweep on a dry day can remove a surprising amount of loose spores and dried algae before you even introduce moisture. This "dry clean" makes the subsequent wet wash much more effective as you aren't simply moving wet mud around.
Assessing your stone type
Not all paving is created equal, and the method you choose should depend entirely on what is under your feet. Natural stones like limestone and certain types of slate are chemically sensitive. Because limestone is alkaline, using acidic cleaners like white vinegar or certain "brick acids" can cause a chemical reaction that permanently etches or dissolves the surface of the stone. Always check your stone type before reaching for a bottle of cleaner.
Indian Sandstone is a popular choice in UK gardens due to its beautiful colour variations, but it is incredibly porous. This means that mould and algae can grow quite deep into the stone, rather than just sitting on top. For these surfaces, a gentle but deep-penetrating approach is better than high-pressure blasting, which can strip away the delicate layers of the stone and leave it looking "blown" and rough.
Concrete pavers and reconstituted stone are generally more robust, but they can still suffer from discolouration if treated with harsh chlorine-based bleaches. These chemicals can sometimes leave white "bloom" marks or cause the pigments in the concrete to fade unevenly. If you are unsure, the golden rule is to test your cleaning solution on a small, inconspicuous corner or a spare slab first to see how it reacts once dry.
The gentle cleaning method
For most light cases of green algae and surface mould, a simple solution of warm water and liquid soap is surprisingly effective. I prefer to use an eco-friendly dish soap or a dedicated horticultural soap that won't harm the soil biology in the surrounding borders. The goal is to break the surface tension of the water so it can penetrate the biofilm of the algae.
Start by generously wetting the patio with your soapy mixture using a watering can. Let it sit for about ten to fifteen minutes, ensuring it doesn't dry out in the sun. This dwell time allows the soap to loosen the grip of the organisms on the stone. Once the time is up, use your stiff broom to scrub the surface vigorously, focusing on the areas with the heaviest growth.
Rinse the area thoroughly with clean water from a garden hose or buckets. You will likely see a stream of green-tinted water running off; try to direct this towards a drain rather than directly onto your prize hostas or lawn. This manual method is gentle on the stone, safe for your pets, and provides a good bit of exercise for the gardener. It is often all that is needed for a patio that receives an annual spring clean.
Using oxygen bleach for tougher stains
When soap and water aren't enough, many people reach for standard household bleach, but I would urge you to consider oxygen bleach instead. Sodium percarbonate, often sold as a powder, is much kinder to the environment. When mixed with water, it breaks down into oxygen, water, and soda ash. It is highly effective at killing mould spores and lifting organic stains without the toxic fumes or the risk of "bleaching" the life out of your soil.
To use oxygen bleach, dissolve the powder in warm water according to the manufacturer's instructions. Apply it to a dry patio, as this allows the solution to be sucked into the pores of the stone where the mould resides. You will often see it fizzing slightly as it reacts with the organic matter. Leave it to work for thirty minutes, then give it a light scrub and a thorough rinse.
The beauty of this method is that it continues to work even after you have finished rinsing. It helps to brighten the stone and can even tackle some of the lighter lichen spots. Because it doesn't leave behind harmful residues, you don't have to worry quite so much about the runoff affecting the pH of your garden beds. It is a methodical, effective, and more sustainable way to deep-clean your outdoor living space.
Dealing with stubborn black spot
Black spot is the common name for various types of lichen that appear as small, ink-like splats on your paving. Unlike algae, lichen is a symbiotic relationship between a fungus and an alga, and it produces a hard, crusty shield that protects it from the elements. It actually sends tiny "roots" or hyphae into the stone itself, making it incredibly difficult to remove with simple scrubbing.
If you have a severe infestation of black spot, you may need a more specialised patio cleaner containing sodium hypochlorite. While this is a stronger chemical, it is sometimes the only way to break down the tough structure of the lichen. When using these products, it is vital to follow the safety instructions to the letter. Keep pets and children away from the area until it is completely dry and rinsed.
When applying a stronger cleaner, I suggest working in small sections. Apply the liquid, let it dwell for the recommended time—usually 30 to 60 minutes—and then rinse it off with plenty of fresh water. You may find that a second application is needed for particularly old or dense spots. Once the lichen is dead, it will lose its grip on the stone and can be brushed away more easily.
The pitfalls of pressure washing
It is very tempting to hire a high-powered pressure washer and blast the grime away in an afternoon. While satisfying to watch, pressure washing can be a double-edged sword. If the pressure is too high or the nozzle is held too close to the surface, you can easily strip the "face" off your paving slabs. This makes the stone even more porous than before, meaning the algae will return even faster and grow even deeper.
Another major issue with pressure washing is the damage it does to the pointing or jointing sand between the slabs. The high-pressure jet can easily gouge out the mortar, leaving gaps that will soon be filled with weeds and even more moisture. If you do choose to use a pressure washer, use a wide fan spray pattern rather than a narrow jet, and keep the wand at a consistent 45-degree angle to the surface.
I generally prefer the "low and slow" approach of chemical or soap-based cleaning combined with a garden hose. However, if you have a large area of very sturdy concrete, a pressure washer can be a useful tool as long as you are prepared to replace any jointing sand that gets washed away. Always finish by sweeping fresh kiln-dried sand into the joints once the patio is completely dry to maintain the structural integrity of the paving.
Preventing future mould and algae growth
Once you have restored your patio to its former glory, the goal is to keep it that way for as long as possible. Prevention is far easier than a heavy deep-clean every spring. By making a few small changes to your garden environment, you can significantly reduce the speed at which mould and algae return.
- Sweep your patio once a week to remove the organic debris that feeds mould.
- Trim back overhanging shrubs and trees to allow more sunlight and airflow to reach the stone.
- Check that your gutters and downpipes aren't leaking onto the paving.
- Ensure that your lawn edges are trimmed to prevent grass from creeping over the stone.
- Consider applying a breathable stone sealer to reduce water absorption in very porous materials.
- Refresh the jointing or pointing if you notice gaps where water can sit.
Regular maintenance is the secret to a long-lasting, clean finish. A simple sweep with a stiff broom on a dry day does more than just tidy up; it disrupts the early stages of algae growth before it can form a visible film. If you notice a small green patch starting to form, a quick spot-clean with some soapy water will prevent it from spreading across the entire patio over the coming weeks.
Taking the time to care for your patio properly ensures that it remains a safe and beautiful part of your garden for years to come. By choosing the right methods for your specific stone and being mindful of the environment, you can achieve professional results with minimal stress. Now that your paving is clean and clear, you can get back to the real joy of gardening—tending to your plants and enjoying the outdoor space you have worked so hard to create.