There is a particular satisfaction that comes with the first pruning session of spring when your secateurs glide through a rose stem like a hot knife through butter. As a former head gardener, I have spent countless hours maintaining the tools of the trade, and I can tell you that a sharp blade is the difference between a chore and a craft. Most gardeners wait until their tools are hacking rather than cutting before they consider maintenance, but by then, the damage to both the tool and the plant is often already done.
Maintaining your tools is one of the most sustainable habits you can adopt in the garden. Instead of replacing rusted or blunt shears every few seasons, a well-kept pair of high-quality carbon steel secateurs can last a lifetime. Beyond the financial saving, sharp tools are vital for plant health. A clean cut heals quickly, whereas a jagged, crushed wound from a blunt blade is an open invitation for pests and fungal diseases to take hold of your prized shrubs.
You do not need an expensive workshop or complex machinery to keep your kit in top condition. With a few simple hand tools and a bit of patience, you can restore an edge to almost anything in your shed. Whether you are tackling a pair of bypass loppers or a simple garden spade, the principles of sharpening remain the same. It is about understanding the angle of the blade and removing just enough metal to reveal a fresh, keen edge.
Why sharp tools change everything
When we talk about garden maintenance, we often focus on the plants, but the tools are our primary interface with the soil and the wood. A blunt spade requires significantly more physical effort to push into heavy clay soil, putting unnecessary strain on your back and shoulders. By contrast, a sharpened spade edge slices through roots and compacted earth with surprising ease, making a morning of digging feel far less like a workout.
From a horticultural perspective, the quality of the cut is paramount. When you use blunt secateurs, the blades tend to crush the plant tissue before they eventually tear through it. This crushing action destroys the cambium layer, which is the living part of the stem responsible for healing. A sharp blade leaves a smooth surface that allows the plant to seal the wound rapidly, reducing the risk of dieback or infection.
Sustainability is at the heart of tool care. We live in a world where many consumer goods are designed to be disposable, but a good garden tool is an investment. By learning to sharpen your own equipment, you reduce the demand for new manufacturing and keep metal out of the landfill. It is a quiet, methodical task that connects you more deeply to the rhythm of the seasons and the tools you rely on.
Signs your tools need attention
It is easy to ignore a slightly dull blade, but there are clear indicators that it is time to reach for the sharpening stone. If you notice that your secateurs are "chewing" the bark rather than slicing it, or if the blades are sticking together after a cut, they require immediate attention. Often, this sticking is caused by a build-up of sap and resin, which can be just as detrimental to performance as a blunt edge.
You should also look closely at the finish of the cut on your plants. If the wood looks white and splintered rather than clean and green, your tools are struggling. For digging tools like spades and hoes, look for a rounded or rolled edge on the metal. A spade should have a distinct taper at the tip; if the edge is as thick as the rest of the blade, you are working much harder than necessary.
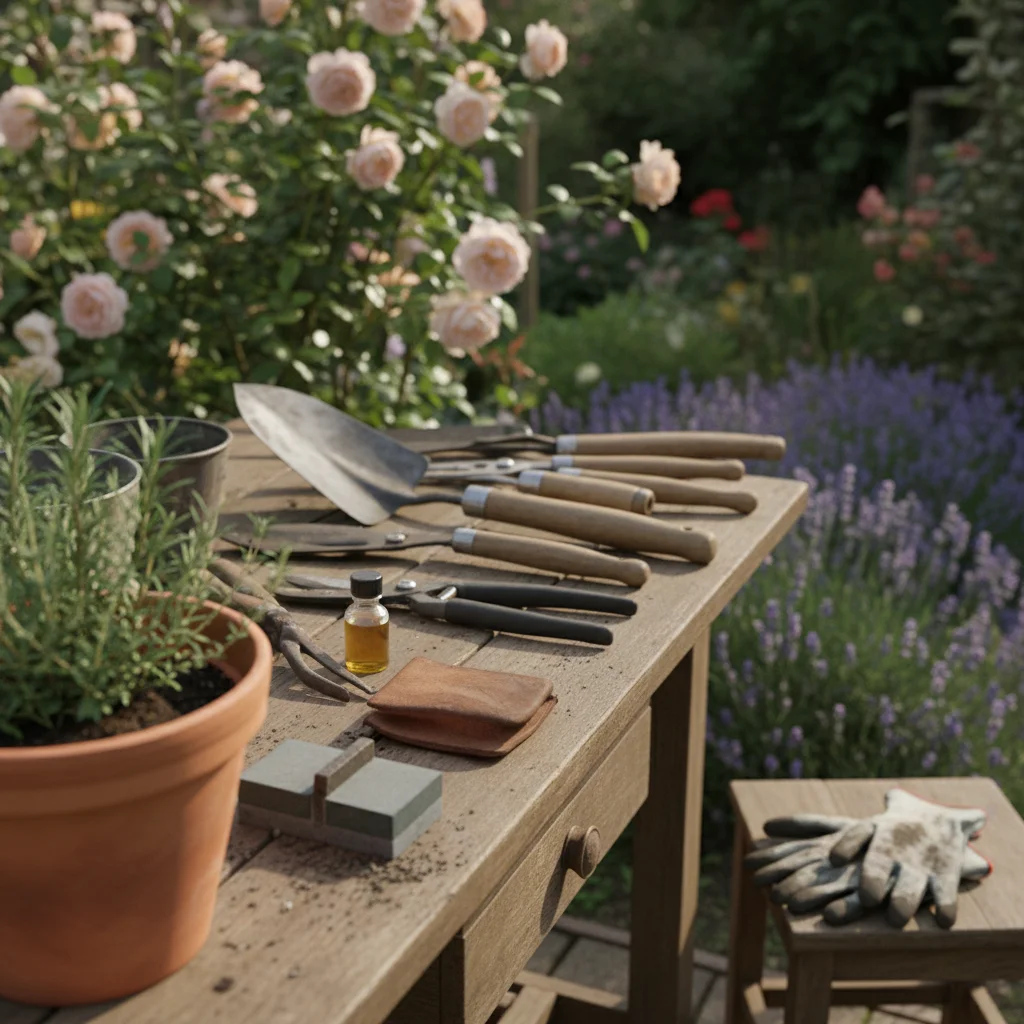
The essential sharpening kit
You do not need a vast array of equipment to get started. Most garden tool maintenance can be handled with a few portable items that fit into a small toolbox. Having these ready to hand makes it much more likely that you will perform quick touch-ups throughout the season rather than waiting for a major overhaul.
- A fine-toothed flat metal file for larger tools like spades and lawnmower blades.
- A diamond sharpening stone or a whetstone for precision blades like secateurs.
- A wire brush or steel wool to remove rust and dried-on debris.
- Lubricating oil or 3-in-1 oil to protect the metal after sharpening.
- Clean rags for wiping down blades and applying oil.
- Protective gloves and safety glasses to prevent injury from metal filings.
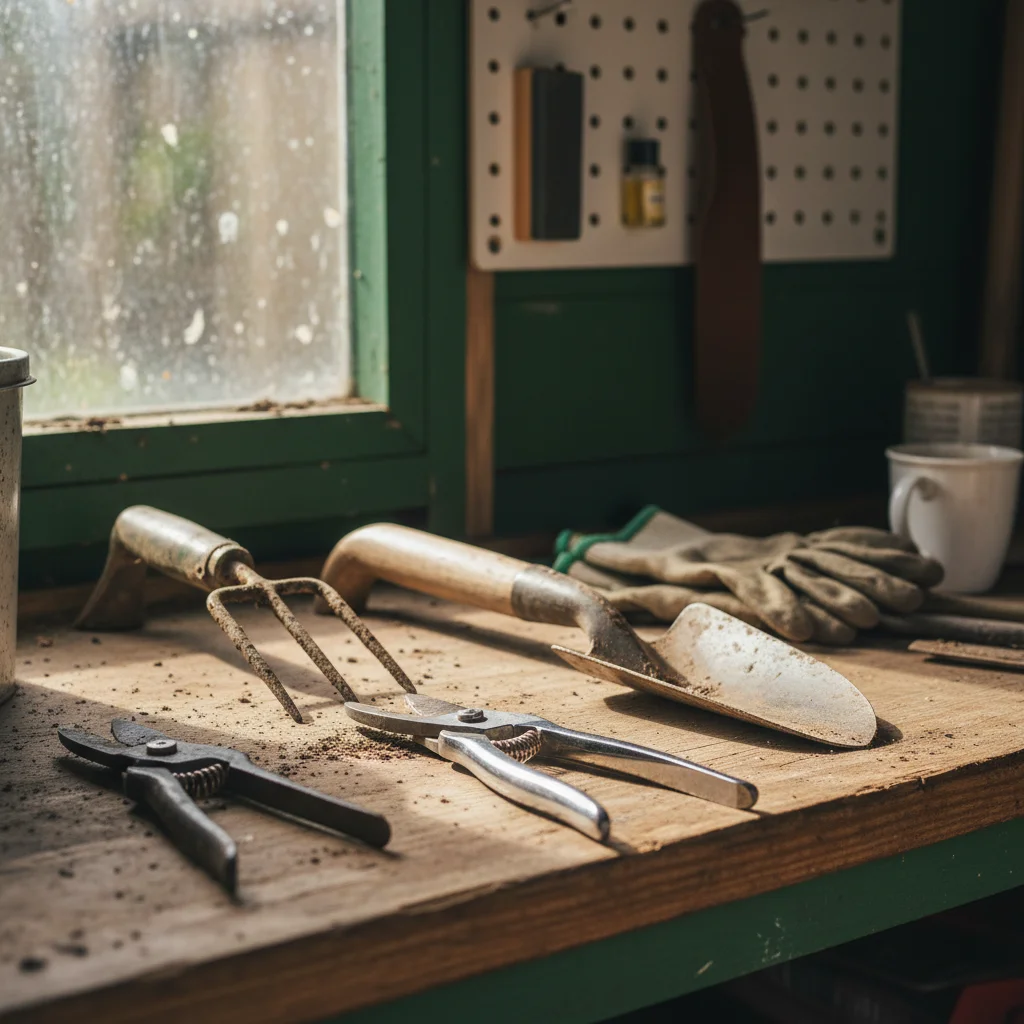
Preparing your tools for the stone
Before you even think about sharpening, the tool must be spotlessly clean. Sharpening a dirty blade is counterproductive, as the grit and sap will clog your sharpening stone or file. Start by using a wire brush to scrub away any dried soil or rust from the surface of the metal. For stubborn, sticky sap, a bit of warm soapy water or a specialised citrus-based cleaner usually does the trick.
If you encounter heavy rust, do not despair. You can often remove it by soaking the metal parts in white vinegar overnight or using a piece of medium-grade steel wool. Once the rust is gone, dry the tool thoroughly with a clean rag. Moisture is the enemy of carbon steel, so ensuring the tool is bone-dry before you begin the sharpening process is essential for a long-lasting finish.
For tools with moving parts, such as secateurs or loppers, it is often helpful to take them apart. Most high-quality brands are designed to be stripped down. This allows you to clean the hidden areas around the central bolt where grit tends to accumulate. If you are worried about putting them back together, take a quick photo of the assembly before you start unscrewing anything.
How to sharpen secateurs and loppers
Most secateurs are "bypass" style, meaning they have one sharp blade that passes a thicker anvil, much like a pair of scissors. It is crucial to remember that you only sharpen the outside edge of the cutting blade. Never sharpen the flat side that faces the anvil, as this will create a gap between the blades, leading to the tool folding the wood rather than cutting it.
Hold the secateurs firmly or secure them in a vice if you have one. Identify the "bevel," which is the angled slope of the cutting edge. You want to maintain this existing angle, which is usually around 20 to 30 degrees. Take your diamond stone or whetstone and stroke it along the bevel, moving from the base of the blade toward the tip in a smooth, curving motion.
Repeat this motion about ten to fifteen times. You are looking for the metal to become bright and shiny. Once you have sharpened the bevel, flip the blade over. You might feel a tiny "burr" or wire edge of metal on the flat side. Lightly run your stone flat against this side once or twice just to remove that burr and leave the edge perfectly smooth.
Maintaining garden shears
Garden shears have long blades designed for trimming hedges and grass. Because the blades are so long, it can be tricky to maintain a consistent angle along the entire length. The process is similar to secateurs, but you are dealing with two cutting edges rather than one. Both blades on a pair of shears usually have a bevel that needs sharpening.
Open the shears wide and secure one handle so the blade is stable. Use your file or sharpening stone to follow the bevel from the pivot point out to the tip. Use long, steady strokes to ensure you don't create dips or uneven spots in the metal. It is better to do several light passes than one heavy-handed one, as you want to remove as little metal as possible while still achieving a sharp edge.
Once both blades are sharpened, test the tension. If the blades are too loose, they will "bite" the hedge rather than cut it. Tighten the central nut until the blades move smoothly but stay in place when you hold the shears upright. A drop of oil on the pivot point will make the action feel brand new and prevent the metal from grinding.
Sharpening spades and hoes
Many people are surprised to learn that spades and hoes benefit from sharpening. These tools work by shearing through soil and roots, and a blunt edge makes every task feel twice as difficult. You don't need a razor-sharp edge here; a "working edge" is what we are aiming for. This is a robust, tapered edge that can withstand hitting stones without chipping.
Use a flat metal file for this job. For a spade, file the front-facing edge (the side that faces you when you are digging). Hold the file at a 45-degree angle and push it away from your body across the edge of the blade. Work your way across the entire width of the spade until you see a clean, bright line of metal.
Hoes should be sharpened on the side that faces away from the handle. A sharp hoe allows you to slice through weed roots just below the soil surface with minimal effort. This is particularly useful in the spring when you are trying to keep on top of annual weeds in the veg patch. A quick five-minute sharpen every few weeks during the growing season will save you hours of hoeing later on.
The final polish and protection
After sharpening any tool, the final step is to protect the newly exposed metal. Sharpening removes the protective patina or coating, leaving the steel vulnerable to oxidation and rust. Wipe away any metal filings with a clean cloth, being careful not to cut yourself on your newly sharpened edges.
Apply a thin layer of oil to the entire metal surface. I prefer using a natural oil like boiled linseed oil for wooden handles and a light machine oil for the metal parts. Avoid using vegetable oils from the kitchen, as these can become gummy and rancid over time. The oil creates a barrier against moisture and ensures that sap won't stick as easily during your next gardening session.
If you have wooden-handled tools, take a moment to check them for splinters. A quick rub with some sandpaper followed by a coat of linseed oil will keep the wood supple and prevent it from cracking. This holistic approach to tool care ensures that every part of the tool—from the cutting edge to the grip—is ready for work.
Safe storage for longevity
Where you keep your tools is just as important as how you sharpen them. A damp shed is the fastest way to ruin a good edge. If possible, hang your tools on a rack rather than leaning them against a wall where moisture can collect at the base. Hanging them also prevents the sharpened edges from knocking against each other or the floor, which can dull the metal.
Some gardeners swear by the "sand bucket" method for smaller hand tools. Fill a bucket with sharp sand mixed with a little mineral oil. After each use, plunge your trowels and hand forks into the sand. The abrasive sand cleans off the dirt, while the oil leaves a protective coating. It is a simple, old-fashioned trick that works wonders for keeping tools in peak condition between uses.
By making tool maintenance a regular part of your gardening routine, you turn a chore into a rewarding ritual. There is a profound sense of readiness that comes from looking at a row of clean, sharp tools hanging in the shed. You are not just maintaining equipment; you are preparing yourself for the season ahead, ensuring that every cut you make is kind to your plants and every hour you spend in the garden is as productive as possible. Pick up your sharpening stone this weekend and feel the difference for yourself.