There is perhaps no sight more disheartening for a gardener than the sudden appearance of brown, shrivelled patches on a pristine box hedge. For centuries, Buxus sempervirens has been the backbone of the British garden, providing the structural elegance of parterres, topiary, and low-border edging. However, the rise of box blight has left many wondering if this horticultural staple has a future in our increasingly humid climate.
As a former head gardener, I have spent decades managing historic landscapes where box hedging was a primary feature. I’ve seen firsthand how quickly the fungus can move, but I have also seen how resilient these plants can be when managed with the right techniques. You don't necessarily need to rip out your beloved hedging at the first sign of trouble; with a methodical approach and a little patience, you can restore health to your garden.
Box blight is not a single entity but is typically caused by two distinct fungal pathogens: Cylindrocladium buxicola and Pseudonectria buxi. While both cause distress to the plant, Cylindrocladium is the more aggressive of the two, capable of defoliating an entire hedge in a single season if the conditions are right. Understanding how these fungi operate is your first step toward a successful rescue mission.
Spotting the signs of infection
Early detection is the most powerful tool in your arsenal. Because box blight thrives in warm, damp conditions, you should be particularly vigilant during the spring and autumn months, or during unseasonably wet summers. The disease often starts in the interior of the hedge where air circulation is poorest and humidity remains high.
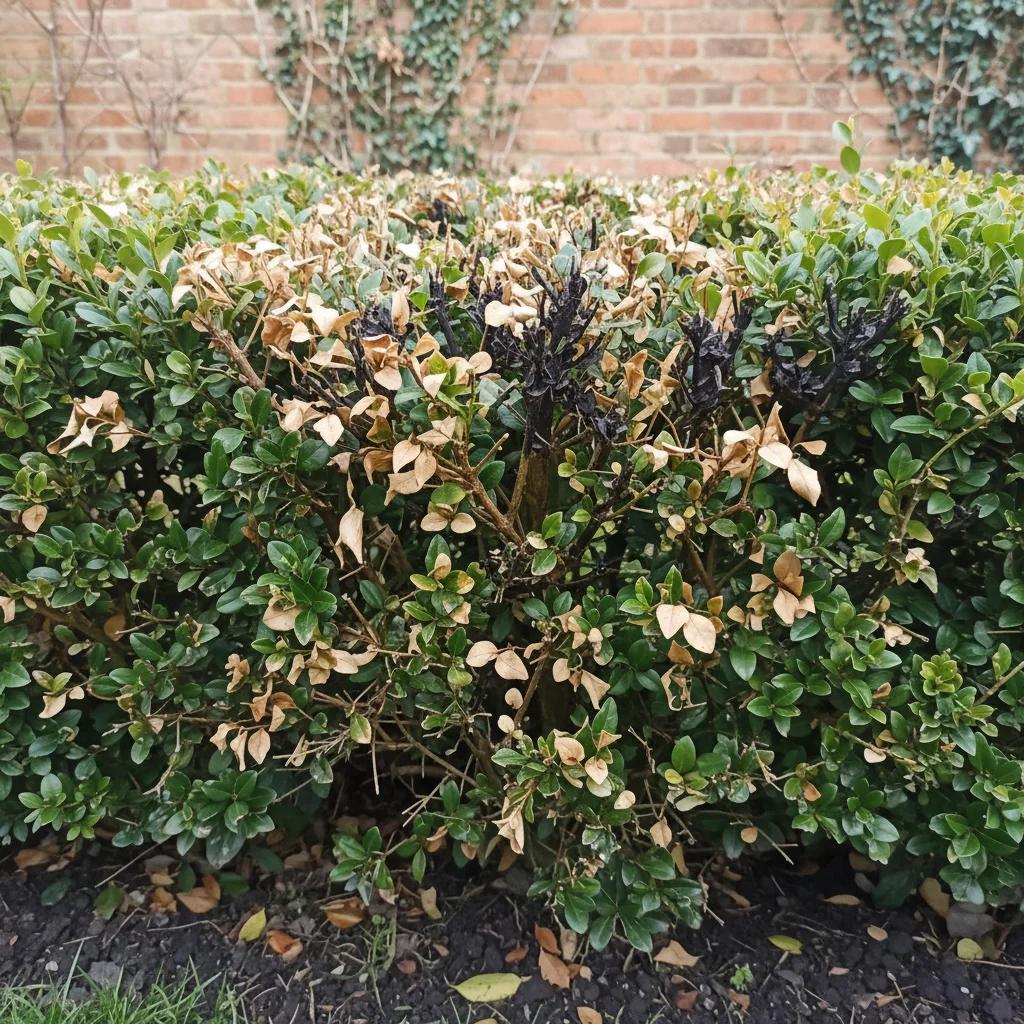
You might first notice small, dark brown spots on the leaves, often with a slightly darker border. As the infection progresses, these spots coalesce, causing the entire leaf to turn straw-coloured or brown before it eventually drops off. This leaves the characteristic "skeletonised" look that defines a blight outbreak.
To confirm you are dealing with blight rather than simple environmental stress, look closely at the stems and the undersides of the leaves. You are searching for specific markers that indicate a fungal presence rather than just a thirsty plant or winter scorch.
- Dark brown or black streaks running vertically down the green stems.
- Mass leaf drop that leaves sections of the hedge completely bare.
- White, fuzzy fungal growth on the undersides of leaves during humid weather.
- A rapid spread of browning that follows the direction of prevailing wind or rain.
- Pinkish-orange spore pustules (specifically indicating Pseudonectria or Volutella blight).
Understanding the two types of blight
It is helpful to distinguish between the two main types of blight, as the treatment intensity can vary. Cylindrocladium buxicola, often called "Box Blight," is the primary concern for most UK gardeners. It is highly contagious and spreads via sticky spores that can be carried on garden tools, clothing, or even by birds and animals.
The second type, Pseudonectria buxi (commonly known as Volutella blight), is generally considered an "opportunistic" pathogen. It tends to attack plants that are already stressed by drought, poor nutrition, or physical damage. While it still causes dieback and leaf browning, it is often easier to manage by improving the overall health and vigour of the plant.
Both fungi love stagnant air and moisture. In the UK, our mild winters and damp summers provide the perfect incubator for these diseases. This is why many older, densely packed hedges are more susceptible than younger, more open plantings. The lack of light and air in the centre of a large box bush creates a microclimate where spores can germinate undisturbed.
Immediate action for infected hedges
If you have confirmed the presence of blight, you must act quickly to contain the spread. The first step is to prune out the infected material, but this must be done with extreme care. Choose a dry day with a clear forecast, as pruning in the rain will only help the spores travel further.
Cut back the affected branches to healthy wood, ideally at least 10cm to 20cm below the visible signs of infection. You want to ensure you are removing the fungus that may have already begun to colonise the inner tissues of the stem. It is a painful process to see your hedge reduced in size, but it is necessary to save the plant's life.
Hygiene during this process is non-negotiable. You must disinfect your secateurs or shears between every few cuts using methylated spirits or a dedicated garden disinfectant. This prevents you from inadvertently moving spores from a diseased area to a healthy one as you work your way along the hedge.
Responsible waste disposal
What you do with the clippings is just as important as the pruning itself. Fungal spores are incredibly hardy and can survive on fallen leaves for several years, even in the soil. Never put blight-infected material into your home compost heap, as the temperatures reached in domestic bins are rarely high enough to kill the pathogens.
The best approach is to bag the waste immediately as you cut it and take it to a local authority green waste site, where commercial composting temperatures will neutralise the fungus. Alternatively, if your local bylaws allow it, burning the infected material is an effective way to ensure the spores are destroyed.
You should also take the time to clear away any fallen leaves from the base of the hedge. A garden vacuum or a stiff brush can help, but be careful not to kick up too much dust, which can carry spores. Some gardeners choose to remove the top 2cm to 5cm of soil or mulch beneath the hedge and replace it with fresh, sterile compost to further reduce the spore count.
Improving air circulation and light
Once the infected material is removed, your goal is to change the environment so that it no longer suits the fungus. Blight hates dry leaves and moving air. If your hedge is planted against a solid wall or in a very sheltered corner, it may always be at higher risk.
Consider thinning out the interior of the hedge. By removing a few of the older, congested inner branches, you allow light and air to penetrate the centre of the plant. This helps the foliage dry out much faster after a rain shower, denying the spores the 12 to 24 hours of continuous moisture they need to germinate.
When it comes to regular maintenance, avoid the temptation to clip your box into an extremely tight, "plastic-looking" surface. While this looks formal and neat, it creates a dense outer shell that traps humidity inside. A slightly looser, more naturalistic clip can significantly improve the plant's long-term health.
Watering and feeding for resilience
How you water your box hedging can be the difference between a thriving garden and a fungal outbreak. Overhead watering is one of the primary ways blight spreads in domestic gardens. When water droplets hit an infected leaf, they splash spores onto neighbouring plants with surprising efficiency.
Always water at the base of the plant, keeping the foliage as dry as possible. A seep hose or a leaky pipe system laid at the foot of the hedge is an excellent investment. This delivers moisture directly to the roots where it is needed, without creating the humid canopy that fungi adore.
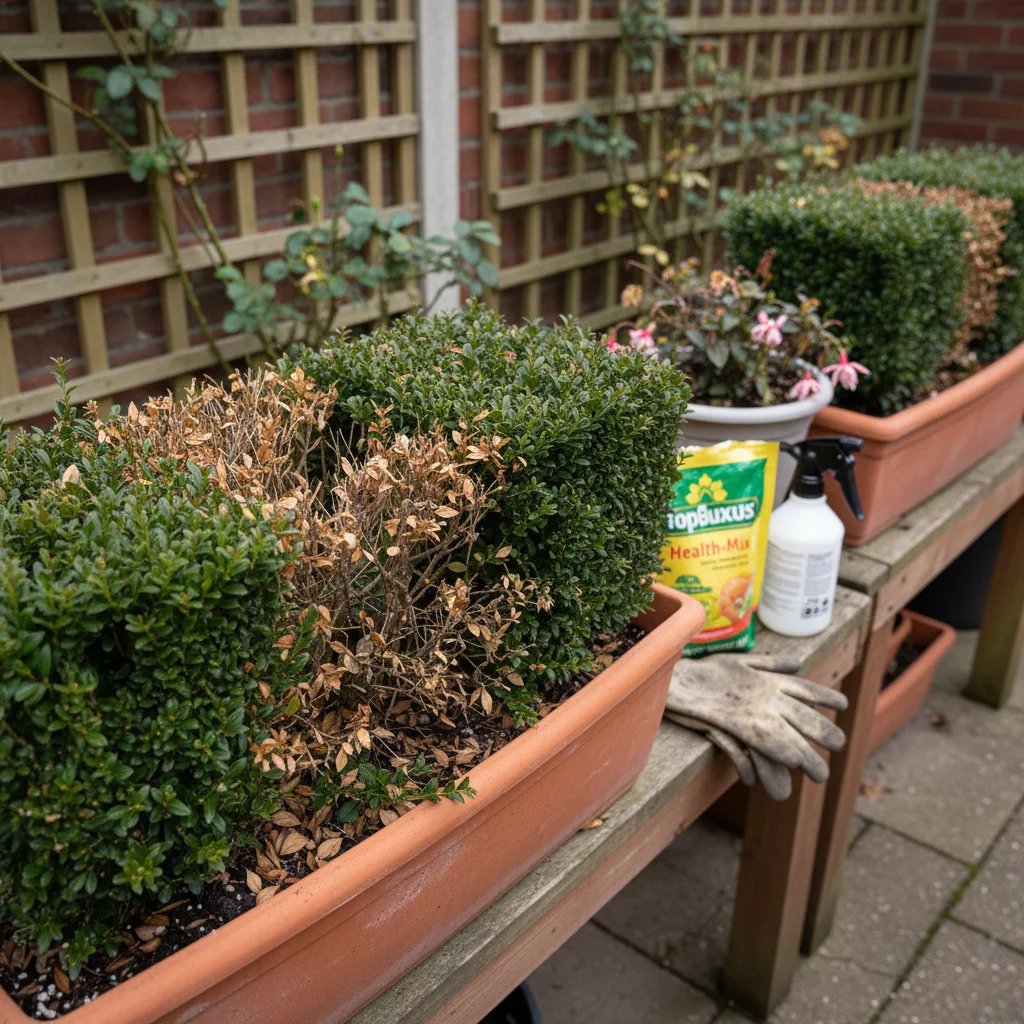
Feeding is equally vital for recovery. A stressed plant is a vulnerable plant, so ensure your box has the nutrients it needs to grow strong, resilient cell walls. I recommend a balanced, organic feed in the spring, followed by a liquid seaweed drench every few weeks during the growing season. Seaweed is excellent for stimulating the plant's natural immune response and helping it recover from the stress of heavy pruning.
The role of soil health
We often focus on the leaves, but the health of a box hedge starts in the soil. Box plants prefer a soil that is rich in organic matter but well-draining. If your soil is heavy clay and remains waterlogged during the winter, the roots will struggle, making the entire plant more susceptible to blight and other diseases.
In the autumn, apply a generous mulch of well-rotted garden compost or leaf mould around the base of the hedge. This improves soil structure and encourages a healthy community of soil microbes. Be careful not to pile the mulch directly against the stems, as this can cause the bark to rot and provide another entry point for pathogens.
If you are planting new box, always check your soil pH. Buxus prefers a neutral to slightly alkaline soil (pH 6.5 to 7.5). If your soil is very acidic, a light application of garden lime in the winter can help bring the pH into the ideal range, ensuring the plant can take up the nutrients it needs to stay healthy.
Considering the alternatives
In some cases, despite your best efforts, the location or the climate may simply be too conducive to blight for box to thrive. If you find yourself in a constant battle that you are losing, it might be time to consider alternative plants that offer a similar aesthetic without the fungal headaches.
Many modern gardeners are turning to "look-alike" species that can be clipped into formal shapes but possess natural resistance to box blight. These alternatives are particularly useful in damp, shaded gardens where Buxus is most likely to fail.
- Ilex crenata 'Dark Green' (Japanese Holly): Perhaps the closest visual match, with small, rounded leaves and a slow growth habit.
- Taxus baccata (Yew): The king of British hedging; it can be kept very low and tight with regular clipping.
- Lonicera nitida 'Baggesen's Gold' or 'Maygreen': Very fast-growing and easy to clip, though it requires more frequent maintenance.
- Euonymus japonicus 'Microphyllus': A tough, evergreen shrub with small leaves that stands up well to urban pollution.
- Podocarpus 'Blue Gem': A more contemporary choice with needle-like foliage that takes well to shearing.
Long term management and monitoring
Saving a hedge from box blight is rarely a "one and done" task. It requires a shift in how you look at your garden maintenance. You should become a regular observer, checking the interior of your hedges every time you go out with the watering can or the weeding hoe.
Avoid clipping your box too late in the season. Any new growth stimulated by a late-summer prune will be soft and highly susceptible to infection as the damp autumn weather arrives. Aim to do your final clip of the year by late July or early August to allow the new leaves to "harden off" before the humidity peaks.
By combining good hygiene, smart watering, and proactive pruning, you can manage box blight effectively. It is about creating a garden ecosystem where the plant is strong and the fungus is unwelcome. With these professional techniques, your box hedging can continue to provide structure and beauty to your garden for many years to come.
The secret to a blight-free garden isn't a magic spray, but a commitment to the fundamental health of your plants and the soil they call home. Keep your tools sharp, your soil rich, and your eyes open, and you will find that even the most stubborn diseases can be managed successfully.