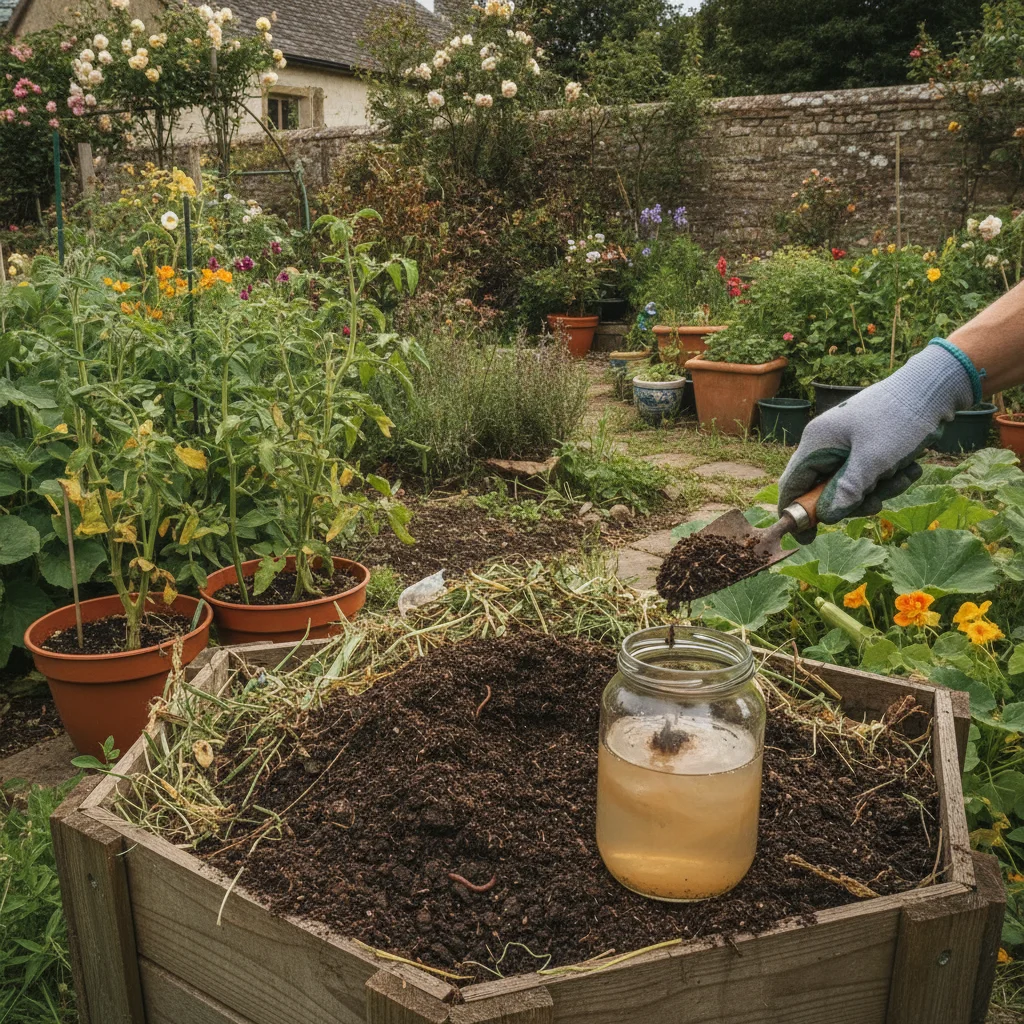
There is nothing quite like the feeling of opening up your compost bin after a long winter and peering inside. We gardeners often call it "black gold," and for good reason. When it’s right, it’s a crumbly, dark, sweet-smelling wonder that can transform even the tiredest patch of soil into a thriving haven for your vegetables and flowers.
However, I know exactly how tempting it is to rush the process. You see a bit of dark material at the bottom of the heap and want to get it onto your rose beds or into your potato sacks immediately. I’ve made that mistake myself in my early days on my small Yorkshire plot, spreading stuff that wasn't quite "done" only to find my poor seedlings looking yellow and sickly a few weeks later.
Knowing exactly when your compost is ready isn't just about being patient; it’s about the health of your plants. Using unfinished compost can actually do more harm than good, as the bacteria still working on the material will "steal" nitrogen from the soil to finish their job. This leaves your plants hungry and struggling just when they should be putting on their spring growth.
The good news is that it’s easier than you think to tell if your compost is ready. You don’t need a laboratory or a degree in soil science. With a few simple sensory checks and one foolproof biological test, you can be absolutely certain that your home-made fertiliser is ready to work its magic.
The visual and sensory check
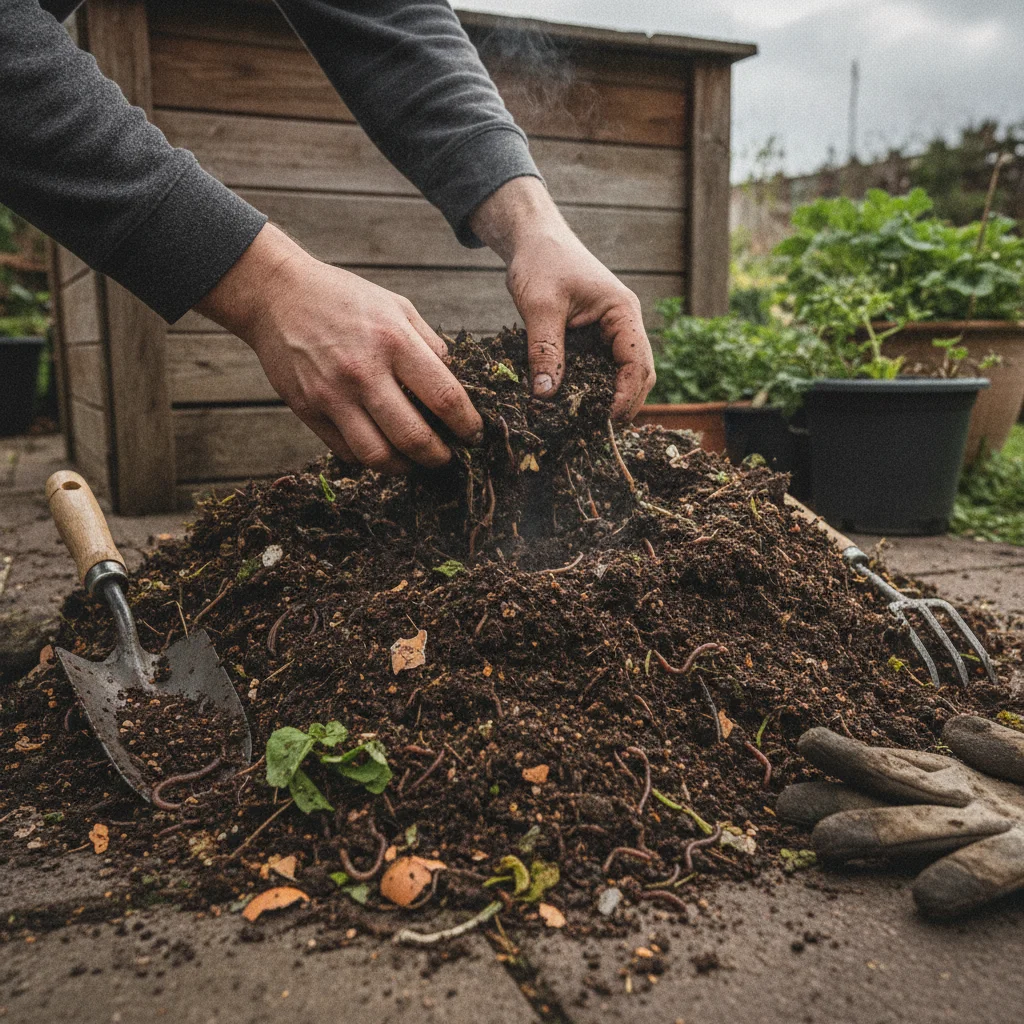
The first thing you should do is trust your senses. Mature compost should look nothing like the kitchen scraps or garden clippings you put in six months to a year ago. If you can still clearly identify eggshells, banana skins, or thick hedge clippings, it simply isn't ready yet.
Ready compost should be a deep, dark brown or even a near-black colour. It should have a lovely, crumbly texture that feels like damp cake crumbs in your hand. If it feels slimy, sticky, or looks like a wet mat of old grass, it needs more time and perhaps a bit more "brown" material like shredded cardboard or dried leaves to help it along.
One of the best indicators is the smell. We have all encountered a compost bin that smells a bit "off" or like ammonia, which usually means it’s too wet or lacks air. Finished compost, however, should smell like a damp woodland floor after a rain shower. It should have a pleasant, earthy aroma that makes you want to get your hands stuck in.
If your heap still feels very warm to the touch, the microbes are still hard at work. Decomposition generates heat, and while a "hot" bin is great for killing off weed seeds, you want the temperature to have dropped back down to the ambient air temperature before you use it. If the heap is cool, dark, and earthy, you are almost there.
The foolproof cress test
If you want to be 100% certain that your compost won't harm your delicate seedlings, you should try the cress test. This is my go-to method whenever I’m planning to use home-made compost for potting up young 'Gardener's Delight' tomatoes or sowing seeds in trays. It is a simple biological "all-clear" that tells you the chemistry of the compost is stable.
To do this, take a small jar or a plastic tub and fill it with a sample of your compost. Dampen it slightly so it’s moist but not soaking wet. Sprinkle a few cress seeds over the surface, pop the lid on or cover it with a bit of cling film, and leave it on a sunny windowsill. Cress is the perfect "lab rat" for gardeners because it germinates so quickly.
Within a few days, you should see green shoots appearing. If the cress grows straight and green with healthy white roots, your compost is perfectly mature and ready for the garden. The cress is essentially telling you that there are no harmful gases or "unfinished" acids in the mix that would stunt plant growth.
On the other hand, if the cress fails to germinate, or if the tiny leaves look yellow or twisted, your compost is still "active." This means the decomposition process is still producing substances that are toxic to young roots. If this happens, don't worry. Simply turn your compost heap to get some fresh air into it and leave it for another month before testing again.
Why unfinished compost is a problem
It might seem harmless to put half-rotted cabbage leaves on your soil, but the science behind it is worth considering. When we add organic matter to the soil, we are feeding a massive underground army of fungi, bacteria, and earthworms. These organisms need two main things to do their work: carbon (from the waste) and nitrogen (from the environment).
If the compost is still in its early or middle stages of breaking down, those microbes are in a feeding frenzy. They will suck up every bit of available nitrogen from the surrounding soil to help them digest the carbon in the compost. If you’ve just planted out your young summer bedding or vegetable starts, they will find themselves competing with the microbes for that same nitrogen.
In almost every case, the microbes win. Your plants will start to show signs of nitrogen deficiency, which usually looks like stunted growth and pale, yellowing leaves. It’s a frustrating sight for any gardener, especially when you thought you were doing something helpful by "feeding" the soil.
Furthermore, unfinished compost can sometimes harbour pathogens or pests that haven't been neutralised by the heat of a full decomposition cycle. By waiting until the material is fully dark and crumbly, you are ensuring that the beneficial microbes have taken over, creating a healthy environment for your plants to thrive.
Sifting through the rough stuff
In a typical UK garden compost bin, it’s very rare for the entire heap to be perfectly uniform. You will often find a beautiful pocket of rich, dark soil at the bottom, while the top and sides still have some stubborn twigs or pieces of avocado skin. This is perfectly normal and shouldn't stop you from using the good stuff.
The best way to handle this is to use a garden sieve or "riddle." You can buy these at any garden centre, or even make one yourself with some scrap timber and a bit of wire mesh. By shovelling your compost through the sieve, you can separate the fine, ready-to-use material from the "overs" that still need more time.
I usually take the larger bits that don't pass through the sieve and throw them right back into the active compost bin. They act as "starters," carrying those helpful bacteria back into the new heap to speed things up. The fine material that falls through the sieve is what you want for your pots and seed trays.
Using a sieve also helps you spot any unwanted visitors. While earthworms are our best friends in the garden, you might occasionally find the larvae of vine weevils or other pests in a compost heap. Sifting allows you to remove these before they get a chance to munch on the roots of your prized container plants.
Best ways to use your finished compost
Once you have confirmed your compost is ready, the fun really begins. How you use it often depends on how much you have and what you are growing. If you have a large allotment, you might be able to spread it thickly over your vegetable beds, but if you are working in a small space or with a balcony garden, you might want to be more selective.
- As a soil conditioner: Spread a layer about 2-5cm thick over your flower beds in early spring or autumn. You don't even need to dig it in; the worms will do the hard work for you, pulling the nutrients down into the soil.
- As a potting mix: Mix your sieved compost with a bit of leaf mould or coconut coir to create a bespoke potting medium. It’s much cheaper than buying bags from the shop and far better for the environment.
- For top-dressing containers: If you have permanent plants in pots, like a bay tree or a rose, scrape away the top couple of inches of old soil each spring and replace it with fresh, rich compost.
- As a mulch for fruit: Fruit bushes like raspberries and blackcurrants love a rich mulch. Apply it around the base of the plants in late winter to help retain moisture and provide a slow-release burst of energy for the coming season.
Remember that home-made compost is generally more "potent" than the sterilised multi-purpose compost you buy in plastic bags. It is teeming with life, which is a good thing, but it also means it can be quite "strong." For very delicate seeds, I often mix it 50/50 with some plain garden soil or sand to ensure it isn't too rich for the tiny new roots.
Managing your expectations through the seasons
In the UK, the speed of your composting will vary wildly depending on the weather. In a warm, damp summer, a well-balanced heap can be ready in as little as four to six months. However, during a cold, wet winter, the microbes slow down significantly, and the process can take a year or more.
If you find your compost is taking a long time, don't be discouraged. It’s often just a matter of balance. If the heap is too dry, give it a quick water with the watering can. If it’s a soggy mess, add some "browns" like torn-up egg cartons or the contents of your paper shredder. Composting is a living process, and sometimes it just needs a little nudge to get back on track.
I always try to keep two bins going if space allows. One is the "active" bin where I’m currently adding kitchen scraps and garden waste, and the other is the "maturing" bin that is just sitting and finishing off. This way, I always have a fresh supply of black gold ready for the start of the growing season without having to wait for the new stuff to catch up.
By using the cress test and trusting your senses, you can take all the guesswork out of the process. You’ll no longer wonder if you’re helping or hurting your plants when you spread that mulch. Instead, you can stand back and watch your garden flourish, knowing you've given it the very best start possible with your own home-made nutrients.
Now that you know how to tell if your compost is ready, why not head out to the garden and take a sample from the bottom of your heap? Performing a quick cress test today could be the first step toward your most successful growing season yet.