We’ve all walked past that one house on the street where the roses look like something from a glossy magazine. It’s tempting to think those gardeners have a secret or perhaps just a lot of spare time. In reality, the difference between a spindly bush and a prize-winner usually comes down to what’s happening beneath your feet.
I remember when I first took over my small plot in Yorkshire. The soil was so heavy and compacted you could have made bricks with it. My first few roses struggled, producing tiny buds and yellowing leaves. It was a frustrating start, but it taught me the most important lesson in gardening: you don't grow roses, you grow the soil, and the soil grows the roses.
Improving your soil is easier than you think, even if you’re working with a tiny patio border or a challenging urban patch. You don’t need a degree in chemistry to get it right. By understanding a few simple principles about what roses need to thrive, you can turn even the tiredest dirt into a rich, life-giving foundation for your plants.
Why Your Soil is the Secret to Success
Think of your soil as the engine room of your garden. Roses are famously "hungry" plants, which means they require a lot of energy to produce those stunning, fragrant blooms we all love. If the soil is poor, the plant has to work twice as hard just to survive, leaving very little energy for flowers.
Good soil does more than just provide food. It acts as a reservoir for water, a blanket against the cold, and a home for beneficial microbes. In a typical UK summer, we often see spells of heavy rain followed by dry heat. Soil that has been properly prepared can handle these swings, keeping your roses hydrated without letting their roots sit in a puddle.
When we talk about "improving" soil, we are really talking about its structure and its nutrients. You want a soil that feels crumbly and dark. If it’s too loose, the water runs straight through; if it’s too tight, the roots can’t breathe. Finding that middle ground is the key to seeing your roses reach their full potential.
Identifying Your Garden Soil Type
Before you start adding things to your garden, it helps to know what you’re starting with. Most of us in the UK deal with either heavy clay or light, sandy soil. You can find out which one you have with a very simple "squeeze test" that I always recommend to beginners.
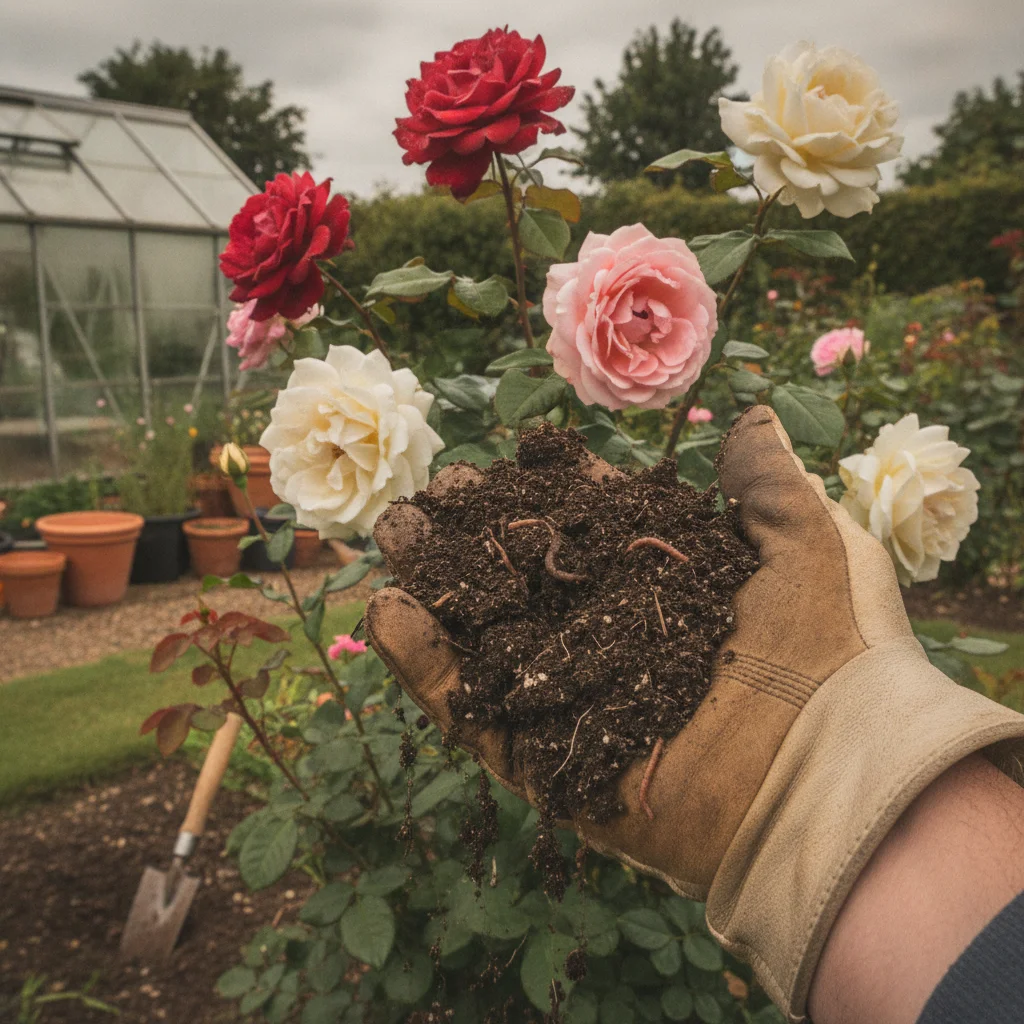
Pick up a handful of damp soil from your garden and give it a firm squeeze in your palm. When you open your hand, the way the soil behaves will tell you everything you need to know about its personality. It’s a bit like getting to know a new neighbour before you invite them over for tea.
Once you’ve done the squeeze test, you’ll likely see one of these results:
- Heavy Clay: The soil stays in a solid, sticky lump and shows your fingerprint marks.
- Sandy Soil: The soil feels gritty and falls apart immediately when you open your hand.
- Silty Soil: It feels smooth or soapy and holds its shape loosely but breaks easily.
- Loam: This is the "gold standard" that feels crumbly, holds its shape gently, and looks dark and rich.
Don't worry if you don't have perfect loam right now. Very few of us start with it. The goal of soil improvement is to nudge whatever you have closer to that crumbly, loamy texture. It’s a gradual process, but you will see the results in your rose growth within a single season.
The Power of Organic Matter
If there is one "magic" ingredient for roses, it is organic matter. This is just a fancy term for things that used to be alive, like composted leaves, well-rotted manure, or garden compost. It is the single best tool we have for fixing almost any soil problem.
In my garden, I make sure to add organic matter every single year. For clay soils, it gets between the tiny particles and creates air gaps so the roots can breathe. For sandy soils, it acts like a sponge, holding onto water and nutrients that would otherwise wash away. It really is a win-win for every gardener.
You can buy bags of well-rotted manure from most garden centres, or you can use your own garden compost if you have a bin on the go. The key word here is "well-rotted." Fresh manure is too strong and can actually burn the delicate roots of your roses. It should look and smell like dark, earthy soil, not like a farmyard.
How to Improve Heavy Clay Soil
Many UK gardens sit on a bed of heavy clay. While it can be back-breaking to dig, clay is actually very fertile. It’s packed with minerals, but they are often "locked away" because the soil is so dense. Our job is to open it up and let the roses access those riches.
One of the best ways to tackle clay is to avoid digging it when it’s soaking wet. I’ve made the mistake of tramping over wet clay in February, and it turns into a compacted mess that takes months to recover. Wait until the soil is moist but not sodden before you start working with it.
Adding grit or sharp sand can help, but you need to add a lot of it to make a difference. A better approach is to incorporate large amounts of organic matter. Spread a thick layer over the surface and gently fork it in. Over time, earthworms will do the heavy lifting for you, pulling that goodness down into the deeper layers of the soil.
Dealing with Sandy or Light Soils
If your garden is sandy, you have the opposite problem. Your soil drains beautifully, which is great in a wet winter, but it dries out in a heartbeat during a sunny July. Roses in sandy soil often look "thirsty" even if you water them regularly because the soil simply can't hold onto the moisture.
To fix this, you want to focus on "bulking up" the soil. Well-rotted manure is particularly good here because it has a heavy, moisture-retaining quality. Leaf mould is another fantastic addition for sandy plots. It’s easy to make by piling up fallen leaves in autumn and letting them break down for a year or two.
I often suggest that gardeners with sandy soil use a "mulch" more heavily than those with clay. By keeping the surface covered, you prevent the sun from baking the moisture out of the ground. It’s like putting a lid on a pot of water to stop it from boiling dry.
The Importance of Soil pH for Roses
You might remember pH scales from school science lessons, but in the garden, it’s much more practical. Roses generally prefer a soil that is slightly acidic to neutral. If your soil is too alkaline (often called "limey" or "chalky"), your roses might struggle to take up iron, leading to yellow leaves with green veins.
You can buy a simple pH testing kit for a few pounds at any garden centre. It’s a fun ten-minute task that can save you a lot of heartache. If your soil is very chalky, you might find it easier to grow roses in large pots where you can control the soil mix perfectly.
If your soil is only slightly off, adding organic matter like composted bark or pine needles can help nudge the acidity up. However, for most of us in the UK, if we keep adding plenty of well-rotted garden compost, the pH tends to balance itself out naturally over time.
Why Mulching is a Game Changer
Mulching is probably my favourite gardening shortcut. It involves spreading a layer of material over the surface of the soil around your plants. It looks neat, but more importantly, it does a huge amount of work for you while you’re sitting back with a cup of tea.
A good mulch suppresses weeds, which means your roses don't have to compete for food. It also keeps the soil temperature steady and prevents the surface from crusting over in the sun. For roses, a layer of well-rotted manure or compost about two or three inches thick is ideal.
The best time to mulch is in early spring, just as the roses are starting to grow but before the weeds have taken hold. Make sure the soil is moist before you put the mulch down. Just remember to leave a little gap around the base of the rose stem itself to prevent any rotting of the bark.
Planting Roses for Long Term Health
When you bring a new rose home, the way you plant it sets the stage for its entire life. I always recommend "double digging" the planting hole. This just means digging a hole twice as wide and deep as the root ball, then loosening the soil at the bottom of the hole with a fork.
This extra bit of effort ensures the roots can spread out easily into the surrounding soil. If you just plonk a rose into a tight hole in hard ground, the roots will often just circle around inside the hole, never truly establishing themselves. It’s like trying to grow a tree in a concrete pot.
I also swear by using mycorrhizal fungi when planting. This is a natural powder you sprinkle onto the roots. It creates a symbiotic relationship with the plant, essentially extending the root system and helping the rose find water and nutrients in even the toughest conditions. It’s a small investment that makes a massive difference in the first year.
Feeding Your Roses Throughout the Year
While good soil provides the foundation, roses are such heavy feeders that they usually appreciate a little extra boost. Think of it like giving a hardworking athlete a protein shake. It helps them recover from the effort of flowering and stay strong against pests and diseases.
In the UK, the best time for the first feed is usually late March or early April. You can use a dedicated rose fertiliser, which will have the right balance of nitrogen for leaves, phosphorus for roots, and potassium for flowers. Spread it around the base of the plant and gently scratch it into the surface.
To keep your roses in top condition, it’s helpful to follow a simple seasonal routine. This ensures the soil always has what the plant needs at the right moment. It doesn't take much time, but the consistency is what leads to those prize-winning displays.
- Early Spring: Apply a balanced rose fertiliser and a thick layer of organic mulch.
- Early Summer: Give a second feed after the first flush of flowers to encourage more buds.
- Late Summer: Avoid heavy feeding now, as you don't want too much soft new growth before winter.
- Autumn: Clear away fallen leaves to prevent diseases from overwintering in the soil.
- Winter: Spread a fresh layer of compost or manure to protect the roots from hard frosts.
Soil Care for Roses in Pots
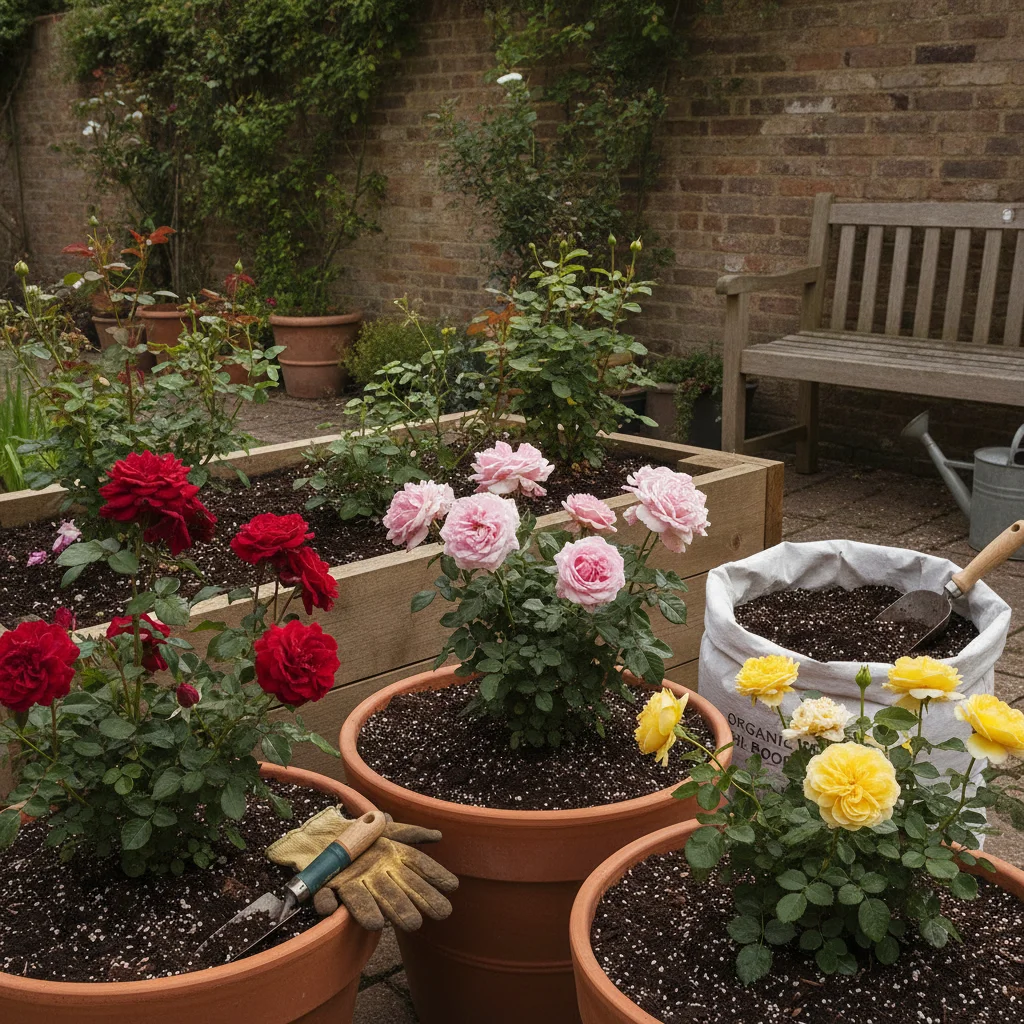
Not everyone has a big garden, and I’ve grown some of my best roses in large pots on a small patio. If you are growing in containers, the soil is even more important because the plant has nowhere else to go for its food. Never use ordinary garden soil in a pot; it will compact and suffocate the roots.
Instead, use a high-quality potting compost, ideally one that is "loam-based" like John Innes No. 3. This has more weight and nutrients than standard peat-free composts, which helps support a heavy rose bush. Because nutrients wash out of pots every time you water, you'll need to feed container roses more frequently than those in the ground.
Every couple of years, it’s a good idea to "top dress" your potted roses. This involves scraping away the top couple of inches of old compost and replacing it with fresh stuff mixed with a little slow-release fertiliser. It’s an easy way to refresh the plant without the stress of a full repotting.
Protecting the Life in Your Soil
We often forget that healthy soil is teeming with life. From earthworms to microscopic fungi, these creatures are your best friends in the garden. They break down organic matter and turn it into food that your roses can actually use.
To keep this "soil food web" happy, try to avoid using harsh chemical weedkillers or over-tilling the ground. Every time we dig the soil excessively, we disrupt the tunnels made by worms and the delicate networks of fungi. A "light touch" is often better for the long-term health of your garden.
By focusing on the health of the ground beneath your roses, you are doing more than just growing flowers. You are creating a sustainable, living ecosystem that will reward you with more vibrant colours and stronger fragrances year after year. It really is the most rewarding part of being a gardener.
Start by checking your soil type this weekend with the simple squeeze test. Once you know what you’re working with, you can pick up a bag of organic matter and begin the journey toward the most beautiful roses your garden has ever seen.